
Finding the perfect bedside storage solution in a rented condominium or a compact studio apartment can be a challenge, especially when lease agreements strictly prohibit drilling holes into the walls. If you want to keep your phone, glasses, and a glass of water within arm’s reach, a no-drill night stand offers the ideal compromise. These innovative furniture pieces provide the convenience of traditional bedside tables without risking your security deposit or requiring heavy power tools.
However, not all no-drill mounting systems are created equal. The right choice for your bedroom depends heavily on your specific wall texture, bed frame design, and the weight of the items you plan to store. By comparing adhesive, magnetic, and tension rod nightstands, you can identify the exact system that keeps your bedroom organized, safe, and entirely damage-free.
Quick Answer: Which No-Drill Night Stand Fits Your Space?
There is no single “best” no-drill night stand; the ideal mounting method depends entirely on your room’s physical layout, wall surfaces, and storage needs. Matching your specific room conditions to the correct mounting mechanism prevents costly installation failures and protects your personal belongings from accidental drops.
Products mentioned in this guide
![Nightstand / Side Table with Drawer and Open Shelf [Modern Night Stand for Bedroom Living Family Room]](https://img.lazcdn.com/g/p/74be9d8f1d8f80a26f7c320cd4ea2a42.jpg_400x400q80.jpg_.webp)
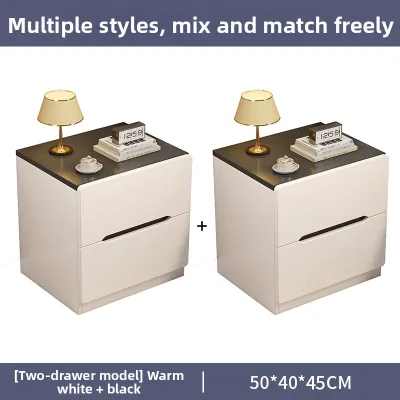

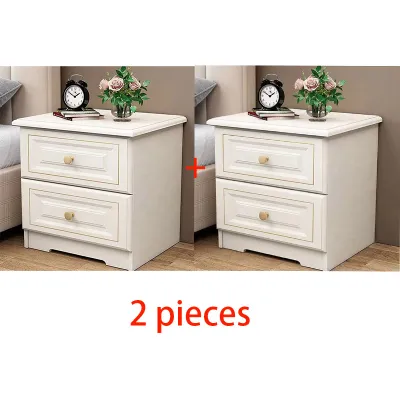
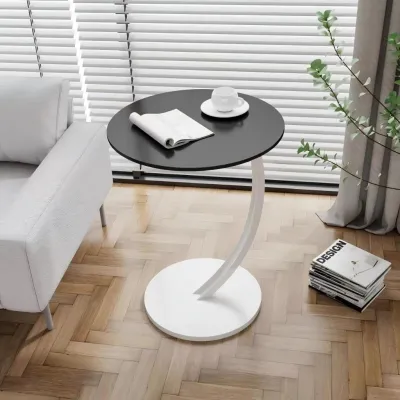
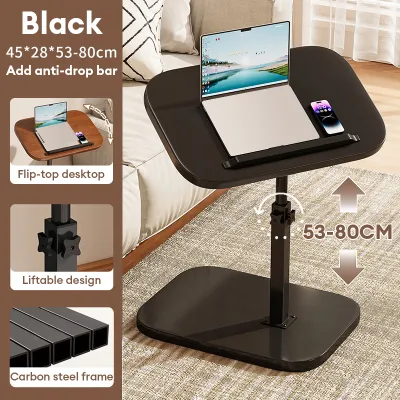
Prices are valid at publication and may change. Please refer to the product page for the latest price.
- Choose Adhesive Mounts if you have completely smooth, non-porous walls (such as glazed tiles, glass, or sealed wood) and only need to store lightweight essentials like a smartphone, eyeglasses, or a remote control.
- Choose Magnetic Mounts if you sleep on a bed with a flat, magnetic metal frame (such as iron or steel bed frames, industrial-style beds, or dormitory bunk beds) and want zero-effort, damage-free installation.
- Choose Tension Rod Mounts if you have uneven or textured walls, live in a high-humidity rental, or need a robust setup capable of supporting heavier items like table lamps, books, and multi-device charging stations.
Before making a purchase, always verify your wall condition, bed frame material, and the weight of your bedside items to ensure a secure fit.
Step 1: Assess Your Wall Surface and Bed Frame
Before buying any no-drill night stand, you must carefully evaluate the physical environment of your bedroom. A mounting method that works flawlessly on one surface can fail spectacularly on another, potentially damaging your walls or breaking your electronics.

Start by identifying your wall type. In many modern apartments and condominiums, walls are made of solid concrete finished with plaster and paint, or lightweight gypsum drywall. Smooth, semi-gloss painted drywall or tiled surfaces are highly receptive to adhesives. However, textured walls—such as those with sand-textured paint, stucco, or popcorn finishes—prevent adhesives from forming a continuous bond. Wallpaper is also unsuitable for adhesives, as the weight of the shelf will eventually tear the paper backing away from the wall.
Furthermore, consider the local climate. The tropical, high-humidity environment of the Philippines can severely affect how adhesives cure and hold over time. Moisture in the air can weaken standard double-sided tapes, causing them to peel prematurely. If your room is not consistently air-conditioned, a mechanical mounting option like a tension rod may be far more reliable than a chemical adhesive.
Next, examine your bed frame. If you plan to use a magnetic night stand, the frame must be made of a magnetic metal like iron or steel. Note that aluminum, wood, and upholstered fabric frames will not attract magnets. If you have a wooden or fabric bed frame, a wall-mounted adhesive shelf or a floor-to-ceiling tension rod is a better choice.
Finally, measure the physical space around your bed. Check the clearance between the edge of your mattress and the wall. A floating adhesive shelf requires a flat, unobstructed wall area, whereas a tension rod night stand requires a clear vertical path from the floor to the ceiling. Ensure there are no baseboards, crown moldings, or electrical conduits blocking the vertical alignment of a tension pole.
Adhesive Nightstands: Best for Smooth Walls and Light Storage
Adhesive nightstands utilize high-strength double-sided acrylic tapes or specialized mounting glues to stick directly to the wall. This design creates a sleek, minimalist “floating” look that frees up valuable floor space, making it highly popular in compact studio units.
Ideal Surfaces and Limitations Adhesive mounting relies on maximum surface contact. Therefore, these shelves perform best on smooth, non-porous, and completely flat surfaces. Glazed ceramic tiles, glass panels, polished metal, and sealed, varnished wood are excellent candidates. You should avoid applying adhesive mounts to textured plaster, brick, concrete block, or freshly painted walls. If your wall was painted within the last four weeks, the paint may not have fully cured, and the adhesive could pull the paint layer right off the drywall under load.
Storage Capacity and Weight Limits Adhesive floating shelves are strictly designed for light, everyday items. They are perfect for holding a smartphone, a pair of reading glasses, a sleeping mask, or a small cup of water. You must always check the manufacturer’s labeled weight capacity before loading the shelf. Most adhesive nightstands are rated for loads between 1 to 3 kilograms. Exceeding this limit, or placing heavy objects like thick hardcover books or heavy ceramic table lamps on the shelf, will inevitably cause the adhesive bond to fail.
Installation and Curing Requirements To achieve a secure bond, proper surface preparation is critical. Clean the target wall area thoroughly with isopropyl alcohol to remove oil, dust, and fingerprint residue. Avoid using household glass cleaners, as they can leave behind a slick film. Allow the surface to dry completely. Apply the adhesive strip or mounting glue to the back of the shelf, press it firmly against the wall, and hold it in place for at least 30 to 60 seconds to activate the pressure-sensitive adhesive.
Do not place any items on the shelf immediately. Standard acrylic adhesives require 24 to 72 hours to cure fully. In high-humidity tropical climates, it is highly recommended to wait the full 72 hours to ensure the bond reaches its maximum rated strength.
Safe Removal and Maintenance When it is time to move out of your rental, removing the adhesive shelf requires patience to avoid wall damage. Use a handheld hairdryer on a medium-heat setting to warm the adhesive strip for two to three minutes. This softens the acrylic polymer, allowing you to gently pull the shelf away from the wall. Alternatively, you can slide a piece of dental floss or thin fishing line behind the shelf to slice through the adhesive foam. If you notice the adhesive beginning to peel, sag, or pull away from the wall during daily use, remove your valuables immediately and replace the adhesive strip.
Magnetic Nightstands: Ideal for Metal Frames and Bunk Beds
Magnetic nightstands offer a highly specialized, tool-free storage solution that attaches directly to the exposed metal parts of your bed. This makes them exceptionally popular for industrial-style metal bed frames, iron bedsteads, and dormitory bunk beds.
Ideal Setup and Compatibility This mounting method is exclusively compatible with ferromagnetic metal frames, such as steel or iron. It will not work on aluminum bed frames, wooden headboards, or upholstered bases. Before purchasing, verify your frame’s magnetic properties by testing it with a simple kitchen magnet. If the kitchen magnet does not stick firmly, a magnetic night stand will not work.
Storage Capacity and Magnetic Strength The storage capacity of a magnetic shelf is determined by two factors: the strength of the built-in neodymium magnets and the thickness of your bed frame’s metal. On a thick, solid steel frame, a high-quality magnetic shelf can easily support 2 to 4 kilograms, making it suitable for holding a tablet, a water bottle, and small personal accessories. However, on thin-gauge metal or hollow tubes, the magnetic grip is significantly weaker.
Installation and Surface Protection Installation is completely instantaneous—you simply align the shelf with the metal frame and let the magnets snap into place. However, because metal-on-metal contact can easily scratch painted or powder-coated bed frames, look for models that include built-in rubber or silicone coatings over the magnets. If your chosen model has bare magnets, apply a thin layer of electrical tape or self-adhesive felt pads to the contact points. These pads protect the frame’s finish and provide valuable friction, preventing the shelf from sliding downward under weight.
Limitations and Daily Use Considerations While highly convenient, magnetic shelves have a few distinct limitations. Extremely strong neodymium magnets can potentially interfere with the magnetic stripes on credit cards, mechanical hard drives, or the internal compasses of certain older electronic devices if they are placed in direct contact. Furthermore, because the shelf projects outward from the side of the bed frame, it is susceptible to being bumped by your legs when getting in or out of bed. Position the shelf near the head of the bed, away from your natural exit path, to avoid knocking it loose.
Tension Rod Nightstands: Best for Corners and Heavy Items
Tension rod nightstands, also known as pole-mounted shelves, utilize a vertical metal pole that wedges securely between your floor and ceiling. This mechanical system is the sturdiest and most versatile no-drill option available, making it ideal for renters who want substantial storage without wall damage.
Ideal Setup and Versatility Tension rod systems do not rely on adhesives or specific bed frame materials. Instead, they use an internal spring mechanism or a threaded expansion screw to exert outward pressure against the floor and ceiling. This makes them incredibly versatile. They can be installed on uneven walls, in tight corners where a traditional bedside table would not fit, or directly alongside upholstered or wooden beds. They are particularly useful in rental properties with delicate wallpaper or textured concrete walls where adhesives are guaranteed to fail.
Storage Capacity and Stability Because the vertical weight of the shelf and its contents is transferred directly down to the floor, tension rod nightstands boast the highest load capacity of any no-drill option. Depending on the pole’s structural specifications, these systems can comfortably support 5 to 10 kilograms or more. This allows you to safely display heavier items, such as multi-book stacks, heavy ceramic table lamps, humidifiers, or multi-port charging hubs, without worrying about the structure collapsing.
Installation and Alignment Steps To ensure your tension rod nightstand remains stable and safe, follow these precise installation steps:
- Measure your ceiling height accurately before purchasing to ensure the rod's adjustable range is compatible.
- Assemble the pole and attach the shelving trays at your desired heights, ensuring all locking collars or screws are tightened securely.
- Position the pole vertically beside your bed. Use a bubble level app on your smartphone to verify that the pole is perfectly plumb (straight up and down). A tilted pole is highly unstable and prone to slipping.
- Extend the tension mechanism until the non-slip rubber feet at both ends press firmly against the floor and ceiling. If your floor consists of highly polished tiles or slick wood, place a thin, non-slip rubber pad under the base to increase friction.
Maintenance and Safety Checks Over time, structural settling, seasonal temperature changes, or vibrations from daily use can cause the tension in the pole to loosen slightly. It is highly recommended to perform a quick stability check every few months. Simply grasp the pole and give it a gentle shake. If you detect any wobbling or play, immediately adjust the tension mechanism to re-tighten the pole against the ceiling.
Side-by-Side Comparison of No-Drill Mounting Methods
To help you visualize how these three options compare, the table below breaks down the key performance and installation dimensions of each no-drill night stand type.
| Mounting Method | Best Surface / Setup | Relative Weight Capacity | Installation Effort | Wall Damage Risk |
|---|---|---|---|---|
| Adhesive | Smooth, non-porous walls (tiles, glass, sealed wood) | Light (1–3 kg) | Medium (Requires surface cleaning & curing time) | Moderate to High (Can peel paint or tear wallpaper) |
| Magnetic | Ferromagnetic metal frames (steel, iron) | Light to Medium (2–4 kg) | Very Low (Instant snap-on) | None (Zero contact with walls) |
| Tension Rod | Floor-to-ceiling vertical clearance | Medium to Heavy (5–10+ kg) | Medium (Requires assembly & vertical leveling) | None (Uses pressure pads; safe for all walls) |
While adhesive nightstands offer a highly coveted, clean floating aesthetic, they carry the highest risk of cosmetic wall damage. If you live in a rental property with strict move-out inspections, a single torn patch of paint can result in a deduction from your security deposit. In contrast, magnetic and tension rod systems are completely reversible and leave absolutely no trace behind when removed.
Always remember that these weight capacities are general guidelines. The exact load limit of your specific night stand depends on the manufacturer’s engineering, the quality of the materials used, and the accuracy of your installation. Always read the product label and instructions before placing heavy or fragile items on your bedside shelf.
Final Decision Guide: How to Choose Your Night Stand
Selecting the perfect no-drill night stand comes down to matching your bedroom’s physical constraints with your storage habits. Use this practical decision framework to guide your final choice.
Choose Adhesive if:
- Your bed is positioned against a smooth, tiled, or well-sealed wooden wall.
- You prefer a minimalist, floating aesthetic with no visible legs or poles.
- You only need to store lightweight items like a smartphone, reading glasses, and a lightweight plastic water bottle.
- You are willing to wait 48 to 72 hours for the adhesive to cure fully before placing any items on the shelf.
Choose Magnetic if:
- Your bed has an exposed steel or iron frame, or you are setting up storage for a metal bunk bed.
- You want a completely tool-free, instant setup that can be adjusted or relocated in seconds.
- You want zero risk of damaging your rental unit's walls.
- Your bedside essentials are relatively light to medium in weight.
Choose Tension Rod if:
- Your walls are textured, covered in delicate wallpaper, or made of concrete that you cannot drill into.
- You want to place heavier items beside your bed, such as a table lamp, multiple books, or a heavy ceramic mug.
- You have an awkward corner or a narrow gap between your bed and the wall that cannot accommodate a traditional table.
- You want a highly stable, mechanically secured system that is completely independent of chemical adhesives.
Verify First If: Before clicking “buy” on your chosen night stand, perform these three quick checks:
- The Paint Check: If choosing adhesive, press a piece of strong packing tape onto a hidden area of your wall and pull it off. If paint flakes off, your wall paint is too delicate for adhesive shelves.
- The Magnet Check: If choosing magnetic, ensure a standard refrigerator magnet sticks firmly to your bed frame.
- The Height Check: If choosing a tension rod, measure your floor-to-ceiling height and compare it to the product's adjustable range.
Prioritize safety above all else. If your installed night stand feels unstable, wobbles under a light touch, or shows signs of adhesive peeling, stop using it immediately. Remove your electronics and valuables to prevent costly damage.
Frequently Asked Questions (FAQ)
Can I use adhesive nightstands on textured walls or wallpaper?
No, you should strongly avoid using adhesive nightstands on textured walls, popcorn finishes, or wallpaper. Adhesives require maximum surface contact to create a secure bond; textured surfaces leave microscopic air gaps that drastically reduce the adhesive’s holding power, leading to sudden shelf failure. Furthermore, the weight of the shelf will pull on wallpaper, eventually tearing the paper backing away from the wall and causing your items to crash down. For textured or wallpapered walls, a tension rod night stand is a much safer, damage-free alternative.
Will magnetic nightstands scratch my metal bed frame?
Yes, bare metal magnets or hard plastic shelf backings can scratch painted or powder-coated metal bed frames when slid or adjusted. To prevent cosmetic damage, choose a magnetic night stand that features built-in rubber, silicone, or felt protective coatings over the magnets. If your chosen shelf does not have these, you can easily apply self-adhesive felt pads or a thin layer of electrical tape to the contact points before snapping the shelf onto your frame.
How do I prevent a tension rod nightstand from slipping?
Slipping is typically caused by insufficient vertical tension, dirty contact pads, or highly polished flooring. To prevent slipping, ensure that both the floor and ceiling contact areas are clean, dry, and free of dust before installation. If you are installing the pole on slick ceramic tiles or polished wood, place a thin, non-slip rubber mesh pad (similar to a rug gripper) under the bottom rubber foot. Finally, check the tension of the pole every few months and re-tighten the mechanism if you detect any slight wobble.
Community discussion
Share your experience or ask a question. Comments are reviewed before publication.