
Finding enough space for a comfortable morning routine can be a challenge in compact urban homes, such as studio apartments and high-rise condominiums in Metro Manila. When floor space is at a premium, traditional four-legged furniture often crowds walkways and makes tight dining areas feel even smaller. Integrating a floating side table into your layout offers a highly efficient, space-saving alternative that mounts directly to the wall, instantly carving out a dedicated breakfast nook without sacrificing valuable floor area. This design approach allows you to enjoy a quick breakfast, sip your morning coffee, or even set up a temporary laptop workstation in a spot that might otherwise go unused.
To make this setup work seamlessly, you must carefully evaluate how the table interacts with your specific room layout, wall construction, and local environmental conditions. In the Philippines, where indoor humidity levels fluctuate significantly and residential walls vary from solid concrete to hollow blocks, choosing the right materials and installation methods is essential for long-term safety and durability. By focusing on structural integrity, moisture resistance, and smart spatial planning, you can establish a functional, visually light dining zone that perfectly fits your daily routine.
Maximize Space: Why Floating Tables Fit Compact Filipino Breakfast Nooks
Urban living spaces in the Philippines, particularly modern condominiums and studio apartments, require highly strategic furniture choices to maintain comfortable traffic flow. Traditional dining tables, even small ones, feature bulky legs and wide bases that occupy valuable floor real estate. This physical footprint limits where you can place chairs and restricts movement around the room, often creating a cramped environment. A wall-mounted floating side table solves this problem by eliminating ground-level obstructions entirely, allowing you to optimize every square inch of your breakfast nook.
Products mentioned in this guide
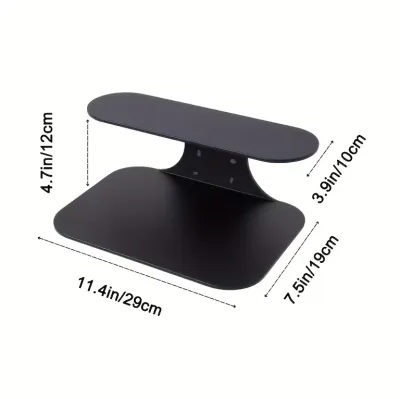
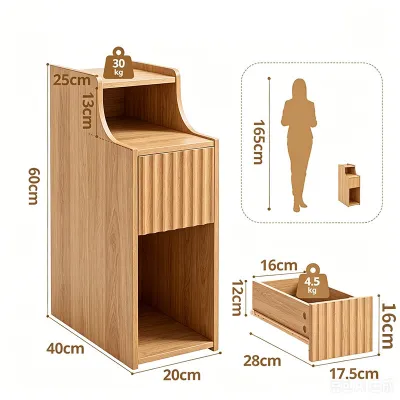
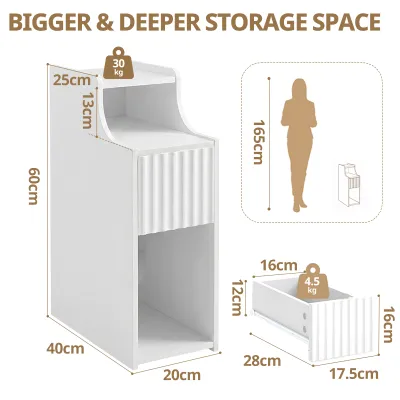
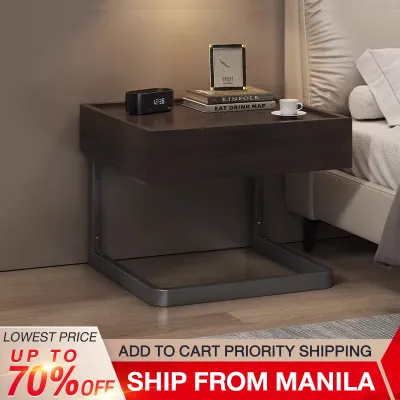
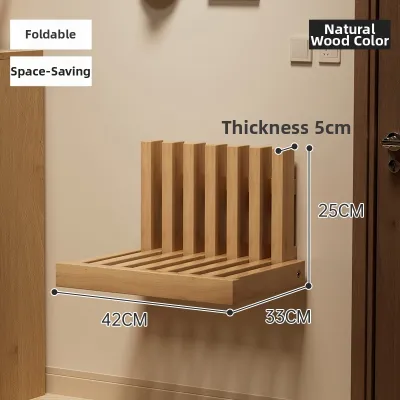
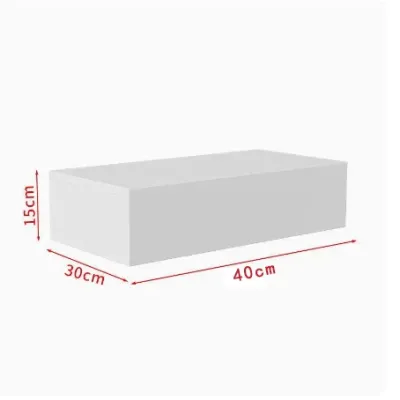
Prices are valid at publication and may change. Please refer to the product page for the latest price.
By removing the table legs, you open up the space beneath the tabletop, which serves multiple practical purposes in a small home. You can easily slide backless stools or folding chairs completely under the surface when they are not in use, keeping the surrounding walkway entirely clear. This layout flexibility is particularly beneficial in narrow kitchen-to-living-room transitions where every centimeter of clearance affects how easily you can move through your home.
From a maintenance perspective, a legless table design simplifies daily cleaning routines in your dining area. Dining spaces are naturally prone to food crumbs, coffee spills, and dust accumulation. Sweeping and mopping become much faster and more thorough when you do not have to navigate around table legs or pedestal bases. In tropical climates where food debris can quickly attract household pests like ants, the ability to effortlessly keep the floor spotless is a significant advantage for maintaining a hygienic home.
Additionally, wall-mounted furniture provides a distinct visual advantage by preserving open sightlines across the room. When the floor remains visible beneath a piece of furniture, the human brain perceives the entire room as larger and less cluttered. This optical illusion of spaciousness, combined with the physical freedom of movement, transforms a tight, awkward corner into an inviting, airy breakfast nook that feels like a natural extension of your living space rather than an afterthought.
Key Features to Check Before Buying a Floating Side Table
Selecting the ideal floating side table for a dining space requires looking beyond basic aesthetics. Because the table will support hot beverages, heavy plates, and daily use, you must verify several critical specifications to ensure safety, comfort, and longevity.

Material and Finish
The local tropical climate and the specific demands of a dining area make material selection a top priority. High humidity and accidental liquid spills can quickly ruin low-quality wood composites. When browsing options, look closely at the product specifications:
- Sealed Edges and Veneers: Ensure that any engineered wood, such as MDF or plywood, features high-quality, fully sealed edge banding (such as PVC or ABS) to prevent moisture from penetrating the core.
- Moisture-Resistant Coatings: Look for tables finished with polyurethane, melamine, or water-resistant varnishes that protect the surface from hot coffee mugs and condensation from cold drinks.
- Untreated Materials to Avoid: Avoid raw, untreated particleboard or basic MDF, as these materials tend to swell, warp, or sag when exposed to humidity or liquid spills over time.
- Solid Wood Options: If budget permits, consider local hardwoods like mahogany or acacia, which offer natural structural strength, provided they are properly sealed against moisture.
Weight Capacity and Brackets
A floating table relies entirely on its mounting hardware to remain stable and level. Before purchasing, check the manufacturer’s stated weight capacity, which should ideally support at least 15 to 25 kilograms for basic dining use.
- Bracket Types: Examine the bracket design. Heavy-duty steel brackets, particularly those with a triangular gusset or a thick L-shape, provide the best vertical support.
- Concealed Support Rods: Some minimalist designs use internal steel rods that slide into the back of the table. While visually seamless, these often have lower weight limits than visible, heavy-duty external brackets, so verify the load rating carefully.
- Leverage Factors: Keep in mind that leaning on the outer edge of the table exerts significant leverage on the wall anchors. Choose a table with robust, multi-screw mounting plates to distribute this force safely.
Dimensions and Clearance
To ensure a comfortable dining experience, you must measure your physical space and compare it to the finished dimensions of the table before ordering.
- Depth Requirements: For a single place setting with a plate, cutlery, and a glass, a minimum depth of 30 to 35 centimeters is necessary. If you plan to face each other or use larger serving dishes, look for depths between 40 and 50 centimeters.
- Width Allocations: Allow at least 60 centimeters of width per person to ensure sufficient elbow room while eating.
- Height and Legroom: Standard dining height is approximately 75 centimeters from the floor, requiring chairs with a seat height of around 45 centimeters. If you prefer a bar-style nook, mount the table at 90 to 100 centimeters and pair it with appropriate high stools, ensuring at least 25 to 30 centimeters of clearance between the seat and the underside of the table for comfortable legroom.
Edge Profiles
In tight, high-traffic areas, the physical shape of the table corners can impact both safety and comfort.
- Rounded Corners: Look for tables with rounded (radius) corners or beveled edges. These designs significantly reduce the risk of painful bumps or bruises if someone accidentally brushes past the table in a narrow walkway.
- Sharp Edges: Sharp, 90-degree corners are more prone to chipping if bumped by chairs or vacuum cleaners, and they pose a minor safety hazard in compact households.
Best Floating Side Table Designs for Small Breakfast Nooks
Different small-space layouts present unique architectural challenges. To find the best floating side table for your specific home, consider how different design styles address specific spatial constraints and daily usage patterns.
Fold-Down Floating Tables for Ultra-Compact Spaces
For exceptionally tight breakfast nooks or studio apartments where the dining area overlaps with a primary walkway, a fold-down or drop-leaf floating table is an outstanding solution. These tables feature a hinged mechanism that allows the tabletop to collapse flat against the wall when not in use, instantly reclaiming valuable floor space.
This design is ideal for solo dwellers or couples who only need a dining surface for brief periods during the day. When folded down, the table profile is incredibly slim, often extending less than 5 to 10 centimeters from the wall. This allows for completely unobstructed movement through the room during busy times of the day.
When selecting a fold-down model, pay close attention to the quality of the hinges and locking brackets. Look for heavy-duty steel folding brackets that lock securely into place with an audible click or a spring-loaded release mechanism. This ensures the table remains completely stable and does not accidentally collapse if bumped during a meal.
Narrow Shelf-Style Tables for Tight Walkways
If you have a long, narrow wall or a corridor-style kitchen transition, a slim, rectangular shelf-style floating table offers a sleek, minimalist dining solution. These tables do not fold down but maintain an exceptionally narrow profile—typically between 30 and 40 centimeters deep—running parallel to the wall.
This elongated, shallow design functions beautifully as a breakfast bar. It provides enough surface area for a laptop, a plate, and a cup of coffee without protruding far enough into the room to block foot traffic. It pairs exceptionally well with low-profile, backless bar stools that can be tucked completely underneath the shelf when you are finished eating.
Because shelf-style tables often feature a minimalist aesthetic with hidden mounting hardware, you must verify the load-bearing capacity of the concealed brackets. Ensure the internal steel support bracket extends deep into the core of the shelf to prevent the front edge from sagging under the weight of plates or resting elbows.
Corner-Mounted Floating Tables to Maximize Dead Space
Corners are often underutilized in small room layouts, frequently becoming dead space that serves no functional purpose. A corner-mounted floating table, which features a triangular or L-shaped design, turns these awkward intersections into highly functional, cozy breakfast spots.
By mounting the table directly into a corner, you maximize the usable surface area while keeping the center of the room completely open. This configuration creates a natural, tucked-away dining nook that feels private and cozy, even in a busy studio apartment.
Structurally, corner tables offer excellent potential stability because they anchor into two adjacent walls rather than just one. This dual-wall mounting distributes the weight across multiple points, reducing the leverage force on individual anchors. However, you must carefully measure your corner angles before installation; walls in many buildings are not perfectly square (90 degrees), which may require slight adjustments or custom shims during mounting to ensure a flush, gap-free fit.
Safe Installation Guide for Common Philippine Wall Types
The safety and weight capacity of your floating side table depend heavily on how securely it is anchored to your wall. Because residential construction in the Philippines utilizes a variety of building materials, you must identify your specific wall type and use the correct hardware to prevent structural failure or wall damage.
Identifying Wall Types
Before you begin drilling, you must determine what material lies behind your paint or wallpaper.
- Solid Concrete: Common in older homes, ground floors, and premium high-rise developments. These walls are extremely heavy, cold to the touch, and highly resistant to drilling, requiring a hammer drill and masonry bits.
- Concrete Hollow Blocks (CHB): The most prevalent wall material in Philippine residential construction. These walls consist of hollow concrete blocks covered in plaster. When tapped, they may sound hollow in some spots and solid in others.
- Drywall or Fiber Cement Board: Commonly used for interior partition walls in modern condominiums and renovated apartments. These walls consist of gypsum boards or fiber cement sheets (such as HardieFlex) mounted over lightweight steel or wooden studs. They sound distinctly hollow when tapped.
Choosing the Right Anchors
Using the generic plastic plugs that come in the product box is often insufficient for secure wall mounting, especially on non-solid walls. You must select anchors specifically rated for your wall type:
- For Solid Concrete: Use heavy-duty metal expansion bolts (dynabolts) or high-quality nylon wall plugs paired with thick masonry screws. These expand tightly against the solid concrete, providing maximum load capacity.
- For Drywall and Fiber Cement: Never rely on plastic plugs in drywall. Instead, use heavy-duty metal toggle bolts or self-drilling drywall anchors. For the best stability, locate the vertical metal or wooden studs using a stud finder and mount the table brackets directly into these structural studs using heavy-duty wood or metal screws.
Hollow Block Considerations
Installing a heavy floating table on a CHB wall requires extra caution due to the hollow chambers inside the blocks.
- Avoid Hollow Voids: Standard plastic wall plugs can easily fail if they expand inside a hollow void rather than solid concrete.
- Use Specialized Anchors: Use toggle bolts designed for hollow masonry, or ensure your drill bit hits the solid vertical webs or horizontal ribs of the hollow blocks.
- Check Wall Condition: If the plaster or mortar feels crumbly or brittle during drilling, stop immediately. Brittle walls cannot support heavy loads and may require professional reinforcement or chemical resin anchors to secure the bolts safely.
Safety Boundaries
Before drilling any holes, you must check for hidden hazards behind the wall surface.
- Utility Lines: Use a multi-scanner or stud finder with voltage detection to locate hidden electrical conduits (utility pipes) and water pipes, which are commonly embedded in concrete and drywall partitions.
- Consult Manufacturer Instructions: Always read the table manufacturer's installation guide for specific hole sizes and bracket alignments.
- Seek Professional Help: If you are unsure of your wall type, do not own a hammer drill, or are mounting a heavy solid-wood table, hire a professional local handyman. Investing in professional installation ensures your table remains safely mounted, protecting your dinnerware and your household from accidents.
Protecting Your Floating Table in a Humid Climate
The tropical climate in the Philippines presents unique challenges for furniture maintenance. High humidity levels, seasonal temperature shifts, and daily dining activities can take a toll on your floating side table if it is not properly cared for.
To preserve the appearance and structural integrity of your table, establish a simple, consistent maintenance routine.
- Manage Spills Immediately: Always wipe up liquid spills, condensation from cold glasses, and food splatters immediately using a soft, dry microfiber cloth. Allowing water to sit on the surface, especially near seams or edge banding, can cause the material underneath to swell, bubble, or delaminate.
- Inspect and Tighten Hardware: Due to seasonal changes between the wet and dry seasons, wood and wall materials naturally expand and contract. This subtle movement can gradually loosen mounting screws over time. Every six months, check the brackets underneath your table and gently tighten any loose screws or wall anchors to maintain maximum stability.
- Avoid Direct Sunlight: Position your breakfast nook away from direct, prolonged sunlight if it is located near a window. Intense UV rays can fade wood stains, yellow white finishes, and dry out protective varnishes, leading to premature cracking or peeling. If direct sunlight is unavoidable, use sheer curtains or window films to filter the harsh rays.
Frequently Asked Questions (FAQ)
How much weight can a typical floating side table hold?
The weight capacity of a floating side table depends entirely on the bracket design, the table’s construction material, and the quality of the wall installation. On average, a properly installed, light-duty floating table can support between 10 to 15 kilograms, which is more than enough for a laptop, plates, and mugs. Heavy-duty models mounted with robust steel brackets onto solid concrete walls can support 25 kilograms or more. Always check the manufacturer’s exact specifications, and avoid leaning heavily on the outer edge of the table to prevent putting excessive leverage on the wall anchors.
Can I install a floating table on a hollow block wall?
Yes, you can install a floating table on a Concrete Hollow Block (CHB) wall, but you must use the correct hardware. Standard plastic wall plugs are prone to slipping or pulling out of hollow blocks. Instead, use specialized sleeve anchors, toggle bolts, or heavy-duty masonry anchors designed specifically for hollow structures. Ensure that you drill carefully without shattering the block’s interior, and if the concrete feels soft or crumbly, consult a professional installer to ensure the wall can safely bear the load.
Community discussion
Share your experience or ask a question. Comments are reviewed before publication.