
Maximizing a compact condominium kitchen requires a strategic approach to vertical space. In high-density urban areas across the Philippines, where compact studio and one-bedroom units are the standard, kitchen countertops quickly become cluttered with daily essentials. Because tenancy agreements strictly prohibit drilling into walls or tiling, residents must find non-destructive ways to expand their storage. Utilizing the unused vertical flanks of major appliances and wooden cabinets is one of the most effective ways to reclaim valuable workspace.
Two primary mounting systems make this vertical expansion possible: magnetic organizers and heavy-duty adhesive mounts. Magnetic systems leverage the steel bodies of appliances like refrigerators to provide instant, repositionable storage. Adhesive systems use high-bond tapes to secure shelves to non-magnetic surfaces, such as laminated cabinet sides, glass panels, or painted wood. Selecting the right system requires a clear understanding of surface materials, weight limits, and spatial clearance to ensure your storage remains secure and functional.
This guide outlines the critical factors to consider when choosing a side storage organizer. By evaluating your kitchen’s layout, measuring available clearances, and understanding the physical limits of different mounting methods, you can select a damage-free system that keeps your spices, utensils, and wraps organized and within arm’s reach.
Products mentioned in this guide
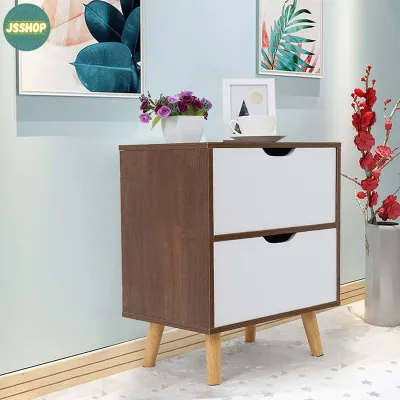
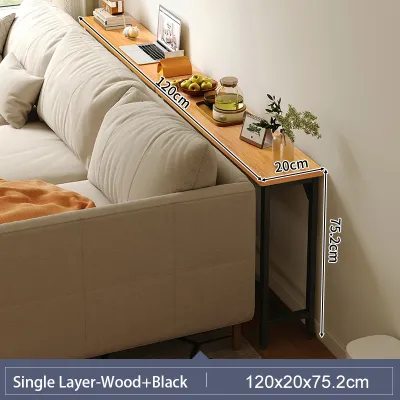
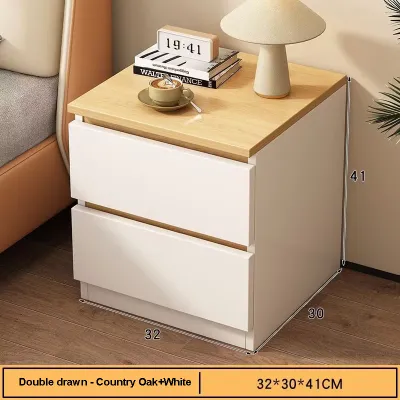
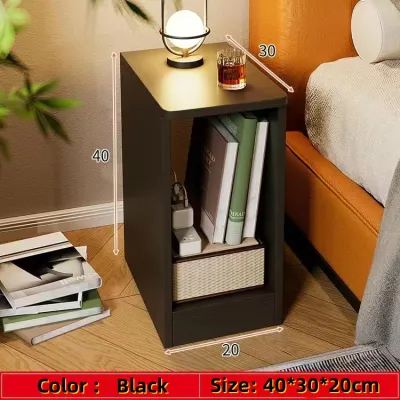
Prices are valid at publication and may change. Please refer to the product page for the latest price.
How to Choose the Right No-Drill Organizer
Selecting a side storage organizer involves more than finding an attractive shelf. Because these systems rely on non-mechanical fastening methods, matching the mounting mechanism to the specific surface material is critical to prevent sudden failures and potential damage to your kitchen items.
Surface Compatibility: Magnetic vs. Adhesive
Magnetic organizers rely on a direct, metal-to-metal bond. They require a ferromagnetic surface, which is typically found on the side panels of standard steel refrigerators. It is important to note that many modern refrigerators featuring high-end stainless steel or glass-front finishes are non-magnetic. Even if the front doors of your appliance are magnetic, the side panels may be constructed from different materials or finished with a thick textured coating that reduces magnetic attraction. Before purchasing a magnetic shelf, always test the intended mounting area with a basic household magnet. If the test magnet slides off or feels weak, a magnetic organizer will not work on that surface.
Adhesive organizers offer greater versatility but require strict surface preparation. These units typically utilize acrylic-based pressure-sensitive adhesives or foam-backed tapes that bond well with smooth, non-porous surfaces. Laminated cabinet sides, sealed wood, glass, and polished tiles are ideal candidates for adhesive mounting. However, adhesives perform poorly on textured, dusty, or highly porous surfaces, such as unsealed plaster, textured drywall, or peeling laminate. In humid tropical climates, high moisture levels can also interfere with the initial bonding process, making proper surface preparation and material selection even more critical.
Weight Capacity and Load Limits
Every no-drill organizer has a maximum load capacity determined by its mounting mechanism, surface contact area, and material construction. When reviewing product specifications on online marketplaces, look for the rated weight limit and treat it as a conservative guide. Manufacturers test these limits under ideal laboratory conditions, which rarely account for the vibrations of a running refrigerator or the humidity of a busy kitchen.
To prevent structural failures, categorize your kitchen items by weight before assigning them to a shelf:
- Lightweight Items (under 1.5 kg): Paper towel rolls, plastic wraps, dry spices in small plastic jars, sponges, and lightweight silicone cooking utensils.
- Medium Items (1.5 kg to 3.5 kg): Glass spice jars, small bottles of cooking oil, vinegar, soy sauce, and wooden cutting boards.
- Heavy Items (over 3.5 kg): Large glass oil bottles, heavy ceramic jars, cast iron tools, and canned goods.
Adhesive mounts are highly susceptible to shear stress—the downward pulling force exerted by gravity. Overloading an adhesive shelf will cause the tape to stretch and eventually peel away from the surface. If you plan to store heavier items, opt for magnetic organizers with wide, continuous magnetic backings, or select adhesive systems that distribute the weight across multiple large adhesive pads.
Dimensions and Clearance
Before purchasing any organizer, measure the physical gap between your appliance or cabinet and the adjacent walls, countertops, or doorways. A common mistake is selecting a highly functional multi-tier shelf that prevents the refrigerator door from opening fully or blocks a narrow walkway.
To ensure a proper fit, measure the maximum depth of the organizer when fully loaded. For example, a magnetic spice rack may only be 10 centimeters deep, but once you place a wide bottle of cooking oil inside, the total depth increases. If the clearance between your refrigerator side and the adjacent wall is tight, ensure that the combined depth of the shelf and its contents does not exceed that gap. Additionally, if the organizer is mounted on a cabinet side next to a doorway, verify that it does not obstruct the natural traffic flow or create a safety hazard where elbows or bags could catch on the shelf edges.
Recommended Types of Side Storage Organizers
Different kitchen items require different storage environments. To build an efficient vertical storage system, match your specific organizing needs with the appropriate category of no-drill organizer.

Magnetic Spice Racks and Shelves
These organizers are designed specifically for the flat, steel side panels of refrigerators, making them an excellent choice for storing dry goods, seasonings, and frequently used condiments.
- Ideal For: Standard steel refrigerator sides. They are perfect for keeping salt, pepper, garlic powder, and daily cooking oils within arm's reach of the stove without cluttering the countertop.
- What to Look For: Look for units constructed from powder-coated carbon steel, which resists rust in humid kitchen environments. Ensure the back of the shelf features a continuous, thick neodymium magnet rather than small, isolated magnetic strips. To protect your appliance's finish, choose models with soft silicone or rubber protective backings that prevent the metal frame from scratching the refrigerator paint. A front safety railing or lip of at least 5 centimeters is also essential to prevent jars from sliding off due to appliance vibrations.
- Limitations: These shelves are completely incompatible with non-magnetic stainless steel, glass, or plastic surfaces. If overloaded with heavy glass bottles, the entire shelf can slowly slide down the side of the refrigerator, potentially scratching the paint as it descends.
Adhesive Wrap and Foil Dispensers
These specialized organizers hold bulky rolls of aluminum foil, plastic wrap, and baking paper, freeing up valuable drawer space in small condo kitchens.
- Ideal For: Smooth, flat cabinet sides or the side of a refrigerator where magnetic options are not viable. They are best placed near food preparation zones.
- What to Look For: Select models that feature integrated sliding cutters rather than jagged metal teeth, which allows for safer, cleaner, one-handed tearing. Look for dispensers that use high-quality, double-sided acrylic foam tape (such as VHB tape) to ensure a permanent, moisture-resistant bond. A modular design that allows you to slide the dispenser body off the adhesive bracket for easy cleaning and reloading is highly recommended.
- Limitations: The physical action of pulling and tearing foil or plastic wrap exerts a repetitive downward force on the organizer. Over time, this dynamic force can weaken standard adhesives. To mitigate this, always hold the base of the dispenser with one hand while pulling the wrap, or ensure the adhesive pad has had ample time to cure before use.
Hanging Baskets and Utensil Holders
These versatile containers are ideal for organizing odd-shaped items, cleaning supplies, or small, dry produce that does not require refrigeration.
- Ideal For: Storing dish sponges, scrub brushes, lightweight wooden spoons, whisks, or small produce like garlic, onions, and ginger.
- What to Look For: Because these baskets often hold damp items or are placed near the sink area, look for rust-resistant materials such as high-grade ABS plastic or powder-coated wire. If used for cleaning supplies, ensure the basket features drainage holes or a removable drip tray to prevent stagnant water from pooling, which can attract pests and mold in tropical climates. Secure mounting hooks or wide adhesive bases are necessary to prevent the basket from tipping forward when items are removed.
- Limitations: Open wire baskets can quickly collect airborne grease and dust if positioned too close to the cooking stove. They are also unsuitable for heavy canned goods or large, top-heavy kitchen tools that can easily cause the basket to tilt and spill.
Over-the-Side or Tension-Based Alternatives
For renters dealing with delicate wood veneers, antique cabinets, or completely non-magnetic appliances, mechanical gravity-based systems offer a completely adhesive-free and magnet-free alternative.
- Ideal For: Kitchen cabinets with a slight top overhang, exposed cabinet doors, or narrow, recessed gaps between appliances and walls where a tension rod can be securely wedged.
- What to Look For: For over-the-cabinet styles, look for thin, flat metal brackets that slide over the top edge of the cabinet frame without interfering with the door's closing mechanism. Ensure these brackets are lined with soft EVA foam padding to protect the wood finish from compression marks and scratches. For tension-based systems, look for heavy-duty rubber end caps that grip smooth surfaces without leaving marks, along with an adjustable, locking spring mechanism.
- Limitations: These systems require very specific structural dimensions to function correctly. If your cabinet doors have extremely tight tolerances, an over-the-door bracket may prevent the door from closing completely. Tension rods can also slip if the surfaces are greasy or if the rod is subjected to sudden impacts.
How to Install and Remove Organizers Without Damaging Rentals
To protect your security deposit and preserve the condition of your kitchen furniture, you must follow precise installation and removal steps. Adhesive failures and surface damage are almost always caused by improper handling during these two phases.
Surface Preparation for Adhesive Mounts
Adhesive tapes require direct, molecular-level contact with the mounting surface to achieve their rated strength. Any barrier of dust, cooking grease, or moisture will significantly compromise the bond, leading to premature failure.
- Clean the Surface: Wipe the mounting area thoroughly using a clean microfiber cloth saturated with 70% isopropyl alcohol. Do not use multi-surface household spray cleaners, as they often leave behind thin silicone or surfactant residues that prevent the adhesive from bonding. If the area has visible cooking grease, clean it first with mild dish soap and water, rinse completely, and then perform the final alcohol wipe.
- Dry Completely: Allow the alcohol to evaporate fully. In highly humid tropical environments, wait an extra five minutes to ensure no micro-condensation remains on the surface.
- Apply and Press: Peel the protective backing from the adhesive pad, position the bracket carefully (use a small bubble level if necessary, as you cannot reposition the tape once it touches the surface), and press firmly across the entire adhesive area for at least 30 seconds. This pressure activates the pressure-sensitive chemistry of the tape.
- Cure Before Loading: Always check the applied product's label and the treated item's manufacturer instructions for specific curing times. If instructions are unavailable, allow the adhesive to cure undisturbed for a minimum of 24 to 72 hours before hanging the shelf or placing any weight on it. Loading the organizer too early is the leading cause of adhesive failure.
- Material Warnings: Never apply high-bond adhesive mounts to freshly painted walls, delicate paper wallpapers, or cheap, peeling wood laminates. The adhesive bond will often prove stronger than the surface finish itself, causing the paint or laminate to peel away when the shelf is loaded or removed.
Safe Removal Techniques for Renters
When it is time to move out, rushing the removal of adhesive mounts can tear wood veneers, gouge cabinet doors, or leave behind a stubborn, sticky residue that is difficult to clean.
- Soften the Adhesive: Use a standard household hairdryer set to a low-to-medium heat setting. Direct the warm air at the edges of the adhesive bracket for two to three minutes. The heat will soften the acrylic polymers, making the tape pliable and reducing its grip. Do not use extreme heat, which can warp plastic organizers or damage cabinet finishes.
- Slice, Do Not Pry: Once the adhesive is warm, do not attempt to pull or pry the bracket straight off the surface, as this leverage can easily splinter wood or crack plastic. Instead, take a length of dental floss, strong sewing thread, or a thin plastic putty knife, and gently slide it behind the bracket. Work the line downward in a sawing motion to slice through the softened foam or adhesive layer.
- Clean the Residue: If a sticky residue remains on the cabinet or appliance, apply a small amount of safe residue remover, such as common cooking oil (coconut or canola oil works well) or a commercial citrus-based cleaner. Let the oil sit on the residue for five minutes to break down the adhesive polymers, then wipe it away with a soft cloth. Always test any solvent or oil on a small, hidden area of the cabinet first to ensure it does not discolor or damage the finish. If instructions conflict, or if the surface material is unidentified, stop and consult the cabinet manufacturer or a qualified professional.
Frequently Asked Questions (FAQ)
Can I use magnetic organizers on stainless steel refrigerators?
It depends on the specific metallurgy of your refrigerator. Many modern stainless steel appliances are made with austenitic steel alloys that contain high levels of nickel, which makes them non-magnetic. Other models may have magnetic steel side panels but non-magnetic front doors. To verify compatibility before purchasing a magnetic organizer, test all sides of your refrigerator with a standard kitchen magnet. If the test magnet does not cling firmly to the surface, you must use adhesive-based or over-the-cabinet alternatives instead.
Will adhesive organizers damage my wooden cabinets?
High-quality acrylic adhesives are designed to be removable, but they can still damage delicate, aged, or poorly bonded wood laminates and veneers. If the cabinet surface is already peeling, cracked, or made from low-grade particle board with a thin paper wrap, the adhesive will likely pull the finish off during removal. For damage-free security on delicate wood, consider using specialized removable adhesive strips designed for clean removal, or opt for gravity-based over-the-door hooks that do not rely on chemical adhesives.
How much weight can a typical magnetic shelf hold?
A typical magnetic shelf designed for kitchen use can hold between 1.5 kg and 4.5 kg, depending on the size and quality of the magnets. To maximize this capacity and prevent the shelf from sliding down the appliance, ensure the refrigerator surface is clean and free of grease before mounting. Always distribute the weight evenly across the shelf rather than placing heavy items on one side, which can cause the organizer to tilt, break the magnetic seal, and slide downward.
Community discussion
Share your experience or ask a question. Comments are reviewed before publication.