
Choosing the right balance between hanging garments and footwear storage within a confined wardrobe is a common home organization challenge. When space is at a premium, installing a shoe rack wall mounted inside your closet offers an efficient way to clear floor clutter while keeping your footwear collection accessible. However, success depends on navigating tight clearances, ensuring your closet doors can still close fully, and selecting a setup that withstands the local climate.
To make a wall-mounted system work inside a closet, you must prioritize three non-negotiable criteria: an ultra-slim profile (ideally under 15 centimeters), secure anchoring that accounts for thin manufactured backboards, and open, breathable designs that resist moisture buildup. In the humid tropical climate of the Philippines, trapped air quickly leads to mold on leather and canvas, making ventilation as critical as physical dimensions. Ultimately, your choice will hinge on whether you are anchoring the organizer directly into the structural wall behind your wardrobe or mounting it to the wooden side panels of the cabinet itself.
How to Measure and Evaluate Your Closet Space
Before purchasing any wall-mounted organizer, conducting a thorough physical assessment of your closet is essential to prevent door obstructions or structural damage. Start by measuring the depth clearance, which is the clear distance from the rear wall of the closet to the outer edge of your hanging clothes. Standard hangers typically require a depth of 50 to 55 centimeters, which can leave very little breathing room in a shallow wardrobe. If your closet features hinged doors, you must map the swing radius to ensure the door panels do not strike your shoes when closing. For sliding doors, calculate the track clearance to confirm that the sliding panel can glide smoothly past the outermost point of the mounted rack.
Products mentioned in this guide
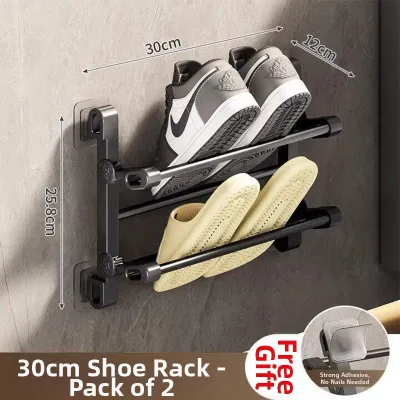
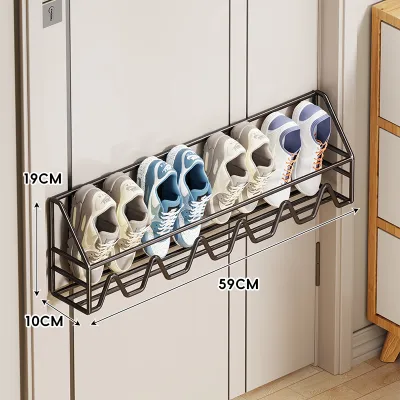
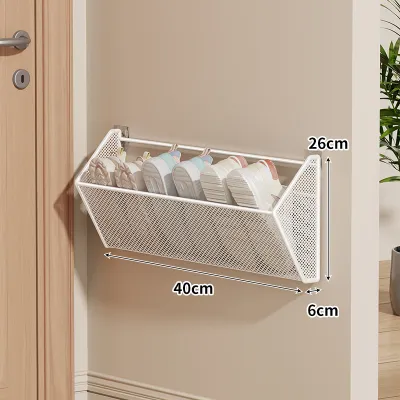
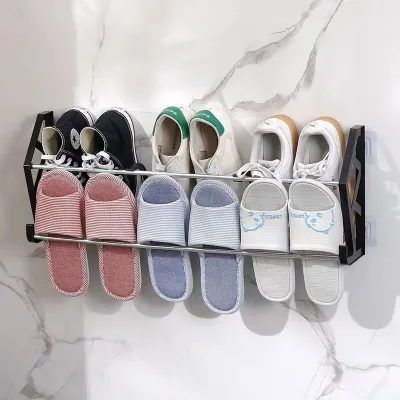
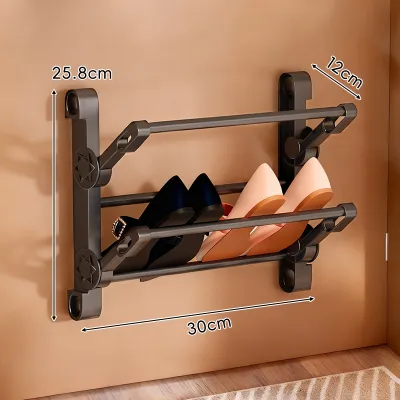
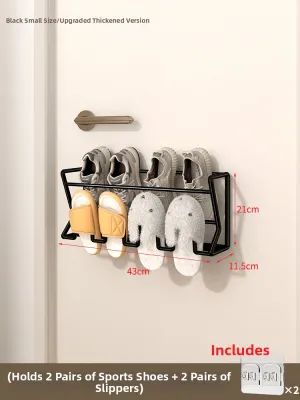
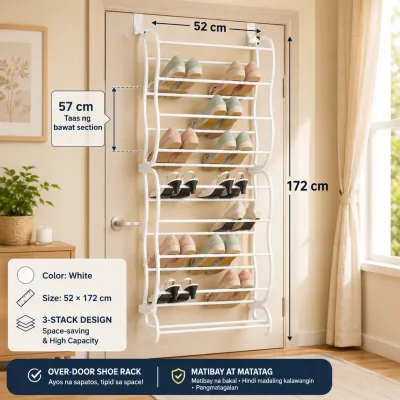
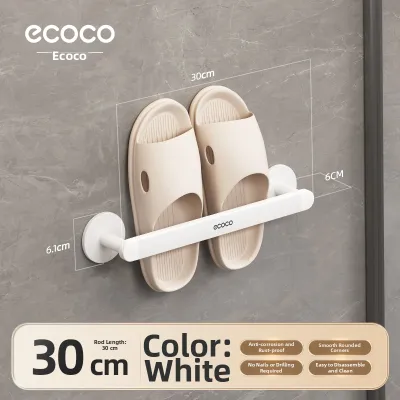
Prices are valid at publication and may change. Please refer to the product page for the latest price.
Next, evaluate the mounting surface to determine the correct installation hardware. Many prefabricated wardrobes feature a thin backing panel made of 3mm to 5mm medium-density fiberboard (MDF) or plywood. Attempting to screw a loaded rack directly into this flimsy material will inevitably cause it to sag, tear, or collapse entirely. You must identify whether there is a solid concrete or masonry wall directly behind the backboard, or if you are working with drywall studs. If you are mounting to the wardrobe’s side panels, verify their thickness—most quality modular closets use 15mm to 18mm melamine-faced chipboard, which can support moderate loads if you use the correct fasteners.
Finally, match the rack’s dimensions to your specific shoe profile. Footwear is not uniform, and assuming a standard shelf will fit every pair often leads to scuffed walls or doors that refuse to shut. Measure the physical length of your largest sneakers and the heel height of your tallest pumps or boots. For flat racks, the shoes will protrude straight out, requiring significant depth clearance. If you are short on depth, look for angled shelves or vertical heel-grip rails that allow shoes to sit at an incline or hang vertically, minimizing the outward projection.
Best Shoe Rack Wall Mounted Designs for Closet Storage
Slim Flip-Down and Pull-Down Cabinets
These designs are highly effective for maintaining a clean, streamlined look inside a walk-in closet or a deep built-in wardrobe. They feature a shallow outer frame with a hinged door that tilts outward, revealing internal pockets where shoes are inserted vertically. Because the shoes sit upright when the cabinet is closed, these units can achieve an incredibly slim profile of just 13 to 15 centimeters in depth. They excel at storing flat shoes, sandals, and low-profile sneakers, keeping them completely hidden from view and protected from dust.

However, these systems have distinct spatial and structural limitations. When you pull the drawer open, the front panel swings downward and outward, requiring temporary clearance that must not conflict with nearby drawers or low-hanging clothes. Additionally, the internal pivoting hinges bear a significant amount of dynamic stress every time the unit is opened. You must inspect the quality of these joints—preferring reinforced steel or high-grade polymer brackets over thin plastic pivots—and verify that the unit is anchored securely to prevent it from tipping forward under the weight of a fully loaded drawer.
Floating Ledges and Heel-Grip Rails
If you have narrow, underutilized vertical gaps between your hanging clothes and the side walls of your closet, floating ledges and heel-grip rails offer an elegant, minimalist solution. A heel-grip rail is a simple, horizontal bar mounted close to the wall, designed specifically for high heels and pumps. The heel of the shoe hooks over the top of the rail, allowing the toe to rest naturally against the wall. This design takes up virtually zero depth, making it one of the most space-efficient options available for dress shoe collections.
While highly aesthetic, these rails require precise horizontal alignment during installation to ensure your shoes hang evenly without slipping. They are also highly specialized; they cannot accommodate flat-soled footwear like standard sneakers, loafers, or sandals, which lack a defined heel to grip the bar. For flat shoes, slim floating ledges with a small front lip are a better alternative, though they will project further into the closet space. When using ledges, check the depth of the shelf against your shoe size to ensure the front lip is tall enough to prevent shoes from sliding off under the vibration of opening and closing closet doors.
Vertical Wall Tracks and Boot Hangers
Tall boots present a unique storage challenge inside a wardrobe, as they tend to crease at the ankle, lose their shape, and take up valuable floor space. Vertical wall tracks equipped with adjustable boot hangers or clamps solve this problem by suspending the boots off the ground. These systems typically consist of a heavy-duty metal track mounted vertically to the wall, with specialized clips that hold the boot shafts upright. By hanging your boots, you prevent the leather or synthetic material from folding and cracking over time.
In tropical regions like the Philippines, suspending boots also serves an essential preservation function. When boots sit crumpled on a dark closet floor, air cannot circulate inside the shafts, trapping moisture from sweat or rainy-day wear and creating a breeding ground for mold and mildew. Hanging them on a wall track ensures maximum exposure to ambient air currents, helping the interior lining dry out quickly. When selecting a boot track, check the clamp mechanism to ensure it features soft, non-marking protective pads, preventing the clips from leaving permanent indentations on delicate suede or soft leather.
Staggered and Diagonal Wall Shelves
For shoe enthusiasts who want to organize a diverse collection of sneakers, running shoes, and casual footwear, staggered or diagonal wall shelves provide excellent versatility. Unlike traditional flat shelves, diagonal shelves position the shoe at an angle (typically between 30 and 45 degrees). This tilt reduces the outward depth required by several centimeters while keeping the entire shoe visible and accessible. Staggering the heights of individual shelves allows you to place high-top sneakers and low-profile flats in the same vertical column without wasting precious vertical space.
The trade-off for this space-saving depth is the horizontal footprint. Angled and staggered shelves must be wider to accommodate the same number of shoes compared to deep, multi-tier racks. You must carefully measure the width of your target wall segment to ensure you have enough lateral space to mount these units side-by-side. Additionally, look for shelves with a high-friction textured surface or a secure front retaining lip to prevent smooth-soled shoes from sliding forward and falling when the wardrobe is accessed.
Strategic Placement: Integrating Racks with Hanging Clothes
Under the Short-Hang Zone
One of the most efficient layout strategies is utilizing the dead space beneath your short-hanging clothes, such as shirts, blouses, jackets, and folded trousers. This area often becomes a cluttered pile of shoe boxes or loose footwear. By mounting a low-profile shoe rack directly onto the wall in this zone, you create a structured, double-tier storage system. Before drilling, hang your longest shirts on the rod and measure the distance from their bottom hems to the closet floor.
You must ensure that the lowest-hanging garment does not brush against the shoes stored on the top tier of your wall rack. Constant contact can transfer oils, dust, or shoe polish onto your clean clothes, while also restricting the airflow necessary to keep both your garments and your footwear fresh. Aim for a clearance gap of at least 10 to 15 centimeters between the bottom of your clothes and the top of the shoes to maintain a clean, hygienic separation.
The Back-of-Door Strategy
For compact wardrobes with hinged doors, the interior door panel represents valuable vertical real estate. Mounting an ultra-slim shoe rack here keeps your footwear completely out of the main cabinet space, leaving more room for hanging rods and drawers. However, this strategy requires strict adherence to weight limits and structural safety. Standard interior closet doors are often hollow-core panels made of thin wood veneers over a honeycomb cardboard interior, which possess very little screw-holding strength.
If you decide to mount a rack to a closet door, you must use specialized hollow-door anchors or toggle bolts that expand behind the thin panel to distribute the load. Heavy, fully loaded racks holding multiple pairs of heavy leather boots or thick-soled sneakers will place immense strain on the door hinges, potentially causing the door to sag, misalign, or fail to close. Keep door-mounted storage limited to lightweight footwear, such as sandals, slippers, and canvas flats, and regularly inspect the door hinges for signs of wear or loosening screws.
Side-Panel Utilization
The interior side panels of a deep wardrobe are ideal spots for vertical, single-column shoe organizers. This placement keeps the main back wall of your closet completely clear for deeper storage systems, hanging rods, or even a full-length dressing mirror. Side-panel mounting is particularly effective for vertical heel-grip rails or single-column floating ledges, as these designs have a minimal lateral footprint and do not interfere with the main hanging garments.
When planning a side-panel installation, verify that the depth of your wardrobe allows you to access the shoes comfortably without having to push aside a dense row of hanging clothes. This setup works best when paired with a “short-hang” section or a modular shelving unit, where the adjacent space is open and easy to reach. Ensure the fasteners used do not penetrate through the exterior side of the wardrobe cabinet, which would ruin the finished look of your bedroom furniture.
Airflow and Moisture Management
In the Philippines, high relative humidity is a constant challenge for wardrobe maintenance. Enclosed closets easily trap moisture, leading to the growth of mold, mildew, and unpleasant musty odors that can ruin expensive leather shoes and delicate fabrics. When installing a wall-mounted shoe rack, you must design for airflow. Avoid solid, box-like enclosures or solid wood backing panels that block air movement behind the shoes.
Instead, select open-wire grids, metal rails, or slatted wooden shelves that allow air to circulate freely around each pair of shoes. When mounting the rack, leave a small gap of 1 to 2 centimeters between the back of the rack and the wall surface if the design allows. This gap prevents moisture from becoming trapped between the shoe soles and the wall, protecting your paint or wallpaper from dampness and staining. Regularly opening your closet doors during dry, sunny days or running a small dehumidifier in the room will further protect your collection from tropical humidity.
Installation Safety: Dealing with Closet Backboards and Walls
The Backboard Warning
One of the most common mistakes when installing a wall-mounted shoe rack inside a prefabricated wardrobe is screwing the unit directly into the closet’s backboard. These backboards are typically made of very thin, 3mm to 5mm MDF or hardboard, designed solely to keep the wardrobe dust-free and square. They are not structural components. If you mount a shoe rack to this thin panel and load it with several pairs of heavy sneakers or boots, the dynamic weight—combined with the physical pulling force of removing and replacing shoes—will quickly tear the screws out of the wood, ruining the backboard and dropping your footwear.
Finding the Studs or Masonry
To ensure a safe, long-lasting installation, you must anchor the shoe rack through the backboard and directly into the structural wall behind the closet. If your home has concrete or masonry walls—common in many Philippine residences—you will need a hammer drill, a masonry drill bit, and plastic wall anchors or concrete screws. Measure the thickness of your wardrobe’s backing panel and select screws that are long enough to pass through the cabinet backing and penetrate at least 3 to 4 centimeters into the solid wall behind.
If your closet backing is flush against a drywall partition, use a stud finder to locate the wooden or metal studs behind the backboard. Secure the mounting brackets of your shoe rack directly into these studs using heavy-duty wood screws. If the rack’s mounting holes do not align perfectly with the stud spacing, you must use high-quality drywall anchors, such as toggle bolts or self-drilling threaded anchors, rather than basic plastic plugs, which can easily pull out of gypsum board under dynamic loads.
Alternative Fasteners for Panels
If you must mount your shoe rack to the interior side panels of your wardrobe because the back wall is inaccessible, you must adapt your hardware to the panel material. Most modular closets are constructed from 15mm to 18mm particleboard or MDF covered in melamine. Standard wood screws do not hold well in particleboard because the material is composed of loose wood chips bonded with resin, which can easily strip under tension.
Instead, use specialized cabinet screws with deep, wide threads (often called Euro screws) that grip the composite material more securely. Alternatively, sleeve-type hollow wall anchors or toggle bolts can be used if you have access to the other side of the panel, though this is rarely aesthetic. If you are mounting lightweight racks, combining mechanical fasteners with a high-strength polyurethane construction adhesive can distribute the load more evenly across the panel surface, but remember to strictly limit the weight to light footwear like sandals and slippers.
Pre-Installation Checklist
Before you pull out your drill, perform a critical safety sweep of the target area. Closet walls often run adjacent to bathrooms or hallways, meaning water pipes, electrical conduits, or internet cables may be embedded directly behind the plaster or concrete. Use a multi-scanner or stud finder with live-wire detection to map out any hidden hazards before drilling.
Additionally, verify that the proposed location of your shoe rack does not block or interfere with any internal closet features. This includes built-in LED lighting strips, motion-activated smart sensors, pull-out valet rods, or jewelry drawers. A poorly placed rack can restrict the movement of these luxury features, defeating the purpose of an organized, high-end closet system. Double-check all clearances with the closet doors fully closed and open before making your permanent marks.
Frequently Asked Questions (FAQ)
Can I mount a shoe rack on a hollow closet door?
Hollow-core doors are constructed with a thin outer veneer of plywood or fiberboard over a lightweight cardboard honeycomb core. Because there is no solid wood inside the main body of the door, standard screws cannot grip securely and will easily pull out under the weight of a shoe rack. It is highly recommended to avoid drilling heavy organizers into hollow-core doors. If you must utilize the door space, opt for over-the-door hanging organizers that suspend from the top edge of the door frame, distributing the weight vertically without damaging the door face. For very light, single-pair storage, high-quality adhesive-backed hooks or lightweight plastic pockets may be used, but keep the load to an absolute minimum to prevent the outer veneer from peeling away.
How do I prevent shoes from smelling in a closed closet?
Preventing odors in a closed wardrobe requires a combination of proper habits and moisture control, which is especially critical in humid environments. First, never place damp or sweaty shoes directly onto your wall-mounted rack; allow them to air out in a well-ventilated room for at least a few hours after wearing. Second, place moisture-absorbing desiccant packs, such as activated bamboo charcoal bags or silica gel canisters, directly on or near the shoe rack tiers to capture excess humidity. Finally, establish a routine of leaving your closet doors wide open for a few hours once a week to encourage fresh air exchange, and clean the rack surfaces periodically with a mild disinfectant to prevent the buildup of odor-causing bacteria.
Are adhesive wall-mounted racks safe for heavy boots?
Adhesive-mounted wall racks are not safe or suitable for heavy footwear like thick-soled sneakers, leather boots, or heavy work shoes. While modern adhesives are strong, their performance degrades significantly over time when exposed to constant downward tension and high humidity levels, which can soften the bonding agents. A loaded rack falling from the wall can damage your shoes, chip your closet panels, or cause injury. For any shoe storage system intended to hold more than one or two kilograms of weight, mechanical drilling with appropriate wall anchors is the only reliable and safe installation method. Save adhesive hooks exclusively for ultra-lightweight items like flip-flops or fabric slippers.
Community discussion
Share your experience or ask a question. Comments are reviewed before publication.