
Quick Answer: Are Acrylic Organizers Safe for Moving?
Acrylic organizers are highly effective for sorting and protecting your belongings during a move, provided they are used as internal sorting inserts rather than standalone shipping containers. Their rigid structure and clear walls make unpacking a breeze, but they require proper cushioning inside larger, sturdy moving boxes to survive the journey. To ensure a successful transition, prioritize organizers with thick walls, secure lids, and modular shapes that fit snugly together.
Acrylic for Moving: Weighing the Pros and Transit Risks
When planning a lipat bahay move, choosing the right packing materials is crucial for protecting your investments. Acrylic organizers offer a distinct advantage over traditional cardboard boxes or flexible plastic bins because they allow you to see exactly what is inside at a glance. This transparency eliminates the need to rummage through multiple boxes when searching for daily essentials in your new home. Additionally, their rigid structure prevents delicate items from being crushed under the weight of other belongings.

However, acrylic is not without its transit risks. Unlike flexible plastics that bend under pressure, acrylic is a rigid material that can crack or shatter if subjected to sudden impacts or heavy loads. During transit, a moving truck can experience significant vibrations and bumps, which can cause unprotected acrylic bins to collide and damage each other.
Products mentioned in this guide
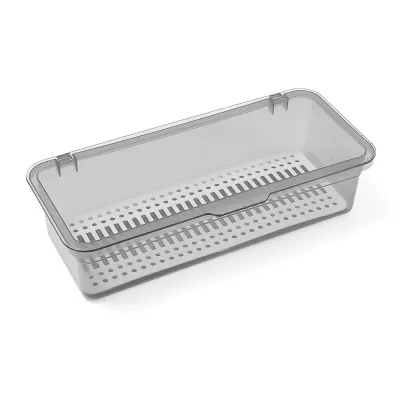
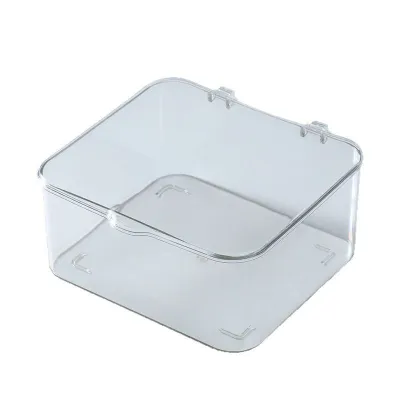
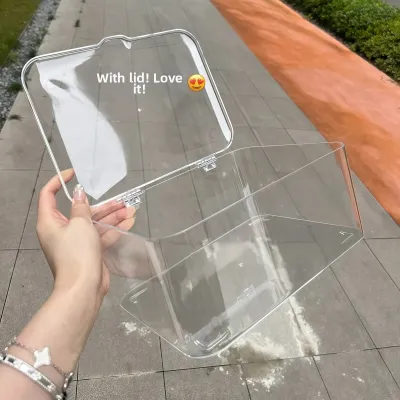
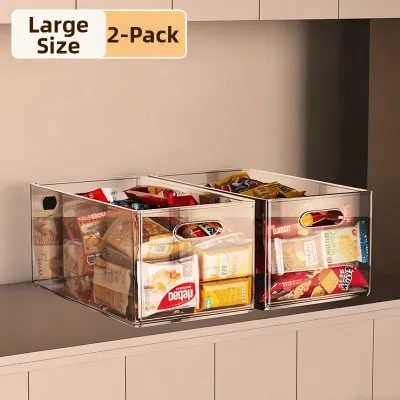
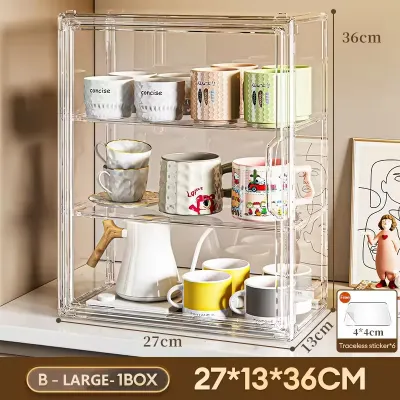
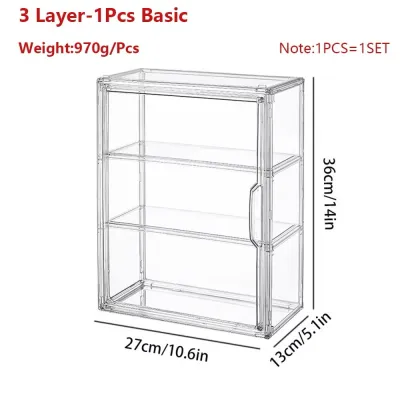
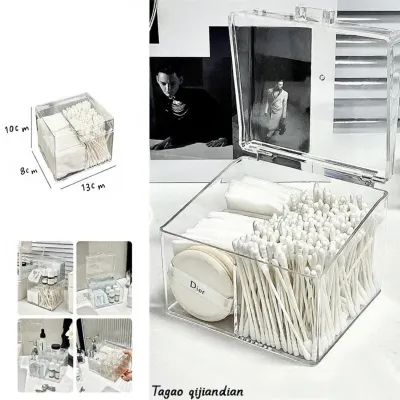
Prices are valid at publication and may change. Please refer to the product page for the latest price.
Furthermore, temperature sensitivity is a critical factor to consider in tropical climates. The interior of a closed moving truck parked under the sun in the Philippines can reach exceptionally high temperatures. While high-quality acrylic can withstand moderate warmth, prolonged exposure to extreme heat combined with physical stress can make the material more brittle and prone to cracking. Understanding these limitations allows you to take the necessary precautions, such as wrapping each organizer individually and placing them in climate-controlled areas of the vehicle when possible.
Matching Acrylic Organizers to Your Belongings
To maximize the utility of your acrylic organizers, you must match their design to the specific items you plan to transport. This process involves categorizing your belongings by weight, fragility, and size, and then measuring your standard moving boxes to ensure a seamless fit.
Cosmetics and Fragile Skincare
Cosmetics, perfumes, and skincare products are highly vulnerable during a move due to their liquid contents and fragile glass packaging. When packing these items, look for acrylic organizers that feature tight-fitting lids and secure latches to prevent accidental spills from ruining other belongings.
Internal dividers are essential for keeping glass bottles and delicate compacts separated. Without these barriers, items can clink against each other during transit, leading to cracks or shattered glass. If your organizer does not have built-in dividers, you can create custom compartments using soft foam inserts or bubble wrap.
To contain potential leaks, consider placing a thin silicone liner or a sheet of plastic wrap at the bottom of each compartment. This extra layer of protection ensures that even if a bottle cap loosens under pressure, the spill remains contained within a single easily washable section rather than seeping into your larger moving boxes.
Kitchenware and Small Utensils
Kitchen items are often heavy, awkwardly shaped, or sharp, presenting unique challenges for acrylic storage. When using acrylic drawers or bins for kitchenware, it is vital to respect the material’s weight limits. Overloading a drawer with heavy metal utensils can warp the tracks or cause the bottom panel to bow and crack.
For stacking stability, select wide, shallow acrylic bins that can be stacked securely on top of one other. This configuration distributes the weight evenly and prevents the bottom bins from collapsing under the load.
To protect both your kitchenware and the organizers themselves, avoid placing loose, sharp knives or abrasive metal tools directly against the acrylic walls. Sharp edges can easily scratch the polished surface, reducing clarity and weakening the material over time. Wrap sharp items in protective sheaths or kitchen towels before placing them in the organizer, and use silicone liners to cushion heavy items.
Jewelry and Daily Accessories
Small, valuable, and easily tangled items like jewelry require a specialized organization strategy to prevent loss and damage during a move. Shallow acrylic trays with adjustable dividers are ideal for this purpose, as they allow you to customize the compartment sizes to fit individual necklaces, rings, and earrings.
To prevent metal jewelry from scratching against the hard acrylic surface, choose organizers that feature velvet or felt-lined compartments. If you already own unlined trays, you can purchase adhesive felt sheets from local craft stores to line the bottoms yourself.
A secure closure mechanism is non-negotiable for jewelry organizers during transit. Look for boxes with sturdy clasps or drawers that can be temporarily taped shut with residue-free painter’s tape. This prevents drawers from sliding open and spilling precious items into the depths of your moving boxes.
Essential Design Features for Safe Transit and Stacking
When shopping for acrylic organizers, look for specific structural features that enhance durability and space efficiency during a move.
First, prioritize interlocking lids and bases. Organizers designed to stack securely together prevent shifting inside your moving boxes, reducing the risk of tipping and subsequent damage. Look for molded ridges or recessed lids that lock the base of the upper bin firmly in place.
Second, inspect the corners of the organizers. Reinforced, rounded corners are much better at absorbing shocks and distributing impact forces than sharp, thin edges. This simple design detail can mean the difference between an intact bin and a cracked one after a bumpy ride.
Third, consider handle cutouts. Integrated handles make it much easier to lift and transfer the organizers from your shelves to your moving boxes. Ensure the handles are smooth and free of sharp plastic seams that could cut your hands or snag on wrapping materials.
Finally, look for smooth, straight exterior walls. Tapered bins may save space when nested empty, but they create wasted, unstable gaps when packed side-by-side inside a moving box. Straight-walled organizers maximize the usable volume of your packing boxes and prevent shifting during transit.
Packing and Protecting Acrylic Bins for the Journey
Proper packing techniques are essential to ensure your acrylic organizers arrive at your new home in pristine condition.
Begin by wrapping each individual organizer in a generous layer of bubble wrap or packing paper. Secure the wrapping with tape, taking care not to let the adhesive touch the acrylic directly, as it can leave stubborn residue or damage the finish. For organizers with drawers or removable lids, tape them shut using low-tack painter’s tape before wrapping.
When placing the wrapped organizers into your moving boxes, use plenty of void fill to eliminate empty space. Crumpled packing paper, foam peanuts, or even clean towels and linens work well to cushion the bins and prevent them from shifting during transit. The goal is to pack the box tightly enough that nothing moves when you gently shake it.
Clearly label the outside of the moving boxes containing your acrylic organizers with “Fragile” and “This Side Up” indicators. This alerts your movers to handle these boxes with extra care and avoid stacking heavy furniture on top of them.
Lastly, avoid exposing your packed boxes to extreme heat. Do not leave boxes containing acrylic organizers in the back of an open truck or in a hot garage for extended periods. Pack these boxes last and unpack them first to minimize their exposure to high temperatures.
Building Your Shopping Shortlist: What to Verify Before Buying
Before purchasing new acrylic organizers, take the time to verify key specifications to ensure they meet your moving and long-term storage needs.
Start by measuring the interior dimensions of the moving boxes you plan to use. Compare these measurements with the dimensions of the organizers to ensure they will fit efficiently without leaving excessive empty space.
Next, calculate the volume of the items you need to pack. It is often helpful to group your items on a table and measure the footprint they occupy to determine the size and number of organizers required.
When browsing online marketplaces or visiting local home improvement stores, carefully check the product descriptions for material thickness. High-quality, durable acrylic organizers typically have a wall thickness of at least 3 millimeters. Avoid ultra-thin, flexible plastics that are marketed as acrylic but lack the necessary rigidity.
Finally, verify the seller’s return and replacement policies, especially regarding items damaged during transit. Since acrylic is fragile, choosing a seller that offers hassle-free returns for cracked or broken goods provides peace of mind during the hectic moving process.
Frequently Asked Questions (FAQ)
Can I use acrylic organizers as the actual moving boxes?
No, you should not use acrylic organizers as standalone moving boxes. While they are rigid and durable enough for home storage, they lack the structural integrity and impact resistance required to withstand the heavy loads and rough handling of a professional move. Stacking heavy items directly on top of unprotected acrylic bins in a moving truck will likely cause them to crack or shatter. Always pack your acrylic organizers inside sturdy cardboard moving boxes or heavy-duty plastic totes for transit.
How do I clean acrylic organizers after unpacking in the new home?
To clean your acrylic organizers after a dusty move, avoid using ammonia-based glass cleaners, acetone, or abrasive scrubbing pads, as these can permanently cloud or scratch the surface. Instead, use a soft microfiber cloth dampened with warm water and a few drops of mild dish soap. Gently wipe the surfaces and dry them with a clean, dry microfiber cloth to prevent water spots. To remove sticky residue left behind by packing tape, apply a small amount of cooking oil or a specialized adhesive remover safe for plastics, let it sit for a few minutes, and then wipe it clean.
Community discussion
Share your experience or ask a question. Comments are reviewed before publication.