
Renting a condominium in bustling urban centers across the Philippines, such as Metro Manila, Cebu, or Davao, often presents a unique set of spatial and administrative challenges. Most high-rise developments feature compact layouts where every square meter must be utilized efficiently, yet strict tenancy agreements typically prohibit drilling holes into concrete walls or tiled surfaces. To bridge the gap between limited floor space and the need for organized storage, a slim shelf organizer designed for no-drill installation serves as an invaluable asset. These specialized organizers allow you to reclaim underutilized vertical zones in narrow kitchen gaps, tight bathroom corners, and laundry alcoves without risking your security deposit.
Selecting the ideal no-drill slim shelf organizer requires a systematic approach that balances physical dimensions, mounting mechanisms, and surface compatibility. Rather than purchasing a shelf based solely on aesthetics, you must evaluate how the unit anchors to your specific wall type and whether its load capacity aligns with your storage needs. A mismatched organizer can lead to falling items, damaged walls, or costly deposit deductions when your lease ends. By understanding the mechanical limits of adhesive, magnetic, and tension-based systems, you can establish a highly functional, damage-free storage setup tailored to your condo’s unique layout.
Understanding No-Drill Mounting Mechanisms
To make an informed decision, you must first understand the distinct engineering principles behind the primary no-drill mounting methods available on the market. Adhesive-mounted slim shelves rely on chemical bonding agents, typically pre-applied to flexible plastic backings or brackets, to adhere directly to a vertical surface. This mechanism is highly effective for lightweight to medium-weight storage, but its success depends entirely on the molecular bond formed between the adhesive and the wall. Because these adhesives require a completely flat, non-porous surface to achieve maximum contact, they are best suited for glazed ceramic tiles, glass panels, and polished metal surfaces commonly found in modern condo kitchens and bathrooms.
Products mentioned in this guide
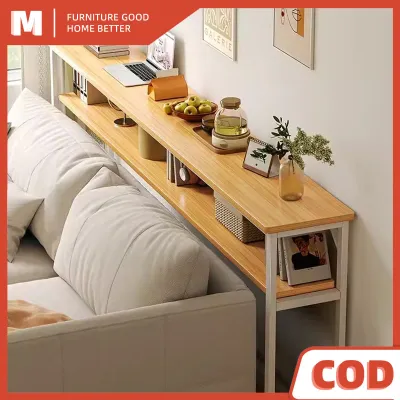
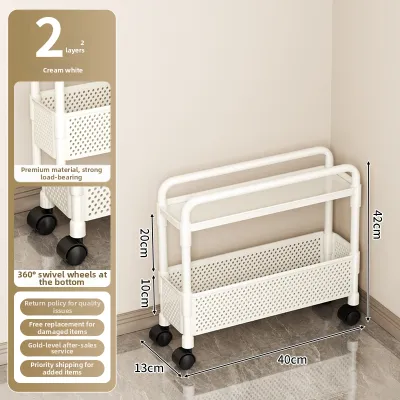
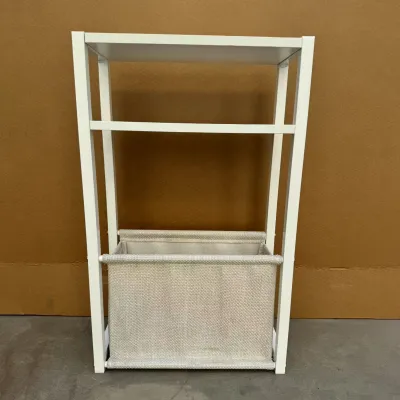
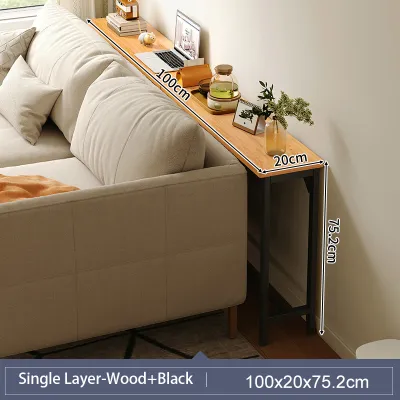
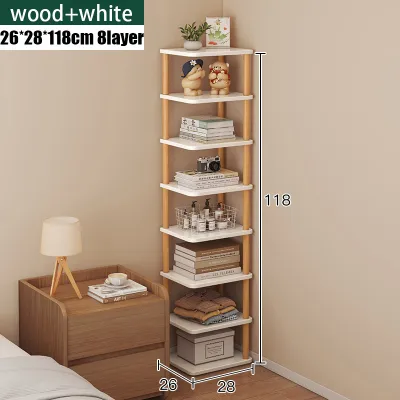
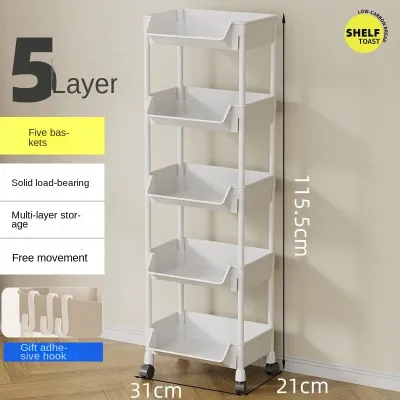
Prices are valid at publication and may change. Please refer to the product page for the latest price.
Magnetic slim shelf organizers offer an exceptionally stable and convenient alternative, provided you have a compatible surface. These units utilize high-strength permanent magnets integrated into the back of the shelf frame to cling to ferromagnetic metals. The primary advantage of magnetic mounting is its complete reversibility; you can reposition or remove the shelf instantly without leaving any sticky residue or surface marks. However, this system is strictly limited to surfaces containing iron, nickel, or cobalt, such as the side panels of a refrigerator, a steel washing machine housing, or metal utility cabinets. It will not adhere to aluminum appliances, stainless steel with low magnetic permeability, or standard painted drywall.
Tension rod and over-the-door organizers utilize mechanical pressure and gravity rather than chemical or magnetic bonds. Tension-based systems feature adjustable rods with internal springs or threaded expansion screws that push outward against two solid, parallel structures, such as opposing walls in a shower niche or the inner frames of a built-in cabinet. Over-the-door organizers, on the other hand, use flat metal brackets that hook over the top edge of a standard door frame, allowing the shelf assembly to hang vertically. Both of these mechanical options provide excellent stability for heavier items, but they require careful assessment of your condo’s architectural clearances and structural integrity to ensure a secure fit.
Key Selection Criteria for Condo Spaces
When space is at a premium, precise physical measurements are the foundation of a successful storage upgrade. Before browsing online marketplaces or local home improvement stores, you must measure the exact width, depth, and height of the gap where you plan to place the organizer. In many Philippine condos, the space between a refrigerator and a kitchen counter, or the gap next to a bathroom vanity, can be as narrow as 15 to 20 centimeters. Choosing a slim shelf organizer that matches these tight dimensions ensures you can slide the unit into place without forcing it or scraping adjacent surfaces.

Beyond the static dimensions of the gap itself, you must evaluate how the organizer interacts with the surrounding environment and daily foot traffic. A shelf that protrudes too far into a narrow hallway or a bathroom walkway can create a physical hazard, leading to accidental bumps that might dislodge a no-drill mount. Measure the swing radius of nearby doors, cabinet fronts, and drawer slides to confirm that the installed shelf will not obstruct their movement. Additionally, consider the height of the items you plan to store; tall bottles of shampoo or cooking oils require adequate vertical clearance between shelves to prevent tipping when you reach for them.
Evaluating the durability of a slim shelf organizer in a tropical climate requires looking beyond basic material names like “metal” or “wood.” The high relative humidity experienced throughout the Philippines can quickly degrade low-quality finishes, leading to rust on steel frames or mold growth on untreated wooden components. Instead of assuming a product is durable, inspect the manufacturer’s specifications for protective coatings, such as powder-coated steel, anodized aluminum, or water-resistant plastic polymers. Examine the structural joints and assembly points to ensure they are welded securely or fastened with rust-resistant hardware, which prevents the frame from sagging or warping under load over time.
Evaluating Adhesive and Magnetic Shelf Options
To prevent costly accidents and protect your rental property, you must carefully verify the manufacturer’s specifications for any adhesive or magnetic shelf you consider. Always check the product label for the maximum load capacity, which is typically rated under ideal laboratory conditions. For adhesive shelves, pay close attention to the required curing time before placing any items on the unit. Many high-strength adhesives require a full 24 to 48 hours to cure and establish a secure bond with the wall surface; loading the shelf prematurely is the most common cause of adhesive failure and subsequent wall damage.
Identifying unsuitable wall surfaces is a critical step in avoiding paint damage and broken belongings. Standard latex-painted drywall, delicate wallpaper, and highly textured or porous stone tiles are generally incompatible with heavy-duty adhesives. The adhesive can bond so strongly to the outer layer of paint or paper that the weight of the shelf will pull the finish clean off the wall, resulting in an unsightly patch and potential repair fees of several thousand pesos (₱) deducted from your security deposit. If your condo walls feature textured plaster or matte paint, adhesive shelves should be avoided in favor of freestanding or tension-based alternatives.
For magnetic organizers, the key to safety lies in verifying both the magnetic surface area and the depth of the shelf itself. A slim magnetic shelf with a shallow depth keeps the center of gravity close to the mounting surface, minimizing the risk of the shelf sliding downward under weight. If a magnetic shelf is too deep, placing heavy items near the outer edge creates a lever effect that can pull the top magnets away from the metal surface, causing the entire unit to flip or slide. Look for models that feature a continuous, rubber-coated magnetic backing sheet rather than small, isolated magnet discs, as the rubber coating increases friction and prevents scratches on your appliances.
Assessing Tension Rod and Over-the-Door Alternatives
Tension rod and over-the-door organizers offer robust storage capacity, but their performance depends heavily on the structural strength of your condo’s fixtures. When planning a tension rod installation, measure the exact distance between the opposing walls or cabinet panels and compare it to the rod’s adjustment range. Ensure that the contact points are structurally solid; thin plastic cabinet walls, hollow-core doors, or lightweight drywall panels can flex, warp, or even crack under the intense outward pressure required to keep a tension rod secure. Solid concrete walls, tiled surfaces, and heavy wooden frames are the ideal supports for tension-based systems.
For over-the-door organizers, you must check both the thickness of your door and the clearance of the top hinge gap. Standard interior doors in Philippine condos typically measure between 35 and 40 millimeters in thickness, but variations exist. If the organizer’s hanging brackets are too narrow, they will not fit over the door; if they are too wide, the shelf will wobble and slide horizontally every time the door is opened or closed. Furthermore, verify that there is at least a two-millimeter gap between the top of the door and the frame so the bracket does not scrape the paint or prevent the door from latching properly.
Because both tension rods and over-the-door brackets rely on physical contact and friction to stay in place, evaluating the quality of their contact pads is essential. Smooth surfaces like polished ceramic tiles, glass, or high-gloss paint offer very little natural grip, making tension rods prone to gradual slippage over time. Look for organizers equipped with thick, non-slip silicone or textured rubber end caps. These pads not only maximize friction to prevent the rod from sliding down under a heavy load but also act as a protective barrier that prevents the metal ends of the rod from leaving permanent scuffs or dents on your walls.
Installation and Safety Checks for Renters
A successful, damage-free installation begins with meticulous surface preparation, which is often the deciding factor in whether a no-drill shelf succeeds or fails. Before applying any adhesive pad or positioning a tension rod, clean the target area thoroughly to remove grease, dust, soap scum, and moisture. Use a clean microfiber cloth dampened with isopropyl alcohol to sanitize the surface, then allow it to dry completely. Avoid using household glass cleaners or multi-surface sprays, as these often leave behind a thin chemical residue that can interfere with the adhesive’s chemical bond or reduce the friction needed for tension mounts.
Once the organizer is physically mounted, implement a gradual loading process to safely test its structural stability. Instead of immediately filling the shelf to its maximum capacity with heavy glass jars or ceramic mugs, start by placing a few lightweight, non-fragile items on the unit. Monitor the shelf closely over the first 24 to 48 hours, checking for any signs of sagging, peeling adhesive, or sliding brackets. If the organizer remains perfectly stable and level, you can gradually introduce heavier items, always keeping the total weight well below the manufacturer’s recommended maximum limit to account for daily wear and tear.
Finally, always prioritize safety and property preservation over convenience. If you encounter a situation where your condo’s wall material is unknown, feels fragile, or if the manufacturer’s installation instructions conflict with the physical reality of your space, stop the installation immediately. Do not attempt to force a tension rod into a questionable gap or apply heavy-duty adhesive to a flaking painted wall. In these scenarios, it is always best to consult your property manager or a qualified professional to explore alternative storage solutions, ensuring your living space remains safe and your rental agreement is fully respected.
Frequently Asked Questions (FAQ)
How do I remove adhesive shelves without damaging condo paint?
To remove an adhesive shelf safely, always consult the manufacturer’s product manual first for any specific removal guidelines or recommended solvents. If the shelf material and wall surface permit, you can use a handheld hairdryer on a low-to-medium heat setting to gently warm the adhesive backing. The heat softens the chemical polymers in the adhesive, making it more pliable. Once warmed, slowly and gently peel the adhesive pad away from one corner, using a thin plastic scraper, an old credit card, or a piece of dental floss slid behind the pad to help separate it from the wall. If you feel significant resistance or notice the paint beginning to crack or lift, stop immediately and seek professional advice to avoid tearing the drywall surface.
Can tension rod shelves hold heavy bathroom supplies?
The weight-bearing capacity of a tension rod shelf depends entirely on its design, and you must refer strictly to the manufacturer’s stated maximum load capacity printed on the product packaging. Tension-based systems are generally engineered to support lightweight to medium-weight items, such as plastic shampoo bottles, sponges, and hand towels. When installing the shelf, observe the rod’s behavior closely; if you notice any bowing, bending, or sliding down the wall when items are added, the weight limit has been exceeded. To maintain safety and prevent the shelf from collapsing, immediately remove the heavier items and redistribute them to stable, floor-standing units or countertops, reserving the tension shelf for lighter essentials.
Community discussion
Share your experience or ask a question. Comments are reviewed before publication.