
Finding the perfect metal rack for sari sari store setups requires balancing maximum inventory visibility with customer safety and movement. In a compact retail environment, the ideal shelving solution is typically a single-sided boltless rivet rack or a slotted angle rack with a shallow shelf depth of 30 to 45 centimeters (12 to 18 inches) and a height of 150 to 180 centimeters (5 to 6 feet). This configuration maximizes your vertical display space for fast-moving consumer goods while keeping walkways clear and open.
By selecting the right dimensions and structural designs, you can transform a cramped, cluttered space into an organized, high-yield micro-grocery. Making the correct choice involves evaluating your specific floor plan, understanding how different rack types support your merchandise, and applying precise clearance rules to keep your store safe and accessible.
Understanding Space and Layout Constraints in a Sari-Sari Store
Sari-sari stores in the Philippines are unique retail environments, often carved out of a residential garage, a front porch, or a ground-floor living room. This dual-purpose setup means your retail footprint is intimately connected to your household. Every square meter must work twice as hard to display a wide variety of daily essentials—from individual shampoo sachets to heavy canned goods—without encroaching on your family’s living areas.
Products mentioned in this guide
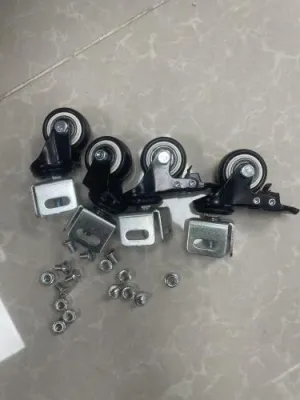
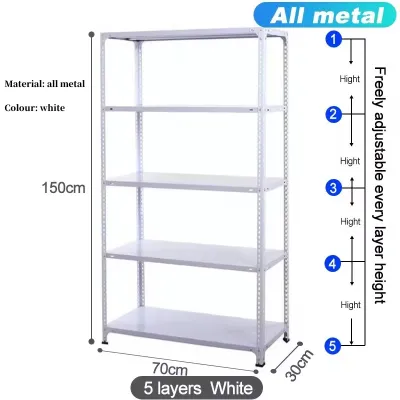
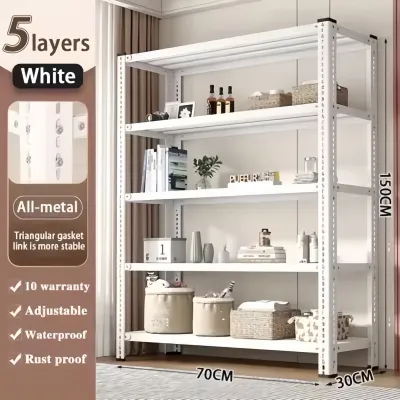
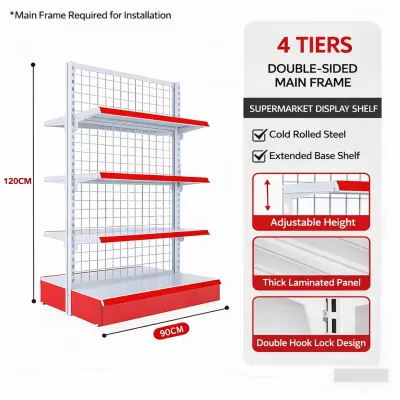
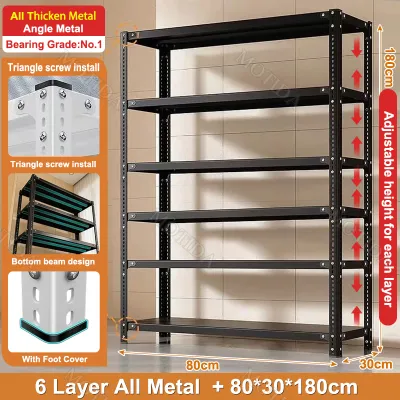
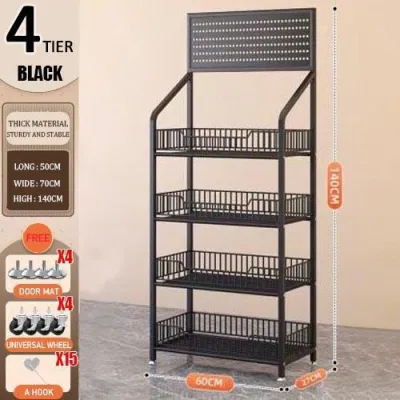
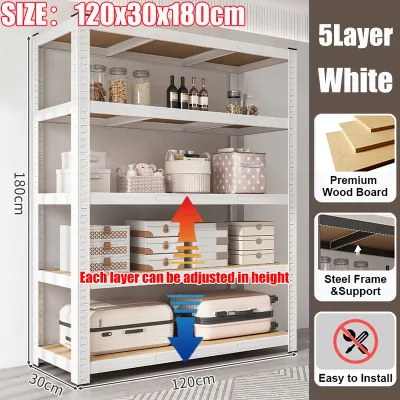
Prices are valid at publication and may change. Please refer to the product page for the latest price.
Customer flow is the lifeblood of your store’s daily operations. If you allow customers to step inside your store rather than serving them through a front window, you must design a layout that prevents bottlenecks near the main service counter. Clear sightlines are also a critical security requirement. You need a direct, unobstructed line of sight from your cash register or counter to every corner of the room to monitor inventory and prevent pilferage.
Optimizing a small space requires a clear distinction between dead space and active display space. Dead space includes awkward corners, areas behind swinging doors, or high zones near the ceiling that are out of reach for the average customer. Active display space is your primary sales driver, concentrated in the “golden zone” between eye level and waist level. Strategically placing a metal rack allows you to reclaim dead wall space and convert it into active, high-visibility display zones that encourage impulse purchases.
Recommended Metal Rack for Sari Sari Store Layouts in Tight Spaces
Choosing the right structural type of metal rack depends on your budget, how often you plan to rearrange your store, and the weight of your inventory. When purchasing shelving in the Philippines, remember that a material label like “steel” or “iron” does not automatically guarantee long-term durability. In our highly humid tropical climate, you must check the manufacturer’s specifications for a durable powder-coated or galvanized finish to prevent rust. Inspect the welded joints for smooth, complete coverage, and follow the manufacturer’s care instructions to keep the metal dry.

Boltless rivet racks are incredibly popular for small stores because they require no special tools to assemble; you simply tap the components together using a rubber mallet. They offer excellent structural rigidity and high load capacities, making them ideal for holding heavy cases of soft drinks, cooking oil, or condiments. Slotted angle racks, assembled using nuts and bolts, take longer to set up but are highly customizable and generally more budget-friendly. Commercial gondola shelving is the premium option, featuring solid back panels and adjustable bracket shelves that look highly professional, though they carry a higher price tag and a heavier footprint.
Adjustable shelf heights are non-negotiable in a sari-sari store. Your inventory will constantly shift between tiny sachet cards, canned sardines, instant noodles, and large detergent bottles. Racks with fixed shelves waste valuable vertical space because you are forced to leave empty gaps above shorter items. Look for metal frames that allow you to adjust shelf levels in increments of 5 centimeters (2 inches) or less to keep your products neatly packed and organized.
Stability is a major safety concern in narrow retail spaces. Tall, narrow racks have a high center of gravity, especially when loaded with goods. To prevent catastrophic tip-overs, you must anchor your racks securely. If you have concrete walls—common in local construction—use heavy-duty masonry expansion bolts to secure the top frame of the rack directly to the wall. For wooden or lightweight drywall backings, locate the structural studs before anchoring.
Wall-Mounted and Single-Sided Racks
Single-sided metal racks are designed to sit completely flush against your store’s perimeter walls. This layout is the most space-efficient choice for small stores because it keeps the center of the room entirely open for customer movement and ventilation. Utilizing your walls prevents the store from feeling claustrophobic and preserves natural light coming from windows or the main storefront opening.
When choosing shelf depth for wall racks, match the shelf to the product turnover rate. Use shallow shelves (30 centimeters deep) for lightweight, high-turnover items like snack bags, sachets, and instant coffee packs. This prevents products from getting lost at the back of a deep shelf. Reserve deeper shelves (45 to 60 centimeters) near the bottom of the rack for bulkier, heavier goods like multi-packs of bottled water, laundry detergents, or wholesale boxes.
Double-Sided and Center Aisle Racks
Double-sided racks, also known as island gondolas, allow customers to browse merchandise from both sides of a single unit. This setup is only viable if your store has at least 2.4 to 3 meters of total interior width. If your space is narrower, a center rack will choke your floor plan, making it impossible for customers to pass one another or browse comfortably.
If you do have the space for a center aisle display, keep the rack height low—ideally between 120 and 135 centimeters (4 to 4.5 feet). Lower-height center racks ensure you maintain clear sightlines across the entire store. This helps you monitor the shop for security, allows natural light and breeze from electric fans to circulate, and prevents customers from feeling boxed in.
Ideal Dimensions and Clearance Guidelines
Selecting the right dimensions for your store’s metal racks requires a careful balance of product size, vertical accessibility, and aisle clearance.
- Rack Depth: To select the perfect rack depth, measure your most common product packaging. Standard canned goods and condiment bottles fit comfortably on 30-centimeter (12-inch) shelves. If your shelves are too deep, products get pushed to the back, out of sight and out of reach, leading to expired inventory. Furthermore, deep shelves overhang into your precious walking paths, creating physical hazards where customers might bump their knees or hips.
- Rack Height: Vertical storage is your best friend in a small space, but you must balance capacity with accessibility. A rack height of 180 centimeters (6 feet) is generally the maximum practical limit for a self-service store, as the average customer can comfortably reach items up to this height. If you go taller, the top shelves become dead storage space that requires a step stool to access. Additionally, ensure your racks stand at least 30 to 45 centimeters below your ceiling fixtures, light bulbs, and ceiling fans to avoid blocking light or creating safety hazards in the tropical heat.
- Aisle Clearance: Your aisles must accommodate human movement, not just standing bodies. The absolute minimum clearance for a single customer to walk through is 76 centimeters (30 inches). However, to allow a customer to bend down comfortably to inspect items on the bottom shelf while another person squeezes past, you need an aisle width of 90 to 105 centimeters (36 to 42 inches). Before finalizing your layout, consult local building codes or municipal fire safety guidelines in your barangay, as small commercial spaces must maintain clear egress paths in case of emergencies.
- Delivery and Assembly Clearance: Do not buy a pre-assembled metal rack without measuring your entry points first. Measure the width and height of your store's entrance, doorways, hallways, and any tight turns or stairs. If you purchase a boltless or slotted angle rack, it will likely arrive flat-packed. Ensure you have a clear, flat area inside the store of at least 2 by 2 meters to safely lay out the parts and assemble the frame.
Step-by-Step Measurement and Floor Planning
Before spending your hard-earned pesos on shelving, you must create a precise floor plan. Grab a steel measuring tape, a piece of grid paper, and a pencil to map out your store’s exact footprint.
- Measure the Perimeter: Measure the length of every wall from corner to corner. Note the exact location of doors, windows, and the service counter, including the direction doors swing open.
- Locate Outlets and Fixtures: Mark the positions of electrical outlets, light switches, wall fans, and fuse boxes. You must never place a metal rack directly in front of these fixtures, as you need continuous, unobstructed access to them.
- Identify Structural Obstacles: Check for structural pillars, exposed plumbing pipes, or uneven concrete floors. If your floor is uneven—a common issue in older residential conversions—you will need to purchase metal racks with adjustable leveling feet or use heavy-duty shims to ensure the rack stands perfectly vertical.
- Create a Tape Mock-Up: Use blue painter's tape or masking tape to outline the exact footprint of your proposed metal racks directly onto your store's floor. Walk through the taped-out aisles. Pretend to pick up items from the shelves, carry boxes, and interact with the counter. This physical test is the most reliable way to identify tight spots before making a purchase.
Common Sizing and Layout Mistakes to Avoid
Avoiding common layout traps will save you time, money, and physical strain while keeping your customers happy.
- Overestimating depth: Many store owners buy deep warehouse-style racks thinking they can store more inventory. In reality, deep shelves lead to "hidden" stock that expires before it can be sold, while simultaneously stealing valuable floor space from your customers. Stick to shallow shelves for small retail items.
- Ignoring vertical clearance: Placing a tall metal rack directly under an active ceiling fan or too close to a hot fluorescent light bulb is a major fire and safety hazard. Keep a safe distance between the top of your racks and all ceiling fixtures.
- Blocking the entry zone: Your store's entrance is the "decompression zone." Placing a tall, bulky metal rack right inside the door blocks natural light, restricts customer entry, and creates a cluttered, uninviting first impression. Keep the entrance open and place lower-profile displays near the front.
- Neglecting weight distribution: Always check the manufacturer's maximum load specifications per shelf before stocking. A common mistake is placing heavy items like multi-packs of canned sodas, 1-liter cooking oil bottles, or bags of rice on the upper shelves. This raises the rack's center of gravity and creates a severe tipping hazard. Always place your heaviest items on the bottom shelf and lighter items, like snack chips and sachets, on the top shelves.
Community discussion
Share your experience or ask a question. Comments are reviewed before publication.