
Maximizing vertical space in a compact condominium in the Philippines requires creative storage solutions that do not compromise your security deposit. Because drilling into concrete walls or drywall is often strictly prohibited by lease agreements or condominium association rules, no-drill mini cabinets have become essential organizational tools. These units utilize heavy-duty adhesives, magnetic backings, or tension-rod pressure systems to secure storage compartments without leaving permanent holes. However, selecting the right no-drill cabinet is not merely a matter of aesthetic preference; it requires a thorough understanding of how these mounting mechanisms interact with your specific wall surfaces and the local tropical climate.
In cities like Metro Manila, Cebu, or Davao, condo living often means dealing with limited square footage, high relative humidity, and concrete structural walls that are notoriously difficult to drill into even if permitted. A well-chosen mini cabinet can transform underutilized wall space in your kitchen, bathroom, or entryway into functional storage for daily essentials. By opting for a damage-free mounting method, you preserve the integrity of your walls while gaining the flexibility to reconfigure your layout as your storage needs evolve.
To ensure your storage solution is both safe and durable, you must evaluate the physical limits of each mounting type. No-drill systems rely on friction, adhesion, or magnetic attraction to counteract gravity, meaning they have lower weight capacities than traditional stud-mounted cabinets. Understanding these mechanical boundaries is the first step toward preventing costly accidents, such as a cabinet falling and damaging your flooring, appliances, or personal belongings.
Products mentioned in this guide
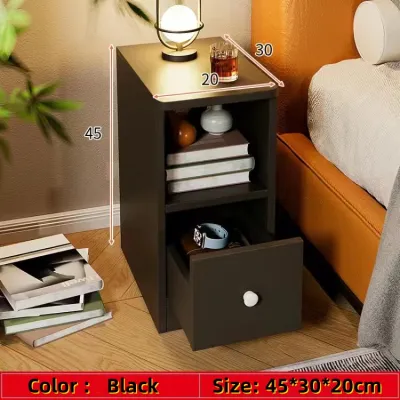
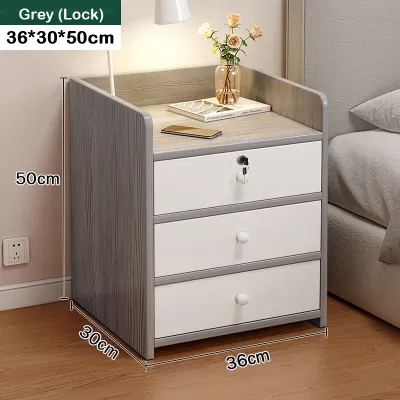
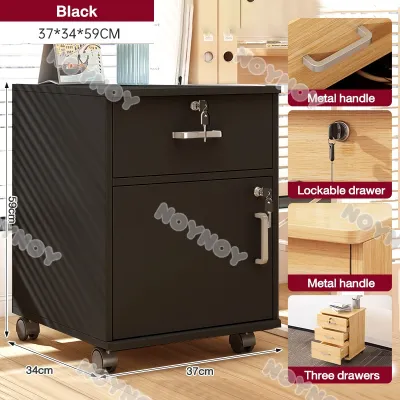
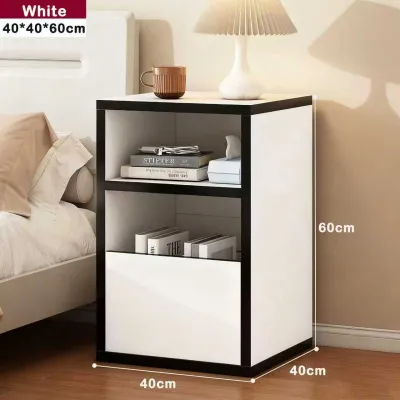
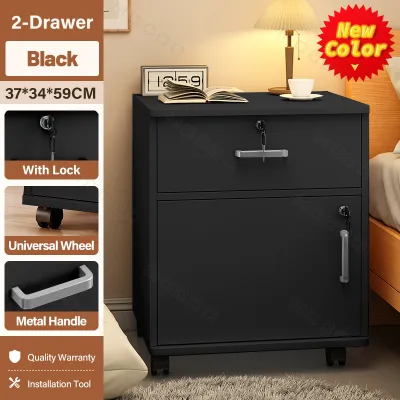
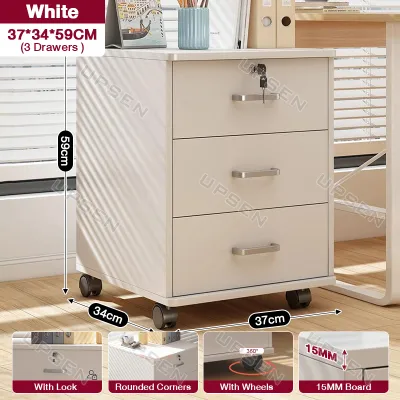
Prices are valid at publication and may change. Please refer to the product page for the latest price.
Comparing Adhesive, Magnetic, and Tension Mounting Types
Adhesive-mounted mini cabinets are highly popular for their clean, floating appearance and versatility. These systems typically use double-sided acrylic foam tapes or specialized silicone-based liquid adhesives to bond the cabinet bracket directly to the wall. They perform exceptionally well on smooth, non-porous surfaces such as glazed ceramic tiles, glass, polished stone, and flat metal panels. Before loading an adhesive cabinet, it is critical to verify the manufacturer’s specified curing time, which often ranges from 24 to 72 hours. In the humid Philippine climate, allowing the adhesive to cure fully without any weight load is vital, as moisture in the air can slow down the bonding process of certain chemical adhesives.
Magnetic mini cabinets offer an incredibly secure and instantly adjustable storage option, but their application is strictly limited to ferromagnetic metal surfaces. These units are ideal for mounting on the sides of refrigerators, steel washing machines, or metal utility doors commonly found in condo laundry areas. The load capacity of a magnetic cabinet depends on the surface area of the magnet, the thickness of the host metal, and the weight of the cabinet itself. When selecting a magnetic unit, look for models that feature protective rubber or silicone coatings over the magnets; this prevents the metal backing from scratching or scuffing the paint finish of your appliances during installation or adjustment.
Tension-rod or floor-to-ceiling storage systems provide a robust alternative that does not rely on wall adhesion or magnetic surfaces. These systems use a vertical spring-loaded or screw-expandable pole that wedges securely between the floor and the ceiling, or between a countertop and an upper cabinet. Because they rely on structural pressure and vertical stability, they are highly effective for corners, narrow gaps, or spaces adjacent to bathroom vanities. However, tension systems require flat, solid contact points at both ends. It is essential to verify that your ceiling is solid concrete or a reinforced structural joist, as installing a high-pressure tension rod against unreinforced gypsum board or suspended acoustic tiles can cause the ceiling material to crack or puncture.
Evaluating Condo Wall Surfaces and Space Constraints
Before purchasing any no-drill mini cabinet, a precise assessment of your wall surfaces is necessary to prevent installation failures. Painted concrete walls, which are standard in many Philippine condominiums, present a unique challenge for adhesive mounts. If the bond between the adhesive and the paint is stronger than the bond between the paint and the underlying concrete, the weight of the cabinet can cause the paint to peel away, resulting in a sudden fall and wall damage. Textured finishes, such as stucco or orange-peel paint, reduce the contact surface area of adhesive tapes, making them highly prone to failure. Similarly, wallpapered walls should never be used for adhesive mounts, as the paper will tear under the shear stress of a loaded cabinet.

Measuring your physical space goes beyond checking the width and height of the wall area. You must carefully measure the finished dimensions of the cabinet, including the swing radius of any cabinet doors and the full extension depth of drawers. In tight condo layouts, an improperly placed cabinet can obstruct walkways, prevent nearby doors from opening fully, or block access to light switches, electrical outlets, and air conditioning vents. Ensure there is adequate clearance for comfortable movement around the unit, especially in high-traffic zones like hallways or narrow kitchens.
Additionally, review your condominium corporation’s tenant handbook or lease agreement regarding unit modifications. While no-drill options are generally permitted, some strict property management offices may still penalize tenants for adhesive residues that stain the walls or pressure marks left by tension rods on delicate ceilings. Understanding these rules beforehand allows you to select the least intrusive mounting method and plan for a damage-free removal process when your lease ends.
Essential Selection Criteria for Safe and Practical Storage
When comparing no-drill mini cabinets, weight capacity and load distribution are the most critical safety factors. Always check the manufacturer’s specifications for the maximum load limit, keeping in mind that these ratings are typically calculated under ideal conditions on perfect surfaces. To ensure stability, practice proper load distribution by placing the heaviest items at the bottom of the cabinet to keep the center of gravity as low as possible. Avoid overloading the front of drawers or shelves, as this creates a pulling force that can peel adhesives or destabilize tension poles.
Material selection must be guided by the specific environment of your condo. In high-humidity areas like bathrooms or un-airconditioned kitchens, standard particle board or medium-density fiberboard (MDF) without proper sealing can absorb moisture from the air, leading to swelling, warping, and mold growth. Instead of relying solely on the base material name, inspect the quality of the surface treatments, edge banding, and hardware. Look for cabinets with water-resistant laminate finishes, fully sealed edges, and rust-resistant hardware, such as stainless steel or powder-coated aluminum, to withstand the tropical climate.
Consider the spatial logistics of assembly and installation within a confined condo unit. Large, heavy, or overly complex flat-pack cabinets can be difficult to assemble in a small space and may be too heavy for no-drill mounting methods. Opt for lightweight, pre-assembled, or easily assembled modular units that can be maneuvered through standard doorways, passenger elevators, and narrow corridors without difficulty.
Finally, conduct a realistic budget and value assessment. While high-quality adhesive tapes, specialized tension systems, or rust-resistant materials may carry a higher price tag in ₱, they offer greater reliability and safety. Investing in a well-engineered mounting system is far more cost-effective than purchasing a cheap, unstable cabinet that risks falling, destroying your stored items, and incurring expensive wall repair fees that could be deducted from your security deposit.
Installation, Load Testing, and Damage-Free Removal
Proper surface preparation is the foundation of a successful adhesive installation. Begin by cleaning the wall area thoroughly with isopropyl alcohol to remove any accumulated dust, grease, or oil. Avoid using household glass cleaners or detergents, as they often leave behind a thin residue that compromises the adhesive bond. Allow the surface to dry completely. In humid conditions, you can use a hairdryer on a cool setting to ensure no moisture remains trapped on the wall surface before applying the adhesive brackets. Press the adhesive firmly against the wall for at least thirty seconds to activate the pressure-sensitive bond.
Once the mounting brackets are in place, resist the urge to load the cabinet immediately. Implement a progressive load testing procedure over several days. After the initial curing period recommended by the manufacturer, hang the empty cabinet and observe it for 24 hours. Gradually add lightweight items, monitoring the mounting points daily for any signs of adhesive creep, peeling paint, or structural shifting. If you notice any sagging or separation, remove the items immediately to prevent a catastrophic fall.
When it is time to move out or reposition your storage, safe removal techniques will protect your walls from damage. For adhesive mounts, use a hairdryer on a medium heat setting to gently warm and soften the adhesive backing. Once softened, slide a piece of dental floss or a thin plastic putty knife behind the bracket, working slowly from the top down to slice through the adhesive. Avoid pulling the bracket directly outward, as this is highly likely to tear the drywall paper or peel the paint.
It is crucial to recognize when to stop and consult a professional or alter your storage plans. If you observe cracking drywall, bulging plaster, or loose wall tiles during installation or load testing, the wall structure itself may be compromised or unsuitable for supporting any vertical load. Halting the installation immediately and seeking professional advice can prevent severe property damage and ensure your living space remains safe and secure.
Frequently Asked Questions (FAQ)
Can adhesive mini cabinets hold heavy items like books or appliances?
Adhesive mini cabinets are generally not suitable for heavy items such as books, large kitchen appliances, or heavy ceramic tableware. These items exert a continuous downward shear force that can easily exceed the holding capacity of double-sided tapes or liquid adhesives over time. Adhesive mounts are best reserved for lightweight essentials, including toiletries, spices, keys, or small decorative items. Always check the manufacturer’s rated weight capacity and apply a conservative safety margin, keeping the total load well below the maximum limit.
Will tension-rod cabinets damage the ceiling or floor in a condo?
Tension-rod cabinets can potentially damage ceilings or floors if they are over-tightened or installed against delicate materials. To prevent surface dents, scratches, or drywall punctures, ensure the contact points are equipped with soft, non-marking rubber or silicone protective pads. Avoid installing tension systems against hollow suspended ceilings, thin gypsum boards, or decorative plaster moldings. Always position the tension pole against a solid concrete slab or directly beneath a structural ceiling joist to distribute the pressure safely.
How do I remove adhesive residue from painted condo walls safely?
To remove stubborn adhesive residue without damaging painted walls, start by applying a small amount of isopropyl alcohol, warm soapy water, or a mild commercial adhesive remover to the residue. Always test the solvent on a hidden, inconspicuous area of the wall first to ensure it does not discolor or dissolve the paint. Let the solvent sit for a few minutes to soften the adhesive, then gently rub it away with a microfiber cloth or a plastic scraper. Avoid using abrasive scrubbing pads or metal blades, which can easily scratch the paint finish.
Community discussion
Share your experience or ask a question. Comments are reviewed before publication.