
Prioritizing adjustable features on a drafting table depends entirely on your creative medium and physical workflow. For detailed technical drawing or watercolor painting, a highly responsive tilt mechanism and a secure pencil ledge are paramount. For multi-medium artists who alternate between sitting and standing, a robust, stable height-adjustment system takes precedence. In the humid tropical climate of the Philippines, choosing a table with moisture-resistant finishes and stable joints is just as critical as selecting the right mechanical features.
Matching Adjustable Features to Your Creative Workflow
Your daily creative routine dictates which adjustable features deserve the largest portion of your budget. If your work primarily involves fluid mediums like watercolor, you require a table that can transition quickly to a flat plane to prevent pooling, alongside subtle tilt increments. Technical drafters and architects, on the other hand, need a reliable, lockable incline that remains absolutely rigid under the constant pressure of heavy rulers and T-squares.
Digital illustrators using large pen displays often benefit from a hybrid setup where the drafting table acts as an adjustable easel. A wide range of tilt angles reduces neck strain, while height adjustability can be deprioritized if you always work from a standard ergonomic task chair. General sketching and charcoal drawing require a moderate tilt but demand high surface stability to absorb the kinetic energy of vigorous hand movements.
Products mentioned in this guide
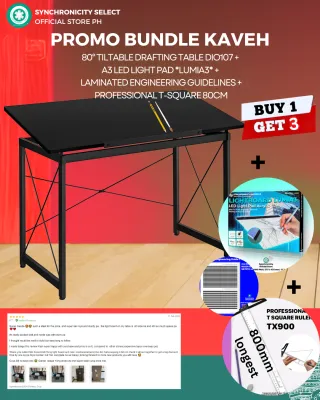
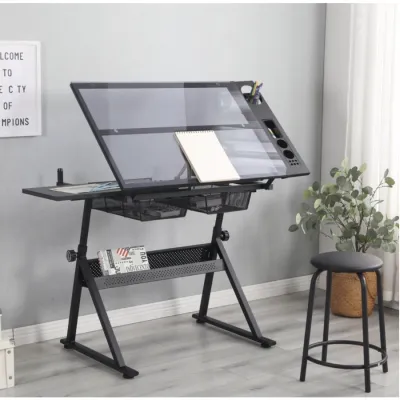
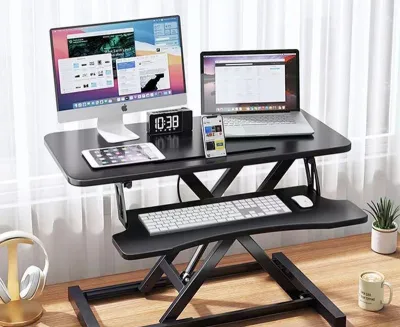
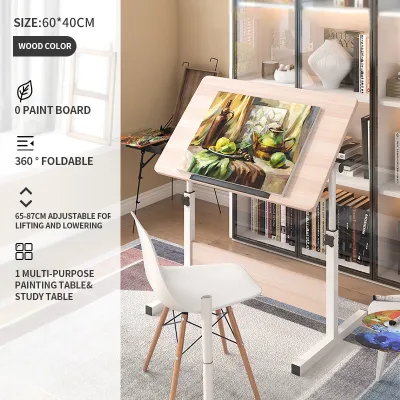
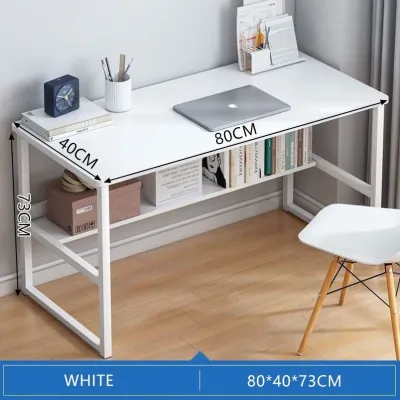
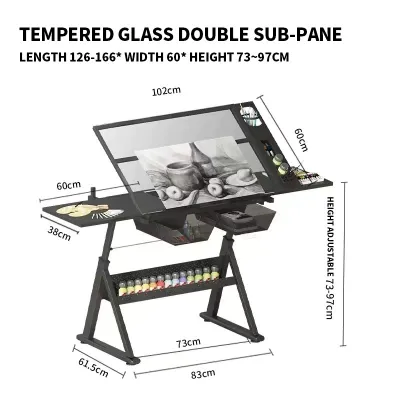
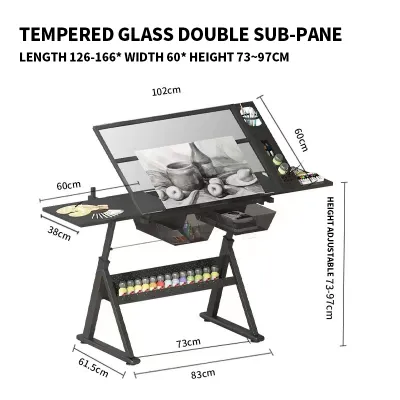
Prices are valid at publication and may change. Please refer to the product page for the latest price.
Consider how often you will alter the table’s configuration during a single creative session. If you transition between sketching, painting, and digital editing multiple times a day, quick-release pneumatic systems are worth the investment. If you tend to set your preferred angle and keep it there for weeks, a simpler manual knob or notch system will suffice, allowing you to allocate your budget to a larger surface.
Decoding Tilt Mechanisms and Angle Ranges
The mechanism controlling the tilt of your drafting board directly impacts your daily comfort and the safety of your supplies. Manual adjustment systems, such as knobs, notches, or ratchets, are highly reliable and cost-effective but require you to physically support the weight of the tabletop while changing angles. This can become cumbersome if you frequently change positions or have heavy tools resting on the surface.

Pneumatic and gas-lift mechanisms offer smoother, near-effortless adjustments by utilizing pressurized cylinders to assist with the lifting force. These systems allow for precise, incremental changes under load, making them ideal for artists who frequently fine-tune their working angles. Counterweight systems provide exceptional balance and longevity but often require a larger physical footprint.
When the drafting board is inclined, keeping your tools and paper secure becomes a primary concern. Look for models featuring a built-in, adjustable pencil ledge that can be lowered flush with the surface when you need a completely flat workspace. Adjustable paper stoppers are also valuable additions, ensuring that delicate sheets do not slide off or crease when working at steep angles.
To verify the maximum tilt angle required for your medium, observe your natural working posture. Fluid mediums require a flat or very low incline to prevent running, while detailed sketching and calligraphy benefit from a steeper angle that brings the work parallel to your line of sight. Rather than focusing on extreme vertical angles, check that the locking mechanism holds the board absolutely rigid at your most common working angles.
Evaluating Height Adjustment and Ergonomic Range
Achieving proper ergonomics in your home studio requires a drafting table that accommodates your physical dimensions in both sitting and standing postures. Before purchasing, measure the seat height of your favorite studio chair or drafting stool, as well as the distance from the floor to your relaxed, bent elbows when sitting. If you plan to stand, measure your standing elbow height to establish the minimum and maximum height limits.
A common issue with adjustable-height furniture is the “wobble factor” when the frame is extended to its upper limits. When evaluating a drafting table, pay close attention to the width of the base and the thickness of the steel legs. A table with a wider footprint and heavy-duty leveling glides will maintain its structural integrity and resist swaying, even when raised to standing height on slightly uneven studio floors.
The physical effort required to raise and lower the table is another critical factor, especially if your setup includes heavy monitors, reference books, or clay modeling tools. Manual hand-crank systems offer a mechanical advantage that makes lifting manageable, though they require multiple turns to transition from sitting to standing. Electric or pneumatic lift assists provide the easiest transition but require proximity to a power outlet or regular maintenance to ensure smooth operation.
Selecting Surface Dimensions and Material Finishes
Your drafting table’s surface must be large enough to accommodate your standard paper or canvas sizes while leaving ample margin space for essential tools. If you regularly work on large-format sheets, ensure the tabletop provides at least several inches of clearance on all sides to allow for drafting tape, T-squares, and reference materials. A cramped workspace forces you to constantly rearrange your tools, interrupting your creative flow.
Surface materials must be selected based on the specific demands of your medium and the environmental conditions of your studio. In high-humidity environments like the Philippines, solid wood surfaces require careful sealing to prevent warping, while tempered glass or high-pressure laminates offer excellent resistance to moisture and are easy to wipe clean. Glass tops are highly favored for tracing and backlighting, though they can produce glare; look for frosted or textured glass options to minimize eye strain.
Secondary surface features, such as integrated side trays, supply cups, or sliding under-desk extensions, can help keep your active workspace clear of clutter. However, it is important to evaluate whether these additions add genuine value to your workflow or simply introduce unnecessary bulk to a compact home studio. Removable trays offer the greatest flexibility, allowing you to strip the table down to its clean, minimalist profile when working on expansive projects.
Verifying Footprint, Stability, and Assembly Requirements
Before finalizing your choice, carefully calculate the total operational footprint of the drafting table within your home studio. Remember that a tilting tabletop requires additional clearance behind the frame when fully inclined, and adjustable-height models may need extra vertical space to clear overhead shelving or light fixtures. Measure your doorways, hallways, and lift access to ensure the flat-packed boxes can be easily transported into your workspace.
The stability of the frame is paramount, particularly during vigorous sketching or when applying heavy pressure to the surface. Look for heavy-gauge steel frames with cross-bracing or reinforced joints, and verify the manufacturer’s stated weight capacity to ensure it can safely support your equipment. Investing in a table with robust construction prevents frustrating vibrations that can ruin fine line work or delicate brushstrokes.
Finally, consider the assembly complexity and long-term maintenance of the table. Many high-quality drafting tables require significant assembly time and basic hand tools; check if the package includes clear instructions and floor-protecting feet to prevent scratching your tiles or wooden floors. When budgeting for your purchase in Philippine Pesos (₱), factor in the potential need for replacement parts, such as tension knobs or glide pads, to ensure your investment remains functional for years to come.
Frequently Asked Questions (FAQ)
Can I use a drafting table as a regular computer desk?
Using a standard drafting table as a primary computer desk presents several ergonomic challenges, as keyboards, mice, and monitors will slide off an inclined surface. To use one comfortably for both digital and analog work, look for a dual-board configuration where a portion of the desktop remains flat while the other tilts. Alternatively, you can use a flat secondary attachment or a clamp-on monitor arm to keep your screen at eye level while keeping your keyboard on a level surface to maintain proper typing posture.
Do I need a drafting table with built-in storage?
Built-in storage drawers and side trays offer convenient, immediate access to your pencils, brushes, and rulers, but they also add weight and can limit your legroom. If you prefer to move freely around your table or use a wide drafting stool, a minimalist table paired with a separate rolling utility cart is often a more flexible solution. Separate storage keeps the table lightweight, easier to adjust, and allows you to rearrange your studio layout without moving a heavy, fully loaded desk.
Community discussion
Share your experience or ask a question. Comments are reviewed before publication.