
Fitting a 6 layers organizer rack into a small Philippine bedroom closet is an excellent way to maximize limited vertical space, but it requires careful planning to avoid a cramped, dysfunctional setup. When square footage is tight, every centimeter of your wardrobe must be utilized strategically to balance folded garments, hanging clothes, and storage bags. By understanding your closet’s exact physical limits and planning a layout that respects the natural drape of your clothing, you can transform a chaotic closet into an organized, highly accessible storage system. This guide provides the practical steps, layout strategies, and climate-conscious tips needed to integrate a multi-tiered rack seamlessly into your existing bedroom setup.
Measure Your Closet and the 6 Layers Organizer Rack First
Before purchasing any storage furniture or starting the assembly process, obtaining precise measurements of both your closet interior and your new organizer is critical. Start by measuring the internal height, width, and depth of your closet using a reliable steel tape measure. Do not simply measure from wall to wall; you must account for internal protrusions such as baseboards, door frames, support cleats, and internal hinges, as these elements can significantly reduce the actual usable width and depth.
The style of your closet doors plays a massive role in how much accessible depth you have. Sliding doors remain within their tracks but always block half of the closet opening at any given time, meaning you must position your organizer rack completely to one side to ensure you can reach every shelf. Swing doors require extra clearance because the door panels and their hinges can reduce the entry width and potentially catch on the front corners of the rack when closed.
Products mentioned in this guide
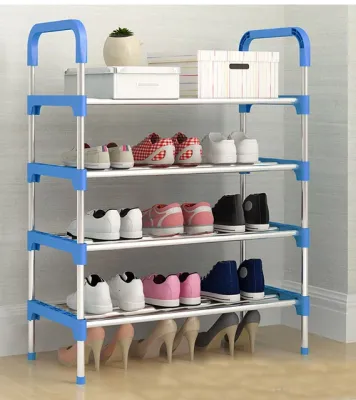
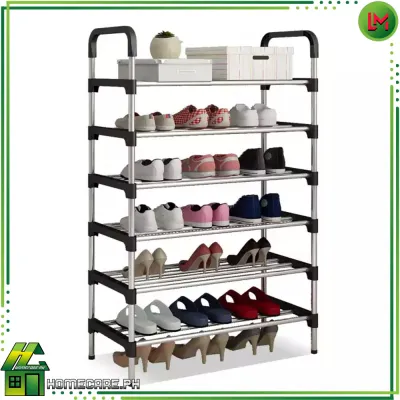
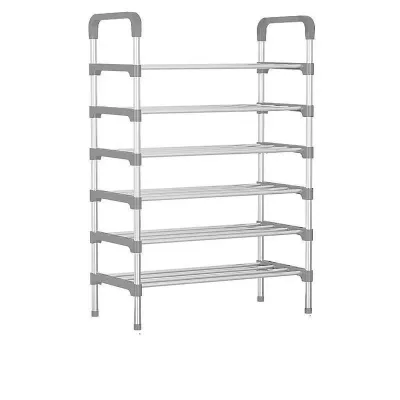
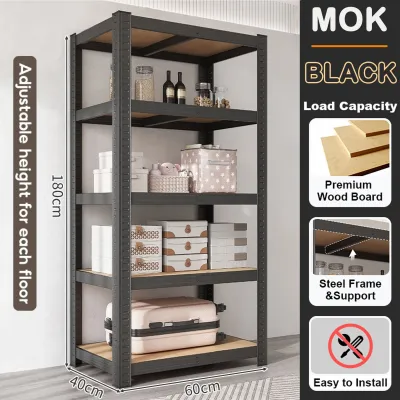
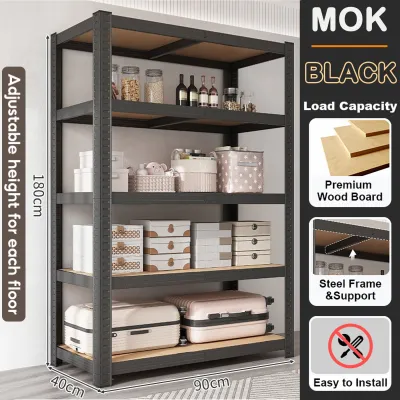
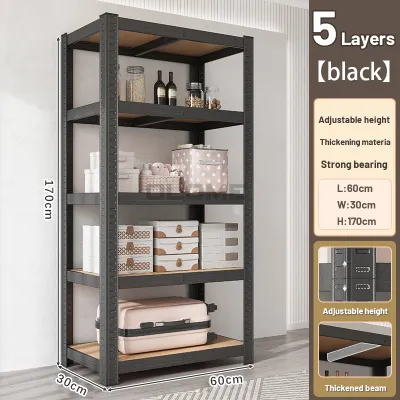
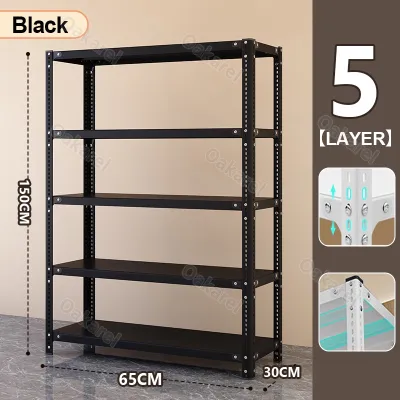
Prices are valid at publication and may change. Please refer to the product page for the latest price.
Always check the physical dimensions of the 6 layers organizer rack from the manufacturer’s official label or manual rather than relying solely on e-commerce product titles, which often round numbers for search convenience. Note the exact fully assembled height, width, and depth to ensure it aligns with your measured closet clearances.
Finally, measure the physical opening of your closet door and the surrounding bedroom hallway. An assembled rack that technically fits inside the closet shell might be impossible to maneuver through a narrow door frame or past a nearby bed frame. If the entry clearance is smaller than the assembled rack’s shortest dimension, you will need to plan on assembling the unit directly inside the closet cavity.
Layout Strategies for Coexisting with Hangers and Storage Bags
A small closet must serve multiple storage functions simultaneously without becoming overcrowded. Successfully integrating a 6 layers organizer rack means creating distinct zones so that folded items, hanging garments, and bulky storage bags do not compete for the same physical space.

Positioning the Rack Next to Hanging Clothes
To maximize efficiency, place your organizer rack directly adjacent to your hanging garments or underneath short-hanging items like folded trousers, skirts, and t-shirts. This layout takes advantage of the vertical dead space that naturally forms beneath shorter clothes, leaving the full-height sections of your closet open for long dresses, coats, or traditional barong tagalogs.
Maintain a clear physical gap of at least five to ten centimeters between your hanging clothes and the side of the organizer rack. If garments are packed tightly against the rack, constant fabric friction can wear down delicate fibers, transfer dust, and make it difficult to slide hangers along the closet rod.
Align the depth of the rack precisely with the natural drape of your hanging clothes. Standard hangers measure about 40 to 45 centimeters wide, but garments like jackets or structured shirts can extend further. Ensure the front edge of your rack does not protrude past this line, allowing your closet doors to glide or swing shut without catching on sleeves or fabric.
Integrating Storage Bags and Bulkier Items
Bulky items and seasonal storage bags require strategic placement to avoid cluttering your daily-use zones. Keep heavy or rarely accessed storage bags on the very top shelf of the closet or on the floor space next to the rack, reserving the easily reachable middle shelves of your 6 layers organizer rack for items you need every day.
Use the individual shelves of the rack to house smaller, structured storage boxes or fabric bins. This technique prevents loose, floppy bags from collapsing and creating visual clutter, while also making it easier to pull out specific categories of clothing without disturbing the rest of the shelf.
Avoid the temptation to pile heavy, oversized storage bags onto the top layer of the organizer rack. Placing excessive weight at the top of a tall, narrow structure raises its center of gravity, significantly increasing the risk of the rack tipping over or warping under stress within the confined closet.
Adapting to Humid Climates and Small Room Constraints
In the tropical climate of the Philippines, high humidity levels can quickly turn an enclosed closet into a breeding ground for mold, mildew, and musty odors. To combat this, never pack your 6 layers organizer rack to its absolute maximum capacity; leaving open air space around folded clothes allows vital air circulation that helps keep fabrics dry.
The material finish of your rack plays a critical role in its longevity under humid conditions. If you are using a metal rack, verify that it features a high-quality powder-coated finish to resist rust, or check that wood components are properly sealed against moisture absorption. Regularly inspect the joints and lower shelves for early signs of warping, bubbling paint, or rust spots, especially during the rainy season.
Dedicate a specific, stable corner on one of the lower shelves or the closet floor for moisture absorbers or refillable dehumidifying boxes. Ensure these containers are placed flat on a solid surface where they cannot be easily knocked over by sliding clothes or reaching hands, preventing chemical spills that could ruin your fabrics or damage the closet floor.
Common Space-Matching Mistakes to Avoid
One of the most common errors when installing a 6 layers organizer rack is ignoring the swing radius of closet doors or the protrusion of internal hinges. A rack that seems to fit perfectly when measured wall-to-wall can easily block a swing door from closing fully or prevent a sliding door from opening wide enough to access the drawers.
Another frequent oversight is assuming that hanging clothes hang completely flat against the rod. Bulky sweaters, thick jackets, and structured shirts naturally flare outward, occupying significantly more depth than a bare hanger. If you do not account for this extra volume, your hanging items will crush against the side of the rack, causing wrinkles and restricting access.
Never force an oversized or tightly fitting rack into a cramped closet space. Forcing the frame can scrape and scratch the closet’s interior paint or laminate, put destructive lateral pressure on the rack’s joints, and make it nearly impossible to clean behind the unit, while also creating a severe tipping hazard if the rack sits at an angle.
Step-by-Step Placement and Final Adjustment
Before beginning assembly, decide whether to build the rack inside or outside the closet. If your closet door opening is wide and has clear surrounding floor space, assembling the unit outside and sliding it in is much easier; however, if the doorway is narrow or the closet has an awkward layout, you must assemble the pieces directly inside the closet cavity.
Once the rack is positioned, check its stability. If your 6 layers organizer rack is equipped with adjustable leveling feet, spin them to compensate for any unevenness in your closet floor, ensuring the frame stands perfectly vertical and does not wobble when touched.
For tall, narrow racks that are prone to tipping when fully loaded, anchor the unit to the closet wall or adjacent solid panels. Always follow the manufacturer’s specific safety guidelines and use the provided mounting hardware to secure the frame, protecting your household from accidental tip-overs.
Conclude the installation with a thorough operational check of all moving parts. Open and close the closet doors completely, slide hangers along the rod, and pull out any drawers or storage bins on the rack to confirm that everything operates smoothly without rubbing, catching, or blocking access to your clothes.
Community discussion
Share your experience or ask a question. Comments are reviewed before publication.