
Integrating a heavy-duty shoe rack into a closet system in the Philippines requires balancing structural integrity with the unique demands of a tropical climate. High humidity, seasonal rains, and varying footwear styles—from lightweight sandals to heavy leather boots and wet-weather gear—demand storage solutions that resist warping, sagging, and corrosion. To find the most reliable organizer, you must look beyond generic marketing terms and evaluate the physical specifications of the rack, the load-bearing capacity of your closet walls or floors, and how the unit handles weight when fully loaded. A well-chosen system not only maximizes your storage space but also protects your footwear investment from moisture damage and structural deformation.
Key Criteria for Evaluating Heavy-Duty Shoe Racks
When shopping for a closet shoe organizer, the label “heavy-duty” is often used loosely by manufacturers. To ensure a rack can support a substantial collection without buckling, you must verify the actual weight capacity specifications. Look for products that explicitly state both the per-shelf load limit and the total weight capacity of the entire unit. A reliable heavy-duty rack typically supports at least 15 to 20 kilograms per shelf, but you should always verify these numbers against the manufacturer’s technical data sheet rather than relying on promotional descriptions.
The frame material and joint construction dictate the long-term stability of the organizer. Heavy-duty units generally feature thick-gauge steel, reinforced aluminum, or high-density engineered wood. For metal racks, welded joints offer superior rigidity compared to bolted connections, which can loosen over time under dynamic loads. If you select a bolted or modular system, inspect the quality of the fasteners and look for locking washers or reinforced corner brackets that prevent the frame from swaying or racking when nudged.
Products mentioned in this guide
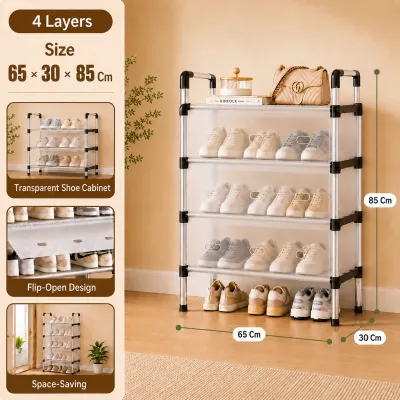
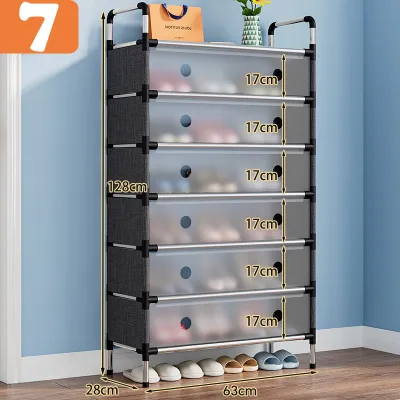
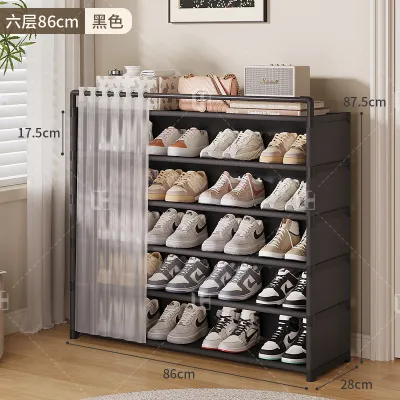
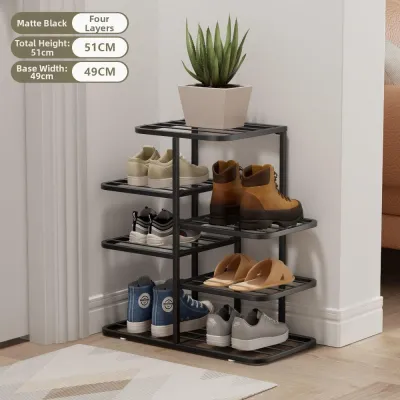
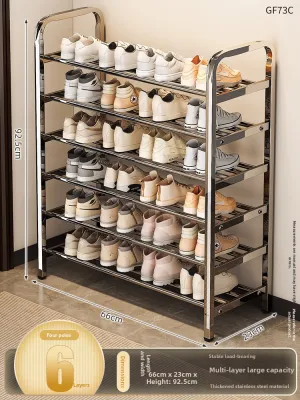
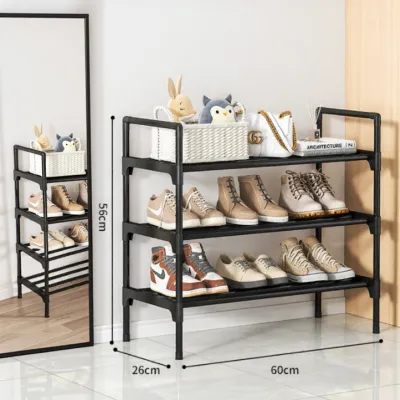
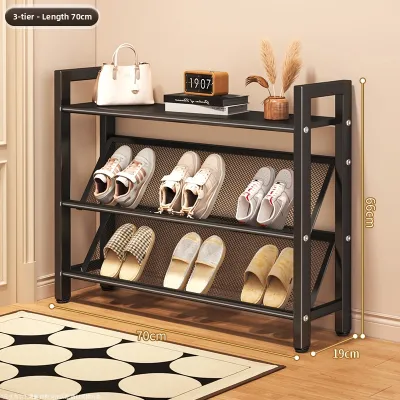
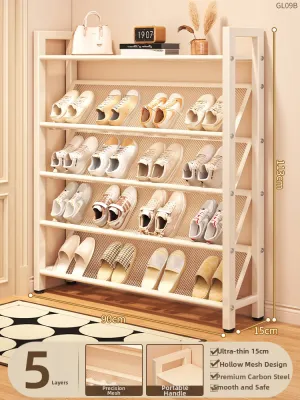
Prices are valid at publication and may change. Please refer to the product page for the latest price.
Shelf depth and adjustability are equally critical for maintaining an organized and functional closet. Standard shoes require a shelf depth of at least 30 to 35 centimeters to prevent heels or toes from overhanging. Overhanging footwear can obstruct sliding wardrobe doors or snag on hanging clothes, disrupting the flow of your closet system. Opt for systems with adjustable shelf heights, allowing you to customize the vertical clearance to accommodate flat shoes, sneakers, and tall boots without wasting valuable vertical space.
Finally, the surface finish of the rack plays a vital role in its durability, especially in humid environments. Metal components should feature a powder-coated or rust-resistant chrome finish to prevent corrosion from damp footwear or high atmospheric moisture. For wooden or engineered wood components, ensure all edges are fully sealed with PVC edge banding or water-resistant laminates to prevent the core material from absorbing moisture and swelling over time.
Compatible Shoe Rack Types for Closet Systems
Selecting the right shoe rack design depends heavily on your existing closet layout, available floor space, and how frequently you access your footwear. Different configurations offer distinct structural advantages, meaning a design that works well in a spacious walk-in wardrobe might fail in a shallow reach-in closet. By matching the physical mechanism of the rack to your closet’s structural constraints, you can maximize storage density while ensuring the system remains safe and easy to operate.

Pull-Out and Sliding Shoe Racks
Pull-out and sliding shoe racks are highly efficient for deep closets, as they bring rear-stored footwear into clear view with a simple pull. However, these systems require precise track clearance and robust mounting hardware to function smoothly under heavy loads. When planning a sliding installation, you must choose between side-mount and bottom-mount drawer slides. Side-mount slides generally offer greater lateral stability, whereas bottom-mount slides can support heavier vertical loads but require a perfectly level closet floor or shelf base to prevent binding.
Weight distribution becomes a critical safety factor when a sliding rack is fully extended. A fully loaded rack extending outward shifts the center of gravity forward, creating a significant tipping hazard if the closet system is not securely anchored to the wall. To mitigate this risk, look for sliding mechanisms equipped with soft-close dampeners and anti-tip locks that prevent the drawer from being pulled out too quickly or too far.
Additionally, you must verify the thickness and material density of the closet’s side panels before mounting sliding tracks. Thin or low-density particleboard panels can easily strip out under the constant dynamic force of pulling and pushing a heavy rack. For secure installation, the mounting panels should be at least 18 millimeters thick, or reinforced with backing plates and through-bolts to distribute the shear stress across a larger surface area.
Stackable and Freestanding Heavy-Duty Units
For closets with open floor space or modular shelving sections, stackable and freestanding heavy-duty units offer excellent flexibility. These systems allow you to build upward as your collection grows, but they require careful attention to interlocking stability and floor load distribution. When stacking multiple units, rely on heavy-duty metal dowels, locking clips, or brackets provided by the manufacturer rather than simply balancing one frame on top of another.
Tall, freestanding units carry a higher risk of tipping, particularly in active households with children or pets who might accidentally pull or climb on the structure. To prevent serious accidents, any freestanding rack taller than one meter should be anchored directly to the wall using furniture straps or L-brackets. Ensure the weight is distributed evenly, placing the heaviest footwear, such as work boots or thick-soled shoes, on the bottom shelves to lower the overall center of gravity.
Adjustability is another major benefit of freestanding modular units. Look for systems that allow you to remove or reposition individual shelves easily. This flexibility ensures you can accommodate specialized footwear, such as high-top sneakers or heavy riding boots, without forcing them into tight spaces where they might get crushed or damage the shelf structure.
Measuring Your Closet and Checking Structural Limits
Before purchasing any heavy-duty shoe rack, taking precise measurements of your closet space is non-negotiable. Start by measuring the interior width, depth, and height of the designated area at three different points to account for any wall warping or uneven construction. Be sure to subtract the space required for baseboards, door hinges, sliding door tracks, and the sweep of any outward-opening doors. You must also factor in the clearance needed for hanging clothes; garments hanging from a rod above the shoe rack should not drag on or obstruct the top shelf of footwear.
Evaluating the load-bearing capacity of your closet floor and walls is crucial for preventing structural damage. In many Philippine homes, interior closet walls may be constructed from lightweight gypsum board, fiber cement board, or thin plywood partitions, while older or more robust structures utilize concrete hollow blocks or solid masonry. If you plan to install a wall-mounted or hanging shoe rack system, you must identify the location of the wooden or metal wall studs behind drywall. Mounting a heavy-duty rack directly into unsupported drywall or thin plywood will inevitably lead to sagging and eventual wall failure under the weight of multiple pairs of shoes.
For masonry or concrete walls, you must use appropriate masonry drill bits and heavy-duty expansion anchors or wall plugs to secure the mounting tracks. If your closet features raised wooden floorboards or a suspended floor system, check for any signs of flexing or soft spots. A fully loaded heavy-duty shoe rack can exert concentrated point loads on the floor, so placing the rack directly over floor joists or using a wide base plate to distribute the weight evenly is highly recommended.
Installation and Long-Term Maintenance Guidelines
A successful installation relies on choosing the correct anchoring hardware and strictly following the manufacturer’s assembly instructions. Never substitute the specialized screws or anchors provided in the kit with generic fasteners unless you are upgrading to a stronger anchoring system designed for your specific wall type. When mounting tracks or brackets, use a spirit level to ensure every component is perfectly plumb and level; even a minor misalignment can cause sliding drawers to bind, put uneven stress on joints, and accelerate wear on the hardware.
Once installed, practicing proper weight distribution is key to preserving the structural integrity of your shoe rack. Avoid placing all your heaviest footwear on one side or on a single upper shelf. Instead, distribute the weight evenly across the entire width of each shelf, keeping the heaviest items on the lowest levels. This practice prevents the shelves from bowing or warping over time and reduces the strain on the mounting brackets and tracks.
Establishing a routine inspection schedule will help you catch minor structural issues before they lead to a complete failure. Every six months, take a few minutes to inspect the shoe rack thoroughly. Check for loose screws, wobbly joints, or any signs of track misalignment on sliding units. Tighten any loose fasteners immediately, and apply a dry silicone lubricant to drawer slides or tracks to keep them operating smoothly. In the humid climate of the Philippines, also inspect metal components for early signs of rust or corrosion, and check wooden elements for swelling or mold, addressing these issues promptly with appropriate sealants or dehumidifying packets.
Frequently Asked Questions (FAQ)
Can I install a heavy-duty pull-out shoe rack in a wardrobe with thin particleboard sides?
Installing a heavy-duty pull-out rack directly onto thin particleboard or medium-density fibreboard (MDF) panels poses a significant structural risk. The dynamic forces generated when pulling out a fully loaded rack can easily tear the mounting screws out of low-density wood fibers, damaging your wardrobe. To make this installation safe, you must reinforce the side panels. You can achieve this by securing a thick piece of plywood (at least 15 millimeters) to the inside of the existing cabinet walls using wood glue and screws, creating a solid anchoring point for the sliding tracks. Alternatively, look for bottom-mounted sliding racks that transfer the weight directly to the closet floor rather than relying on the side panels for support. If you are unsure about the structural integrity of your wardrobe, it is best to stop the installation and consult a professional carpenter.
How do I prevent heavy boots from damaging adjustable wire shelves?
Heavy boots can place concentrated point loads on thin wire shelves, causing the wires to bend or sag over time. To prevent this damage, start by checking the wire gauge thickness and the spacing of the cross-supports before purchasing; heavy-duty wire shelves should feature thick, closely spaced steel wires with central support brackets. To protect both the shelves and your footwear, install rigid plastic shelf liners. These liners distribute the weight of heavy boots evenly across multiple wire rungs, preventing heels from slipping through and stopping dirt or moisture from dripping onto shoes stored below. Additionally, adjust the vertical clearance of the shelves so that the shafts of tall boots can stand upright without being bent or crushed against the shelf above, which helps maintain the shape of your boots while ensuring proper airflow.
Community discussion
Share your experience or ask a question. Comments are reviewed before publication.