
Creating a dedicated study zone in a shared room requires a smart spatial strategy. A divider partition rack serves as an excellent dual-purpose solution, offering both a physical boundary for concentration and essential storage for books, files, and writing materials. To find the option that works best for your home, you must evaluate how the unit fits your room’s layout, how much privacy it provides, and how safely it stands in a shared environment. In tropical climates like the Philippines, where indoor humidity and airflow significantly impact comfort, your choice must also respect the room’s natural ventilation and light paths.
Measuring Space and Layout Constraints
To prevent your shared room from feeling cramped or obstructed, start by taking precise physical measurements of the designated area. Use a tape measure to map out the available floor area, noting how a new divider partition rack will affect walking pathways. It is crucial to maintain clear clearance zones so that roommates can move freely without bumping into the furniture. Don’t forget to measure the ceiling height, especially if you are considering a tall or floor-to-ceiling unit.
Beyond the final setup spot, you must plan the delivery and assembly route. Measure the width of your doorways, narrow hallways, and any stairwells or elevator doors. A flat-pack unit might fit through tight spaces easily, but you must ensure there is enough physical clearance to maneuver the packaged boxes into the room and assemble them comfortably.
Products mentioned in this guide
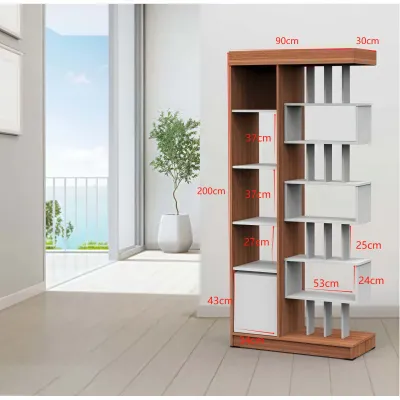

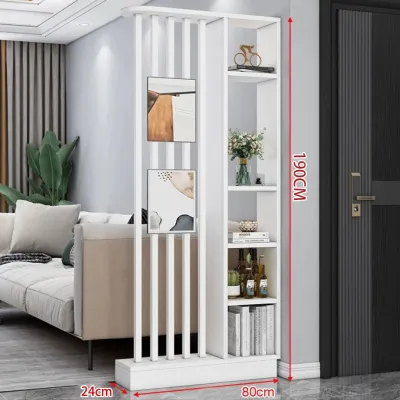
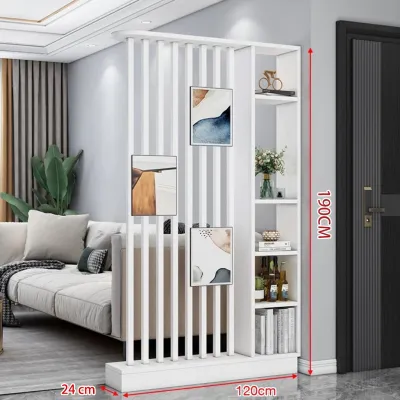

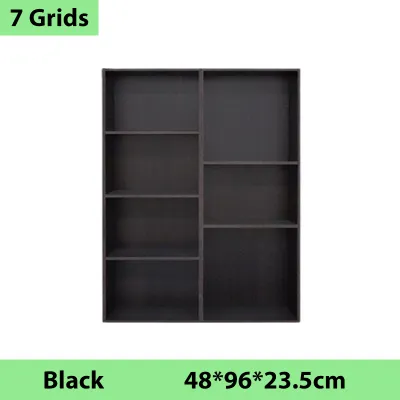
Prices are valid at publication and may change. Please refer to the product page for the latest price.
Additionally, consider the environmental factors of your shared space. In warm, humid climates, blocking a window or a fan’s airflow can turn your new study nook into an uncomfortable, stuffy corner. Position the rack so it allows natural light to filter through and does not disrupt the cross-ventilation that keeps the room cool and fresh.
Choosing the Right Height and Backing for Privacy
The height and backing of your divider partition rack directly dictate the level of focus you will achieve in your study zone. A full-height partition offers maximum visual isolation, effectively blocking out household distractions and creating a distinct “room within a room” feel. However, in smaller shared spaces, a very tall, solid unit can make both sides of the room feel dark and confined. A mid-height partition, on the other hand, provides sufficient privacy when you are seated at your desk while preserving an open, airy atmosphere when you stand up.

The design of the back panel is another critical decision point. An open-back rack features open shelving accessible from both sides, which allows light and air to pass through freely. This design is ideal for maintaining a bright, well-ventilated study area, though it offers less visual privacy. A closed-back design blocks views entirely, helping you stay focused on your work, but it can make the adjacent living space feel closed off.
If you select an open-back or partially open model, you can plan for dual-sided usage to maximize the utility of the shared room. Dedicate the shelves facing your study desk to academic books, reference materials, and desk organizers. Meanwhile, the shelves facing the shared living area can hold decorative items, indoor plants, or general household storage, allowing the furniture to serve both roommates equally.
Verifying Storage Capacity and Shelf Specifications
A divider partition rack must do more than just divide a room; it must also function as an organized storage hub for your academic or professional pursuits. Before purchasing, check the manufacturer’s specified shelf spacing. Ensure the vertical clearance between shelves is tall enough to accommodate your largest textbooks, binders, and vertical desk organizers without forcing you to lay them flat.
Never rely solely on material names—such as “solid wood” or “reinforced steel”—to judge the strength of a shelf. Instead, look for the manufacturer’s officially labeled load-bearing capacity per shelf. This rating tells you exactly how much weight the shelf can safely support without bowing or sagging over time.
To maintain a clean, distraction-free study environment, consider choosing a partition rack that features lower enclosed cabinets or drawers. These compartments are perfect for concealing messy cables, loose papers, and office supplies that would otherwise clutter your visual field.
When organizing your materials, always plan to place your heaviest items, such as thick reference volumes, heavy storage boxes, or printers, on the bottom shelves. This practice lowers the unit’s center of gravity, which significantly improves its overall stability and reduces the risk of accidental tipping.
Ensuring Stability and Safety in Shared Spaces
In a shared room with regular foot traffic, structural safety and stability are paramount. Before assembling your divider partition rack, inspect its base width and overall footprint. A unit with a wider, deeper base is inherently more stable than a narrow, top-heavy design.
Because tall partition racks pose a potential tip-over hazard, you must verify whether the product includes an anti-tip kit or wall-anchoring hardware. Before drilling into any walls, check your rental agreement or consult your landlord to ensure wall modifications are permitted. You must also identify your wall type—such as concrete, brick, or drywall—to ensure you use the correct anchors and screws for a secure hold.
If your shared room requires a flexible layout, you might consider a mobile partition rack on wheels. If you choose a wheeled model, verify that the casters feature robust locking mechanisms to keep the unit firmly in place while you are studying.
During assembly, pay close attention to the structural integrity of the joints. If any components feel loose, stripped, or misaligned, stop the installation immediately. Do not attempt to use a compromised unit; instead, consult the manufacturer’s customer support for guidance or replacement parts.
Your Pre-Purchase Evaluation Checklist
Before finalizing your purchase on an online furniture store or at a local retailer, run through this practical checklist to ensure the divider partition rack meets all your requirements:
- Confirm the exact finished dimensions of the rack against your measured floor space, ceiling height, and entry clearances.
- Cross-reference the manufacturer's shelf spacing and load limits with the weight and size of your study supply inventory.
- Verify that the package includes all necessary safety hardware, such as wall anchors or anti-tip straps, and confirm that you can safely install them in your room.
- Set a realistic budget in ₱ that accounts for potential delivery or assembly fees.
- Review the manufacturer's care instructions, paying close attention to how the surfaces handle humidity and moisture, which is especially important for maintaining furniture longevity in tropical environments.
Frequently Asked Questions (FAQ)
Can I use a freestanding divider rack without wall anchors?
Whether you can safely use a freestanding divider partition rack without wall anchors depends entirely on the unit’s height-to-depth ratio, base design, and weight distribution. Low-profile or mid-height units with wide, heavy bases are often stable enough to stand freely in low-traffic areas. However, tall or narrow racks are highly susceptible to tipping if bumped or overloaded. To minimize risk, always place your heaviest books and items on the lowest shelves to keep the center of gravity as low as possible. Always check the manufacturer’s instruction manual for explicit safety warnings, as many brands strictly prohibit freestanding installation for taller models.
How should I arrange books to keep a tall partition stable?
Properly distributing weight is key to keeping a tall bookshelf-style room divider stable and secure. Always follow the golden rule of shelving: place your heaviest, largest textbooks and reference manuals on the bottom tiers. As you move up the rack, the items should become progressively lighter. Additionally, distribute the weight evenly across the horizontal width of each shelf rather than stacking all heavy items on one side, which can cause lateral leaning. Keep the uppermost shelves reserved for lightweight decorative items, small study accessories, or leave them empty to maintain a safe, balanced structure.

Community discussion
Share your experience or ask a question. Comments are reviewed before publication.