
Finding the right shoe tray size requires balancing your physical closet dimensions with the actual footprint of your footwear collection. A tray that is too large will block closet doors or overhang shelves, while one that is too small leads to cluttered, overlapping shoes. By measuring your shelf space accurately and categorizing your shoes by style, you can select a tray setup that keeps your closet organized and protects your shelves from tropical moisture, dust, and dirt.
Measure Your Closet Shelf Dimensions
To establish the maximum physical boundaries for your shoe trays, you must first take precise measurements of your available closet space. Use a metal measuring tape rather than a flexible fabric one to ensure your numbers are accurate. Begin by measuring the interior depth of the shelf from the back wall or back panel of the closet to the very front edge of the shelf.
Next, measure the horizontal width of the shelf from one side wall to the other. If your closet features adjustable shelving pegs or support brackets, measure the width between these supports rather than the absolute wall-to-wall distance, as these components can prevent a tray from sitting completely flat.
Products mentioned in this guide
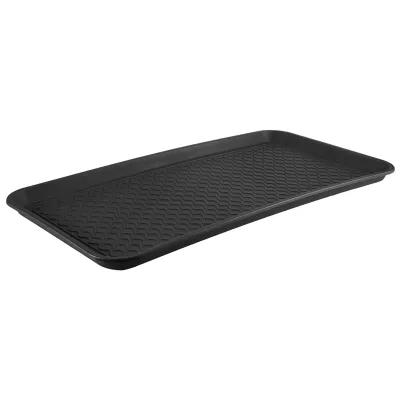
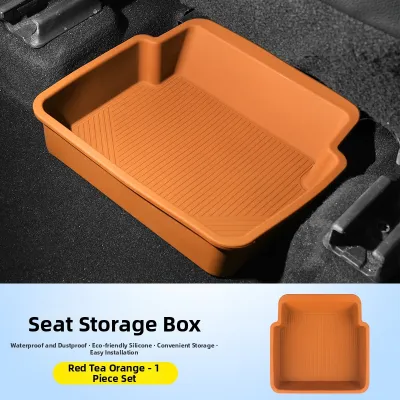
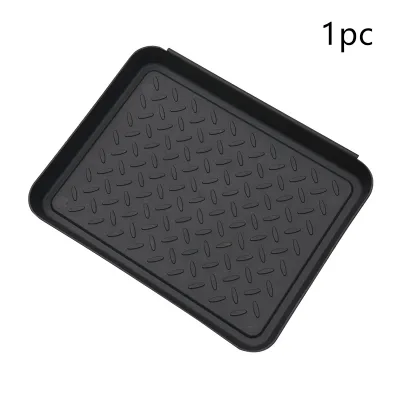

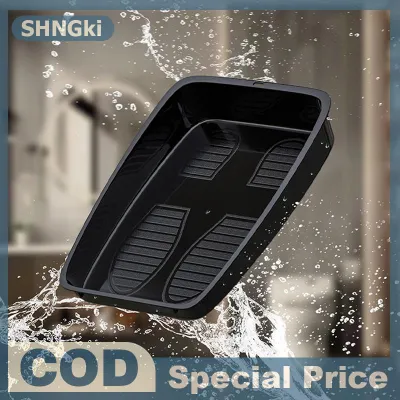
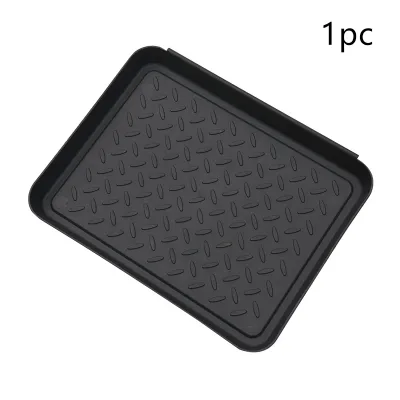
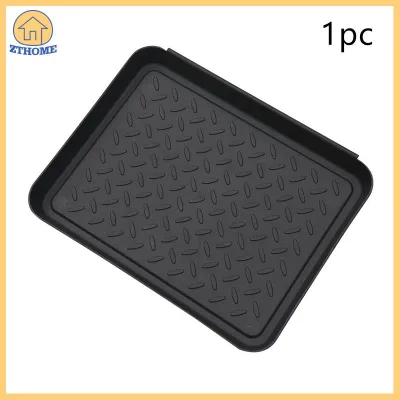
Prices are valid at publication and may change. Please refer to the product page for the latest price.
Do not forget to measure the vertical clearance between the shelves. This height measurement is critical if you plan to store taller footwear or use multi-tiered organizers. Measure from the top surface of the lower shelf to the underside of the shelf directly above it.
Always account for physical obstructions that might reduce your usable closet space. Low-hanging closet rods, door hinges, sliding door tracks, and decorative trim can easily block a shoe tray or prevent closet doors from closing. Deduct the space occupied by these obstructions from your final measurements to find your true usable depth and width.
Finally, check the shelf material and consult any manufacturer labels or installation guides to verify the weight limits of your shelving system. Heavy plastic, metal, or wooden trays, especially when loaded with multiple pairs of shoes, can put significant stress on lightweight wire or particleboard shelves. Knowing these limits prevents sagging or structural damage over time.
Assess Your Shoe Collection and Capacity Needs
Before purchasing any storage organizers, take all your shoes out of the closet to evaluate your inventory. Grouping your footwear by style allows you to understand the specific spatial needs of different types of shoes. Flat sandals, slippers, and low-profile loafers require very little vertical height and can often be placed closer together.

In contrast, bulky running shoes, high heels, and ankle boots demand much more vertical clearance and wider horizontal spacing. By categorizing your collection, you can avoid buying uniform trays that might be too small for your largest shoes or unnecessarily large for your smallest pairs.
Count the total number of pairs in each category to estimate the overall footprint your collection requires. To get a realistic idea of the space needed, line up your shoes on the floor in rows as you would place them on a tray, then measure the total width and depth of these groupings.
It is also highly practical to separate your everyday footwear from seasonal or specialty shoes. In tropical climates where sudden rain can bring mud and moisture indoors, keeping your daily sandals and casual shoes on easily accessible, easy-to-clean trays near the bottom of your closet is highly efficient. Specialty dress shoes or delicate leather heels can then be allocated to higher shelves or deeper trays.
Match Shoe Tray Sizes to Your Space and Shoes
Selecting the right shoe tray size is a matter of comparing your measured shelf dimensions against the aggregated footprint of your footwear. The goal is to find a configuration where the external dimensions of the tray fit comfortably within your closet boundaries, while the internal dimensions accommodate your shoes without crowding.
Adjusting for Different Shoe Types
Low-profile shoes like flat sandals and step-ins fit easily onto shallow trays with low lips, which helps maximize your vertical space. These low-rimmed designs make it simple to slide shoes in and out without needing to lift them very high.
For bulky sneakers, athletic shoes, and ankle boots, you will need deeper trays with higher side walls to contain dirt, moisture, or outdoor debris. When shopping, always check the internal dimensions listed in the product specifications rather than relying solely on the external measurements, as thick borders or handles can reduce the actual storage area.
If your shoe collection features highly varied sizes and styles, consider using modular or adjustable tray options. These systems allow you to mix and match different tray widths on a single shelf, ensuring that you do not waste valuable closet space on empty gaps.
Maximizing Vertical and Horizontal Space
When horizontal shelf space is limited, utilizing vertical space with stackable shoe trays is an excellent way to double your storage capacity. Before stacking, always consult the product instructions to verify how the units interlock and to ensure they remain stable under the weight of your footwear.
Calculate the total stacked height by adding the height of the trays together along with the height of the shoes stored on the top tier. Compare this total against your measured vertical shelf clearance to ensure you have enough room to access your shoes comfortably.
Never allow a shoe tray to overhang the front edge of a shelf. Overhanging trays are unstable, prone to tipping when you retrieve your shoes, and can easily interfere with the smooth operation of sliding or hinged closet doors.
Common Sizing Mistakes and How to Avoid Them
A frequent error in closet planning is measuring only the shelf width while completely ignoring the depth and vertical clearance constraints. A tray that fits perfectly from side to side is of little use if it prevents your closet doors from closing or does not leave enough vertical room to retrieve your shoes.
Another common mistake is ignoring the weight capacity of your shelves when planning your layout. Storing dense footwear, such as heavy leather boots, on multiple stacked trays can easily exceed the safe load limits of standard closet shelving, leading to bent brackets or collapsed supports.
Finally, avoid the temptation to buy large, fixed-size bulk packs of organizers before testing them. It is much safer to purchase a single shoe tray first to verify its fit, clearance, and ease of use in your actual closet space before investing in a complete set.
Frequently Asked Questions (FAQ)
Can I use shoe trays on slanted or wire closet shelves?
Yes, but stability depends heavily on the tray’s base design and the spacing of your wire shelves. Trays with small, narrow feet or uneven bases may wobble on wire shelving or slide off slanted surfaces. Check the manufacturer’s specifications for surface compatibility, and consider using a flat plastic shelf liner to create a stable, level foundation if needed.
How much clearance should I leave between stacked shoe trays?
The ideal clearance depends on the height of the shoes you are storing and the design of the tray’s lip or handles. You should measure your tallest shoe in that stack and add a comfortable margin of at least three to five centimeters. This extra space ensures you can easily slide your hand in to retrieve or replace your shoes without scraping your knuckles or disturbing the tray above.
Community discussion
Share your experience or ask a question. Comments are reviewed before publication.