
Finding the perfect heavy-duty shoe rack for your closet is a balancing act between your available physical space and the storage capacity your footwear collection demands. In tropical climates like the Philippines, where high humidity can quickly lead to mold and mildew in enclosed spaces, choosing the right size is not just about aesthetics—it is essential for maintaining the condition of your shoes and ensuring proper air circulation. To determine the ideal dimensions, you must systematically measure your closet’s footprint, calculate the specific horizontal and vertical space your shoes require, and verify the structural limits of the organizer.
By taking precise measurements and planning for your actual collection, you can avoid the frustration of a rack that is too bulky for your closet doors or too flimsy for your heaviest boots. This guide will walk you through the essential steps to select a heavy-duty shoe rack that maximizes your storage potential while keeping your closet organized and accessible.
Measure Your Closet Layout and Clearance Requirements
Before browsing online marketplaces or visiting local furniture showrooms, you must establish the exact physical boundaries of your closet. Begin by measuring the floor footprint, which includes the maximum width and depth available for the shoe rack. Use a metal measuring tape for accuracy, and record the vertical height from the floor to the lowest obstruction, such as hanging clothes, existing shelving, or the ceiling. These initial dimensions set the absolute limit for any storage unit you introduce into the space.
Products mentioned in this guide
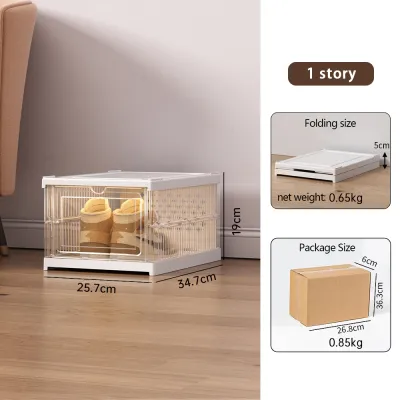
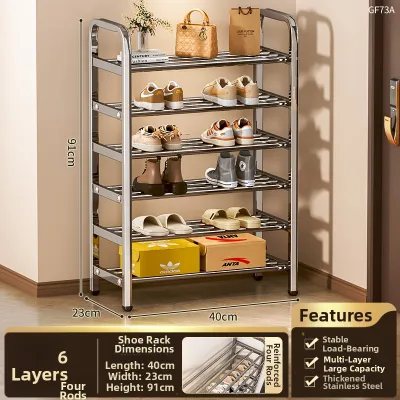
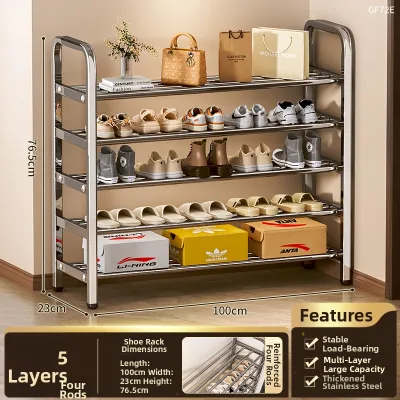

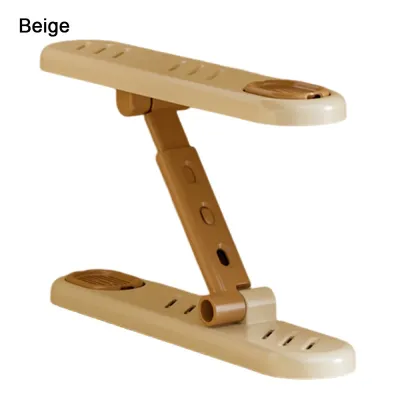
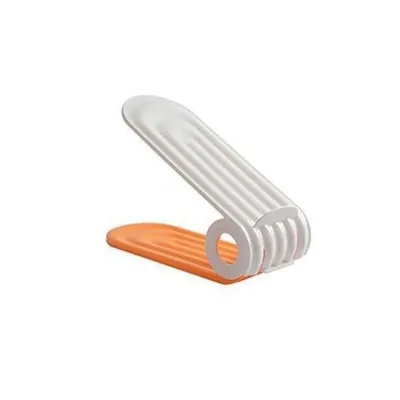
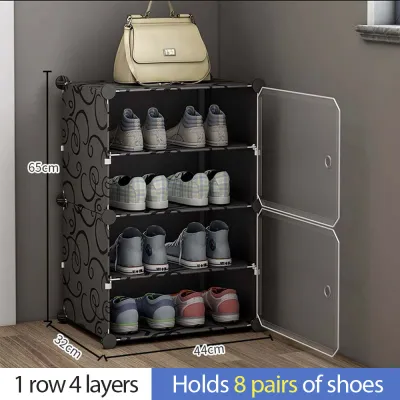
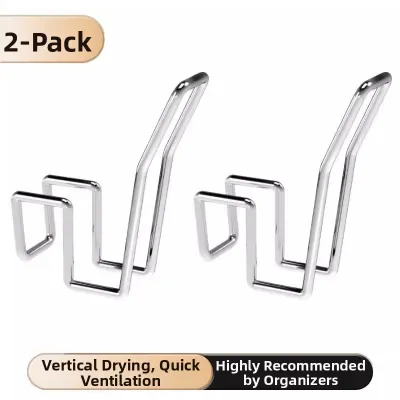
Prices are valid at publication and may change. Please refer to the product page for the latest price.
Next, account for the physical elements that could obstruct the rack or prevent it from sitting flush against the wall. Measure the depth of your baseboards, as thick moldings can push the bottom of a rack forward, altering your clearance calculations. If your closet has hinged doors, map out the door swing path to ensure the rack will not block them from opening fully. For sliding doors, identify the overlap zones and track depths, as these can restrict access to the outer edges of your shelving.
Finally, prioritize daily usability and environmental health by leaving adequate clearance around the rack. A cramped closet traps moisture, which accelerates the deterioration of leather and fabric shoes in humid environments. Ensure there is enough walkway space for you to stand comfortably while retrieving your shoes. The rack should never block closet ventilation grates, light fixtures, or access to adjacent storage compartments, allowing air and light to flow freely throughout the space.
Calculate Capacity Based on Your Shoe Collection
To choose a rack that truly fits your needs, you must translate your personal shoe collection into concrete physical dimensions. Start by grouping your shoes by style and measuring the horizontal width of your widest pairs, such as bulky sneakers or work boots. On average, a standard pair of men’s shoes requires about 22 to 25 centimeters of lateral space, while women’s shoes require slightly less. Multiply this average by the number of pairs you plan to store per shelf to determine the minimum shelf width you need.

Vertical clearance is equally critical for preventing damage to your footwear. Standard flat shoes and sneakers typically require a vertical clearance of 15 to 18 centimeters, whereas high heels, ankle boots, and tall boots need significantly more height to prevent the uppers from being crushed or creased. If you own a diverse mix of footwear, look for a heavy-duty rack that offers adjustable shelf heights, allowing you to customize the vertical spacing as your collection changes.
Always plan for future growth rather than buying a rack that only accommodates your current inventory. Selecting a modular system or an expandable rack with add-on tiers is an excellent way to ensure your storage can scale. This flexibility prevents you from having to replace the entire unit later or resort to piling shoes on top of one another, which defeats the purpose of a heavy-duty organizer.
Verify Heavy-Duty Specifications and Structural Limits
Not all organizers labeled as heavy-duty are built to support the weight of heavy work boots, thick-soled sneakers, or wet weather gear. To ensure safety and longevity, always check the manufacturer’s stated load capacity per shelf and the total weight limit of the unit. These specifications are typically found on the product packaging, instruction manual, or official online product listings, and they should guide your purchasing decision.
Examine the structural design and materials of the rack to verify its durability. True heavy-duty racks often feature thick metal tubing, reinforced steel wire, or solid wood shelving rather than thin plastic connectors and hollow aluminum rods. Look for design details like cross-bracing on the back or sides, which prevents the frame from swaying or buckling under a full load. The joints and connection points should feel rigid and secure when assembled.
Safety must be a primary consideration, especially for tall or top-heavy units placed in narrow closets. Review the manufacturer’s assembly instructions to see if wall anchoring hardware is included or recommended. Anchoring the rack to the wall studs prevents accidental tip-overs, protecting both your household and your footwear collection from damage. If you are placing a heavy unit on a carpeted closet floor, leveling feet are also essential to maintain stability on uneven surfaces.
Avoid Common Sizing and Placement Mistakes
One of the most common mistakes when sizing a closet shoe rack is overlooking the space occupied by hanging garments. Clothes hanging on a rod above the rack typically drape outward by 50 to 60 centimeters. If your shoe rack is too deep or placed directly beneath these garments, your clean clothes will brush against dirty shoe soles every time you slide them along the rod. Ensure there is a clear physical boundary or sufficient vertical gap between the bottom of your hanging clothes and the top of the shoe rack.
Another frequent error is overcrowding the shelves beyond their intended capacity. Squeezing an extra pair of shoes onto a shelf might seem like a quick fix, but it compromises the structural integrity of the rack and makes retrieving your shoes highly inconvenient. Overcrowded shelves restrict airflow, which can trap humidity and lead to unpleasant odors or mold growth on your footwear.
Lastly, avoid placing heavy-duty metal racks directly against unfinished drywall or delicate closet liners without protective measures. The hard edges of metal frames can easily scuff, dent, or scratch walls during installation or daily use. In humid regions, direct contact between metal frames and walls can also trap moisture, leading to paint peeling or rust transfer. Use adhesive felt pads or rubber bumpers on the back of the rack to create a safe, protective barrier between the frame and your closet walls.
Frequently Asked Questions (FAQ)
How much weight can a typical heavy-duty shoe rack hold?
Weight capacities vary significantly depending on the materials, construction quality, and overall design of the rack. A standard light-duty organizer might only support 3 to 5 kilograms per shelf, whereas a genuine heavy-duty metal or solid wood rack can often support 15 to 30 kilograms per shelf. Always check the manufacturer’s specific load rating on the product label or specification sheet rather than relying on generic assumptions, and distribute the weight evenly across all tiers to maintain stability.
Should I anchor a heavy-duty shoe rack to the closet wall?
Yes, you should follow the manufacturer’s assembly instructions regarding wall anchoring, especially if the rack is tall, narrow, or heavily loaded. Racks that exceed one meter in height or those placed in homes with active children or pets present a higher risk of tipping over. Anchoring the unit securely to a wall stud or using appropriate drywall anchors ensures the rack remains stable, prevents structural warping over time, and guarantees a safer closet environment.
Community discussion
Share your experience or ask a question. Comments are reviewed before publication.