
Filipino households often maintain a strict indoor-slipper policy to keep tiled or wooden floors free from outdoor dust, mud, and tropical humidity. However, leaving multiple pairs of tsinelas scattered across the entryway or hallway quickly creates a cluttered, disorganized look and poses a tripping hazard. A wall-mounted slipper organizer offers an elegant, space-saving solution by lifting footwear off the floor and utilizing vertical space. To find the perfect organizer, you must balance the physical dimensions of your wall with the size of your household’s slipper collection. Choosing the wrong size or mounting style can lead to loose fixtures, damaged walls, or an organizer that overflows onto the floor.
Assess Your Wall Space and Structural Conditions
Before purchasing any organizer, determine the exact physical boundaries of your intended installation area. Measure the clear width, height, and depth of the wall space, accounting for baseboards, light switches, and door frames. If you plan to install the rack behind a door or in a narrow hallway, measure the door swing and walking clearance. A rack that protrudes too far can block foot traffic or prevent a door from opening fully, leading to constant bumps and potential damage to both the wall and the organizer.
The structural material of your wall dictates how you must mount the organizer and how much weight it can safely support. In many homes in the Philippines, interior walls are made of solid concrete, hollow blocks, or drywall over metal studs. Concrete and masonry walls offer excellent load-bearing capacity but require a hammer drill, masonry drill bits, and plastic wall plugs to secure screws. Drywall is much softer and cannot support heavy loads without specialized toggle bolts or hollow-wall anchors. If you prefer a drill-free installation, such as adhesive hooks or suction cups, keep in mind that these methods work best on smooth, non-porous surfaces like ceramic tiles or glass, and their weight capacity is significantly lower than drilled options.
Products mentioned in this guide
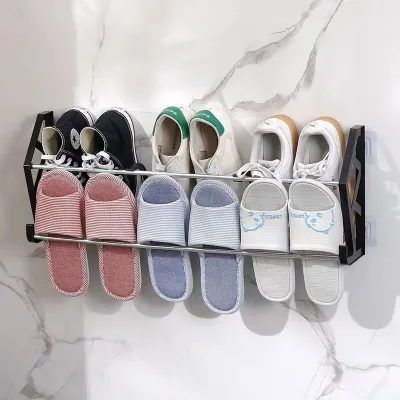

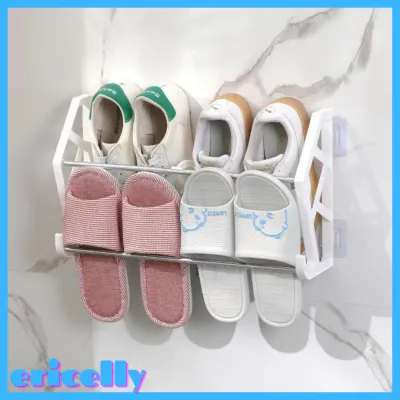
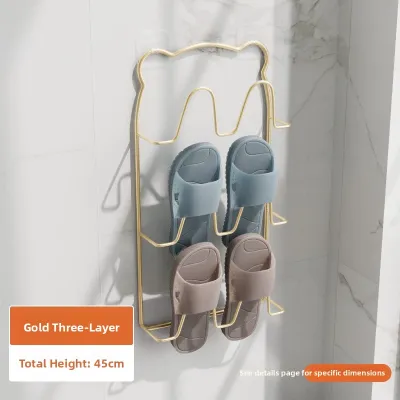
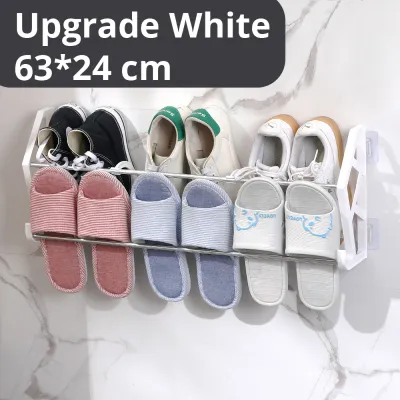
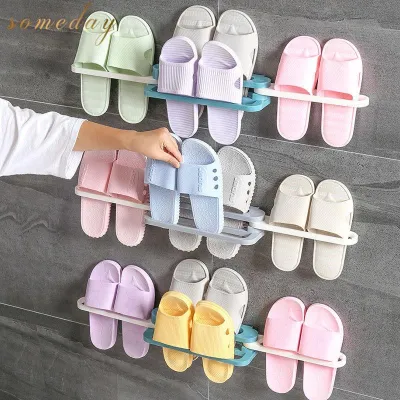
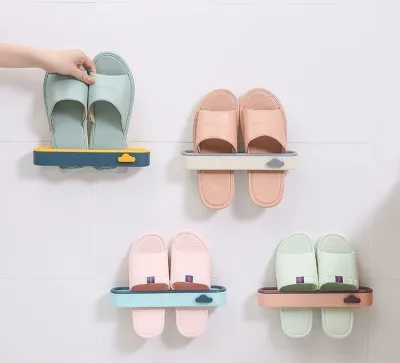
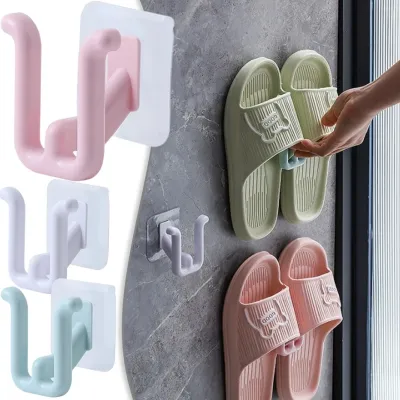
Prices are valid at publication and may change. Please refer to the product page for the latest price.
Environmental factors like humidity also play a major role in your choice of installation site and materials. High humidity levels, especially during the rainy season, can cause moisture to accumulate on walls, which may weaken adhesive backings over time. If you are mounting the organizer near a bathroom door or in an open-air entryway, ensure the wall surface is completely dry and clean before applying any adhesive. For concrete walls prone to dampness, mechanical fasteners like screws and wall plugs are always the more reliable choice to prevent the organizer from falling.
Calculate Capacity Based on Your Slipper Collection
To choose an organizer that keeps your entryway tidy, translate your household’s slipper collection into physical storage requirements. Begin by counting the total number of slipper pairs currently in use, and add a buffer of one or two pairs for guests or future purchases. A family of four might easily accumulate eight to ten pairs of slippers, including thick indoor slides, lightweight rubber tsinelas, and fabric house shoes. Knowing this baseline number prevents you from buying an organizer that is too small, which would leave extra pairs cluttered on the floor.

Next, evaluate the physical dimensions of the slippers themselves. Not all slippers are created equal; a pair of men’s wide-soled slides takes up significantly more horizontal and vertical space than a pair of thin, flexible fabric slippers. Measure the average width of your widest slippers to ensure they will fit comfortably within the organizer’s slots or shelves. If the slots are too narrow, slippers will overlap, look messy, and be difficult to slide in and out. For thicker slippers or high-ankle house shoes, check the vertical clearance between tiers to make sure they can be inserted without being crushed.
Once you have your measurements, compare different configurations to find the best layout for your wall. Single-tier horizontal racks are excellent for low-profile spaces, such as the area directly above the baseboard or under a low bench, but they hold fewer pairs. Multi-tier vertical racks maximize height, making them ideal for narrow walls or columns next to the front door. If your household has a mix of adult and children’s slippers, look for organizers with adjustable bars or flexible pockets that allow you to customize the slot sizes to fit different footwear shapes.
Match Organizer Styles to Your Space and Usage
Selecting the right organizer style involves balancing your aesthetic preferences with the practical constraints of your home. Fixed wall-mounted metal or plastic racks are highly durable and provide a clean, modern look. They keep slippers held firmly in place, making them ideal for high-traffic entryways. If you have extremely limited space, such as a narrow corridor where every centimeter counts, consider a fold-down or collapsible design. These organizers feature loops or pockets that fold flat against the wall when empty, keeping the walkway completely clear when slippers are in use.
Material selection is critical for durability, especially in a tropical climate where moisture and dust are constant challenges. Look for organizers made of rust-resistant materials like powder-coated steel, stainless steel, or high-quality ABS plastic. Avoid untreated wood or low-grade metals that can warp, mold, or rust when exposed to wet slippers or humid air. Examine the structural joints and mounting brackets of the organizer; sturdy, reinforced joints ensure the rack will not sag or bend under the weight of multiple pairs of footwear.
Before making a final decision, verify the manufacturer’s specified load capacity per tier and compare it to the estimated weight of your slippers. While a single pair of rubber slippers is lightweight, a multi-tier rack holding eight pairs of heavy-duty slides can weigh several kilograms. Ensure the organizer’s frame and mounting hardware are rated to handle this total weight. If the manufacturer does not specify a weight limit, look for structural indicators of strength, such as thick support bars, wide mounting plates, and multiple screw points.
Avoid Common Sizing and Installation Mistakes
One of the most common mistakes when choosing a wall-mounted slipper organizer is failing to account for the depth of the slippers when they are placed in the rack. While the organizer itself might only protrude five centimeters from the wall, a pair of thick, padded slippers inserted into the slots can double that depth. If installed in a narrow hallway or behind a door, this extra protrusion can block the door from opening fully or cause people to constantly bump into the rack, knocking the slippers loose.
Another frequent error is relying solely on adhesive strips or basic drywall anchors for heavy, multi-tier loaded organizers. While adhesive backing is convenient and damage-free, it is highly susceptible to failure under heavy loads or in humid conditions. If you must use adhesives, limit the rack to one or two lightweight pairs of slippers. For larger, multi-tier organizers, always use screws and appropriate wall anchors to ensure the unit remains securely attached to the wall, preventing sudden falls that could damage your walls or floors.
Finally, avoid the trap of choosing fixed-tier heights that offer no flexibility. Footwear needs change over time, and a rack that only accommodates thin, flat slippers will become useless if you switch to thicker, orthopedic slides or plush winter slippers. Opting for organizers with open-ended slots, flexible loops, or adjustable shelves ensures your storage system can adapt to different slipper styles and sizes throughout the year, protecting your investment and keeping your home organized.
Frequently Asked Questions (FAQ)
Can I install a wall-mounted slipper organizer on a tiled bathroom wall?
Yes, you can install a slipper organizer on a tiled bathroom wall, but you must take specific precautions to avoid cracking the tiles. If you are drilling, always use a specialized carbide-tipped masonry or tile drill bit, and run the drill at a slow speed without using the hammer action. Whenever possible, try to drill directly into the grout lines rather than the face of the tile, as grout is much easier to penetrate and repair if needed. Before drilling, check the wall behind the tiles for plumbing pipes or electrical lines, which are common in bathroom walls. If you want to avoid drilling entirely, high-quality waterproof adhesive hooks or heavy-duty suction cups designed for wet environments are excellent alternatives for lightweight slipper racks.
How much weight can a typical wall-mounted slipper rack hold?
The actual weight capacity of a wall-mounted slipper rack depends heavily on the mounting method and wall type rather than the rack material alone. A typical multi-tier metal rack might be rated by the manufacturer to hold up to 5 kilograms, but this is only achievable if it is mounted securely. When screwed into solid concrete or wood studs using high-quality wall plugs, a rack can easily support its maximum rated capacity. However, if the same rack is mounted on drywall using basic plastic anchors, or attached with adhesive tape on a painted wall, its safe load limit may drop to less than 2 kilograms. Always check the packaging of your mounting hardware for its specific weight rating, and distribute the weight of your slippers evenly across the tiers to prevent strain on the fixtures.
Community discussion
Share your experience or ask a question. Comments are reviewed before publication.