
Maximizing space in a modern condominium or compact home often requires looking beyond standard shelving. When renting or trying to preserve high-quality cabinetry, drilling permanent holes to mount extra organizers is rarely an option. Creating secret cabinet storage using non-invasive, damage-free methods allows you to utilize overlooked areas—such as the backs of doors, the undersides of shelves, and deep corners—without risking your security deposit or damaging wood finishes. By understanding how to select and apply temporary mounting solutions, you can transform ordinary cabinets into highly organized, concealed storage hubs.
Assessing Your Cabinet for Hidden Storage
Before purchasing any no-drill hardware, a thorough inspection of your cabinet’s structural integrity and surface finishes is essential. In tropical climates like the Philippines, high humidity levels can affect both wood stability and adhesive performance. Start by examining the interior surface material of your cabinets. Smooth, non-porous surfaces such as plastic laminates, sealed melamine, polished acrylic, and varnished wood are highly compatible with adhesive bonding. Conversely, unsealed wood, highly textured surfaces, or peeling paint will not allow adhesives to form a reliable seal, increasing the risk of your hidden compartments falling.
Next, measure the precise interior dimensions of your cabinet, paying close attention to the clearance space between the closed door and the front edge of the shelves. A common mistake is installing a concealed bin on the inside of a cabinet door only to find that the door cannot close completely because the bin collides with an interior shelf. Allow at least two to three centimeters of clearance for any door-mounted items.
Products mentioned in this guide

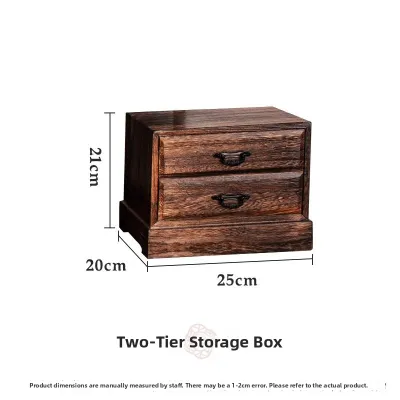
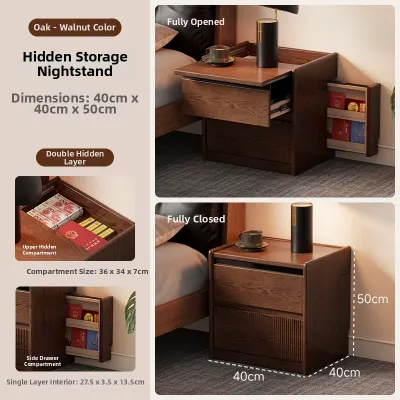
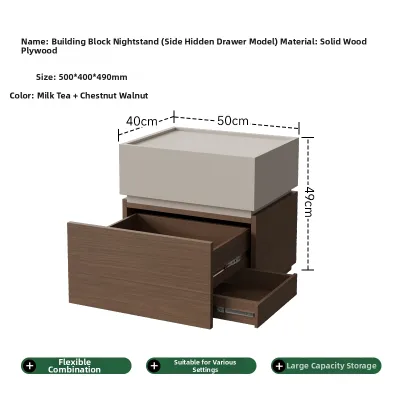
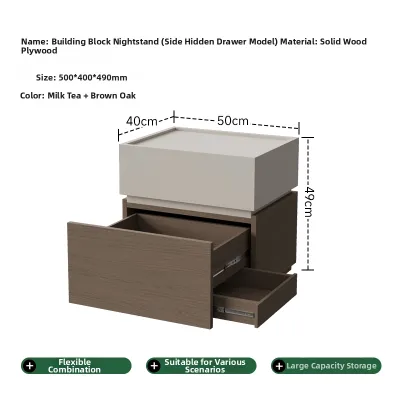
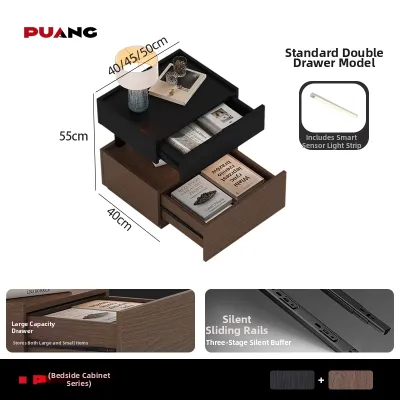

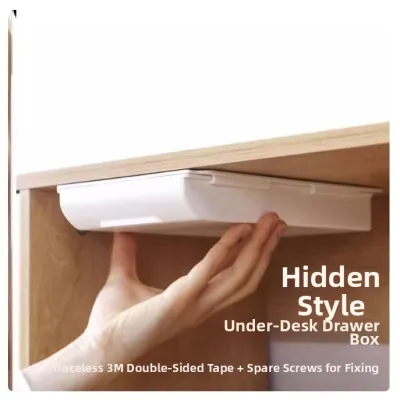
Prices are valid at publication and may change. Please refer to the product page for the latest price.
Finally, evaluate the load capacity of your cabinet doors and hinges. Standard cabinet hinges are designed to support the weight of the door itself. Adding heavy items to the inside of a door can strain the hinges, causing the door to sag or fail to latch. Keep door-mounted secret storage limited to lightweight items, and reserve heavier items for the cabinet floor.
Essential No-Drill Materials and Tools
Building reliable, hidden storage compartments without screws requires the right combination of hardware and preparation supplies. The primary tools for this project include heavy-duty adhesive hooks, magnetic strips with high pull force, and adjustable spring-loaded tension rods. When shopping on an online marketplace or at a local hardware store, look for adhesive products specifically rated for high-humidity environments, as standard adhesives can soften and slip when exposed to kitchen steam or bathroom moisture.

Surface preparation is the most critical factor in ensuring your no-drill hardware stays in place. You will need high-concentration rubbing alcohol (isopropyl or ethyl) and clean microfiber cloths. Standard household cleaners often leave behind a thin residue or wax that prevents adhesives from bonding directly to the cabinet surface. Rubbing alcohol strips away grease, dust, and oils, leaving a thoroughly clean surface for maximum adhesion.
Always check the manufacturer’s weight limits printed on the packaging of your adhesive hooks and tension rods. These limits are calculated under optimal conditions, so it is wise to plan for a safety margin. If an adhesive hook is rated for two kilograms, limit the actual load to one kilogram, especially in humid areas.
Step-by-Step Methods for Concealed Compartments
Creating hidden storage zones requires a systematic approach to ensure the installations remain stable over time. The general preparation sequence is identical regardless of the specific hardware you choose. Always begin by completely emptying the cabinet section you plan to modify, giving you ample room to work. Clean the target surfaces thoroughly with rubbing alcohol and allow them to dry completely before proceeding with any installation steps.
Using Adhesive Hooks and Bins
To create hidden hanging zones or suspended bins, start by planning the exact placement of your adhesive hooks. If you are mounting a bin to the inside of a cabinet door, hold the empty bin against the door, close the door slowly, and observe from underneath to ensure it clears all interior shelves. Mark the top corners of the bin’s final position lightly with a pencil.
Clean the marked area on the cabinet door with rubbing alcohol and let it dry. Peel the protective backing from the adhesive strip, press the hook firmly against the surface, and hold it with strong, even pressure for at least thirty seconds. For optimal results, many manufacturers recommend sliding the hook body up and off its mounting base, then pressing the base directly against the wall to ensure complete contact.
The most crucial step is the curing period. Do not hang any weight on the hooks immediately. Allow the adhesive to cure undisturbed for at least twenty-four hours. In humid tropical environments, extending this waiting period to forty-eight hours provides an even more secure bond. Once cured, slide the hook back onto the base and hang lightweight plastic bins or organizer baskets to store spices, cleaning cloths, or personal care items out of sight.
When it is time to move or redesign your storage, removing these hooks safely is simple. Never pry them off with a screwdriver, which can gouge the cabinet material. Instead, use a hairdryer on a medium heat setting to warm the adhesive for a minute, softening the bond. Gently pull the adhesive release tab straight down, parallel to the cabinet surface, to stretch and release the strip without tearing the wood laminate or paint.
Installing Magnetic Strips for Small Items
Magnetic strips are excellent for securing lightweight metal items like bobby pins, tweezers, small grooming scissors, or metal spice tins to the interior walls or even the ceiling of a cabinet. To install a magnetic strip, first verify that the items you plan to store are actually magnetic, as some stainless steel alloys do not cling well to magnets.
Clean the interior cabinet wall with rubbing alcohol. If your magnetic strip does not come with pre-applied adhesive, apply a high-quality, double-sided mounting tape rated for indoor use to the back of the strip. Peel the backing, align the strip horizontally using a small level or pencil guide, and press it firmly against the cabinet wall for thirty seconds.
Allow the adhesive to cure for twenty-four hours before attaching any metal objects. When arranging your items on the magnetic strip, distribute the weight evenly across the entire length rather than clustering everything in the center. This even distribution prevents the strip from peeling away at one end. To prevent items from sliding or falling when the cabinet door is opened or closed, place them gently onto the magnet rather than letting them snap violently against the strip.
Setting Up Tension Rod Dividers
Tension rods provide a completely adhesive-free way to create vertical or horizontal partitions inside your cabinets. They are ideal for stashing flat items like baking sheets, cutting boards, or serving trays upright, or for creating a suspended shelf to hide items near the top of a deep cabinet.
To set up vertical dividers, measure the exact height between the bottom shelf and the top panel of the cabinet. Select a tension rod whose adjustable range covers this measurement. Twist the rod to extend it until it is slightly longer than the opening, then compress the internal spring and slide it into place. Adjust the tension until the rod fits tightly against both surfaces without bowing. The rubber end caps on the rod will prevent scratches on your cabinet finish while providing the friction necessary to keep the rod in place.
To create a suspended false bottom or a hidden shelf, install two or more tension rods horizontally at the same height, spaced a few inches apart. You can then place a lightweight plastic sheet, a piece of sturdy cardboard, or a thin wooden board across the rods to form a shelf. This setup is highly suitable for concealing flat valuables, documents, or spare keys directly beneath an existing shelf, keeping them completely invisible to anyone looking into the cabinet at eye level.
Testing and Maintaining Your No-Drill Setup
Once your no-drill hidden storage is installed and the adhesives have fully cured, you must verify its stability before trusting it with your belongings. Begin a gradual weight-testing protocol. Place a fraction of the intended load into your bins or onto your hooks, then check them after a few hours. If there are no signs of slipping or peeling, gradually add the remaining items over the course of a day.
Because temperature and humidity fluctuate constantly in the Philippines, routine maintenance is necessary to prevent sudden failures. Make it a habit to inspect your adhesive mounts and tension rods every few months. Look closely for any peeling edges on adhesive strips, sliding residue, or tension rods that have lost their grip due to wood expansion or contraction.
Establish clear stop conditions for your setup. If you notice an adhesive hook beginning to tilt downward, a corner of a magnetic strip lifting, or a tension rod sliding out of alignment, immediately unload all items from that compartment. Do not attempt to simply press a failing adhesive back into place. Remove the old adhesive entirely, clean the surface again with rubbing alcohol, and apply a fresh adhesive strip to restore the safety and reliability of your secret cabinet storage.
Frequently Asked Questions (FAQ)
Will adhesive hooks damage my cabinet finish when removed?
When removed correctly, high-quality adhesive hooks will not damage standard cabinet finishes like laminates, sealed wood, or melamine. The key is to avoid pulling the hook directly away from the surface, which can tear paint or wood veneers. Instead, use a hairdryer to apply gentle heat to the adhesive strip for about thirty seconds to soften the glue. If the hook has a pull-tab, stretch it slowly and parallel to the cabinet surface. For stubborn adhesives or strips without tabs, slide a piece of dental floss or thin fishing line behind the hook and use a sawing motion to slice through the foam backing. Any remaining sticky residue can be safely cleaned with a mild adhesive remover or a cloth dampened with rubbing alcohol, provided you spot-test the cabinet finish first.
How much weight can no-drill secret storage actually hold?
The weight capacity of no-drill secret storage depends entirely on the manufacturer’s specifications of the hardware used and the condition of your cabinet surfaces. Generally, individual adhesive hooks can support between 500 grams and 2 kilograms, while heavy-duty mounting tapes may support more when applied over a large surface area. Tension rods can often hold between 1 and 3 kilograms of distributed weight, depending on how tightly they are wedged. However, because humidity and surface textures can reduce these limits, it is safer to keep heavy items like glass jars, heavy tools, or large liquid bottles on the solid base shelf of your cabinet. Reserve your no-drill hidden compartments for lightweight to medium items such as plastic containers, cleaning cloths, spices, and small accessories to ensure long-term stability.
Community discussion
Share your experience or ask a question. Comments are reviewed before publication.