
To effectively route and hide cables on a movable TV cabinet without drilling into your walls, you must anchor the entire cable management system directly to the mobile furniture piece itself. By turning the cabinet into a self-contained media hub, you ensure that all cords, power strips, and media devices move in unison with the stand. This approach eliminates the risk of tension on your ports, prevents cords from dragging under the wheels, and preserves your rental walls or delicate finishes.
When your entertainment setup is mobile, traditional wall-mounted raceways and in-wall routing are no longer viable options. Instead, the secret lies in utilizing the structural lines of the cabinet to conceal the wiring. By systematically routing cables along the back panels, legs, and undersides of the shelves, you can achieve a clean, minimalist aesthetic while maintaining the full mobility of your furniture.
Assess Your Cabinet and Cable Layout
Before purchasing any cable management accessories, you must thoroughly evaluate the physical structure of your movable cabinet. Begin by pulling the cabinet away from the wall to inspect its rear profile, shelving configurations, and any moving parts such as drawers, sliding doors, or rotating wheels. Take precise measurements of the clearance space beneath the bottom shelf and behind the back panel, as these hidden zones will serve as your primary cable pathways. If your cabinet features open shelving, you will need to plan routes that run strictly along the support pillars or behind the vertical frames to keep the cords out of direct sightlines.
Products mentioned in this guide
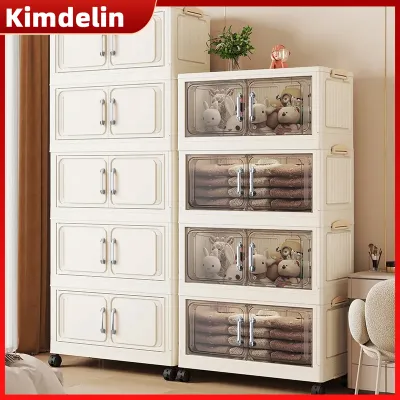
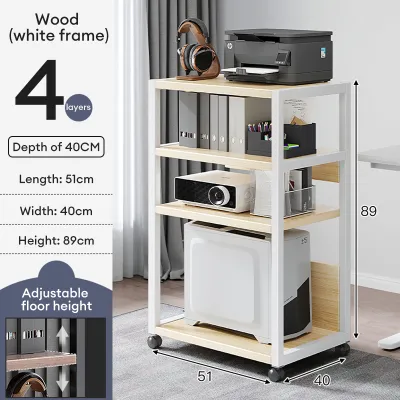
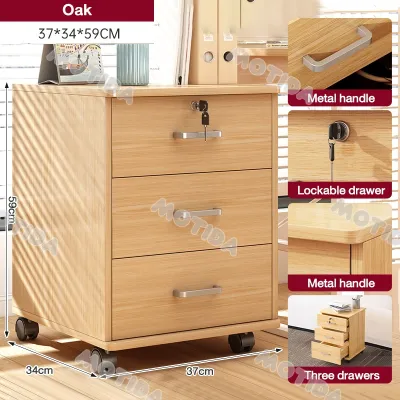
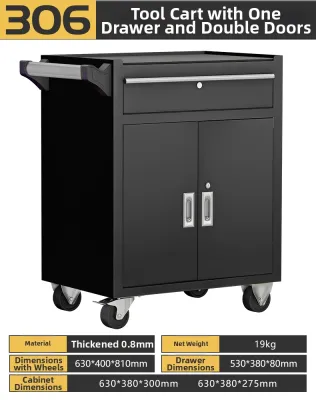
Prices are valid at publication and may change. Please refer to the product page for the latest price.
Next, take a complete inventory of all the electronic devices housed in your cabinet, including your television, gaming consoles, soundbars, streaming boxes, and routers. Lay out their respective power cords, HDMI cables, and optical wires to assess their thickness and flexibility. Every cable has a minimum bending radius, which is the tightest curve a wire can make without suffering internal copper damage or signal degradation. Stiff HDMI cables or thick power cords require wider, gentler loops, so you must avoid forcing them into sharp ninety-degree corners along the cabinet frame.
Finally, examine the surface material and finish of your cabinet to ensure compatibility with non-permanent mounting solutions. Movable cabinets are often finished with wood veneers, plastic laminates, powder-coated metals, or varnished solid wood. In warm, humid environments, moisture in the air can significantly affect how adhesives cure and hold over time. Smooth, non-porous surfaces like metal or high-pressure laminate provide an excellent bond for damage-free adhesive strips, whereas rough, unsealed wood or delicate paper veneers may peel or fail to hold weight. Identifying these material constraints early prevents you from buying adhesive clips that might fail or ruin your furniture’s finish upon removal.
Essential Tools and Materials for Non-Permanent Routing
Achieving a clean, drill-free cable setup requires a curated selection of damage-free accessories designed to hold wires securely without compromising your furniture. The foundation of your toolkit should consist of high-quality adhesive cable clips and adjustable hook-and-loop straps. Unlike single-use plastic zip ties, hook-and-loop straps allow you to easily add, remove, or adjust cables whenever you upgrade your media devices. For bundling multiple cords running from the TV down to the cabinet, flexible cable sleeves or split loom tubing are excellent choices, as they consolidate several unsightly wires into a single, neat conduit.

For larger components like power strips and bulky power adapters, look for clamp-on under-desk cable trays or adhesive-mounted wire baskets. Clamp-on trays are particularly useful because they grip the edge of a shelf using padded tension screws, completely eliminating the need for adhesives or screws while supporting substantial weight. If you prefer a completely hidden look, lightweight plastic cable raceways with pre-applied damage-free adhesive can be mounted directly to the back of the cabinet. These budget-friendly accessories, often costing between ₱150 and ₱500 on local online marketplaces, offer a clean look without permanent modifications. Avoid using heavy-duty industrial mounting tapes, hot glue, or nails, as these will permanently mar the cabinet’s surface, leave stubborn residue, or void the manufacturer’s warranty.
To ensure these non-permanent solutions perform reliably, you must also gather basic preparation tools. Keep a bottle of isopropyl alcohol or a mild surface cleaner, several clean microfiber cloths, a measuring tape, and a sharp pair of scissors on hand. Properly preparing the surfaces before application is the single most critical factor in preventing adhesive failure, especially in tropical climates where dust and humidity constantly settle on household surfaces.
Step-by-Step Guide to Routing Cables on a Movable Cabinet
To begin the installation, clear all devices off the cabinet and wipe down the rear surfaces, undersides of shelves, and support legs using a microfiber cloth dampened with isopropyl alcohol. This step removes accumulated dust, oils, and manufacturing residues that prevent adhesives from bonding. Allow the surfaces to dry completely for at least ten minutes. Skipping this preparation step is the primary reason adhesive clips peel off prematurely under the weight of heavy cords.
Once the surfaces are dry, position your power strip in its designated location, which should ideally be mounted horizontally along the back panel or tucked inside an under-shelf clamp-on tray. Group your media devices on their respective shelves and plug their power adapters into the power strip. Gather the remaining cables, such as HDMI and ethernet cords, and group them into logical bundles based on their destination. Use hook-and-loop straps to bind these bundles together every six to eight inches, ensuring you leave enough slack near the TV connection points to accommodate any tilting, swiveling, or height adjustments.
Next, install your primary cable containment system, such as an adhesive raceway or a clamp-on tray, along the back of the cabinet. If you are using adhesive-backed channels, peel the protective backing, press the channel firmly against the prepared surface, and hold it in place for at least thirty seconds to activate the pressure-sensitive adhesive. For optimal bonding strength, let the adhesive cure for a few hours before loading it with heavy cables or power bricks. Route your bundled cables through these channels, keeping high-voltage power cords separated from low-voltage data cables whenever possible to minimize electromagnetic interference.
Finally, secure any loose or dangling wires along the cabinet frame using individual adhesive cable clips. Guide the wires along the natural contours of the furniture, such as the back of a leg or the underside of a support beam, to keep them completely hidden from view. Pay close attention to the path of the cables near any moving parts; ensure that no wires hang near drawers, sliding tracks, or the cabinet’s wheels. Once all cables are secured, gently shake the cabinet to verify that nothing swings freely or catches on the moving components.
Managing the Power Drop and Floor Clearance
The most challenging aspect of managing cables on a movable cabinet is the “power drop”—the single main power cord that must run from your cabinet’s power strip to the nearest wall outlet. Because the cabinet is designed to move, this cord cannot be rigidly fixed to the floor or wall. To solve this, you must calculate the maximum distance you intend to roll or shift the cabinet during daily use or cleaning. Measure this distance and ensure your main power cord has an equivalent amount of slack, forming a gentle, controlled loop that prevents the plug from being violently yanked out of the wall socket when the cabinet is moved.
To protect this exposed floor segment from foot traffic, vacuum cleaners, and pets, utilize a flexible floor cable cover or a rubber cord protector. These low-profile covers lie flat on the floor, preventing tripping hazards while shielding the cable jacket from physical wear. Choose a color that matches your flooring—such as wood-grain, grey, or black—to make the protector blend in seamlessly. If you frequently roll the cabinet back and forth, ensure the floor cover is positioned in a way that does not obstruct the path of the cabinet’s wheels.
Additionally, you must prevent the slack loop of the power cord from slipping underneath the cabinet’s wheels or getting pinched against the wall when the furniture is pushed back into place. You can attach a small, weighted cable anchor or a magnetic cord organizer near the base of the cabinet leg to guide the slack cord upward and away from the floor. In tropical regions where floors are frequently swept or mopped, keeping the cables elevated off the ground prevents them from coming into contact with water, dust, and cleaning chemicals, thereby extending the lifespan of your wiring.
Maintenance and Safety Checks for Moving the Cabinet
Maintaining a safe and organized mobile entertainment center requires regular inspection and mindful handling. Whenever you need to roll or reposition the cabinet for cleaning or rearranging the room, always unplug the main power drop from the wall outlet first. Never rely on the cable’s slack to save it from tension, as a sudden snag can damage both the wall outlet and the power strip inside your cabinet. Once unplugged, coil the excess floor cord and temporarily secure it to the cabinet frame using a hook-and-loop strap before initiating any movement.
Over time, environmental factors such as high humidity and ambient heat can degrade the adhesive backing on your cable clips and raceways. Periodically inspect the back of your cabinet to check for peeling edges, sagging channels, or loose clips. If you notice an adhesive component losing its grip, remove it entirely, clean the surface with isopropyl alcohol to strip away old residue, and apply a fresh adhesive strip. Replacing worn clips early prevents sudden cable drops that could strain your device ports or tangle in the cabinet’s wheels.
Lastly, perform a visual safety check on the physical condition of the cables themselves. Inspect the outer jackets for any signs of pinching, kinking, or abrasion, particularly near the hinges of cabinet doors or the edges of shelves. If you discover any exposed copper, frayed insulation, or severely bent connectors, discontinue using the affected cable immediately and replace it. Keeping your mobile cable management system clean, dry, and securely anchored ensures a clutter-free living space and a safe home entertainment environment.
Frequently Asked Questions (FAQ)
Can I use damage-free adhesive strips for heavy cable management trays?
Yes, you can use damage-free adhesive strips for cable management trays, but you must strictly adhere to the weight limits specified on the product packaging. Most standard adhesive strips are designed for lightweight plastic raceways rather than heavy steel wire baskets loaded with multiple power bricks. To ensure a secure hold, calculate the combined weight of the tray, your power strip, and all connected adapters before installation. If the total weight exceeds the capacity of the adhesive strips, opt for a clamp-on cable tray instead, which uses padded tension knobs to secure heavy loads to your shelves without requiring screws or adhesives.
How do I hide the power brick for my TV on a movable stand?
The most effective way to hide a bulky TV power brick on a movable stand is to mount it directly to the back panel or the underside of a shelf using heavy-duty hook-and-loop tape. This keeps the heavy adapter off the floor and prevents it from dragging when the cabinet is moved. Because power bricks generate heat during operation, you must never wrap them tightly in plastic sleeves or enclose them in unventilated boxes. Ensure the mounting location allows for adequate airflow around the brick, or place it inside an open-mesh wire cable tray to facilitate heat dissipation while keeping it completely concealed.
Community discussion
Share your experience or ask a question. Comments are reviewed before publication.