
Installing a cap rack organizer stand is an excellent way to keep your headwear collection organized, clean, and easily accessible. However, a rack is only as reliable as its mounting foundation. Whether you are setting up a display in a modern condominium in Manila with drywall partitions or mounting a heavy-duty organizer onto the concrete hollow block walls typical of many homes in the Philippines, choosing the correct installation method is critical. Failing to match your mounting hardware to your specific wall type can result in sagging brackets, damaged paint, or a complete collapse of the rack under the weight of your caps.
To achieve a secure, professional-grade installation, you must systematically evaluate your wall material, gather the appropriate tools, and follow precise drilling and anchoring procedures. This guide provides comprehensive, step-by-step instructions for installing your cap rack organizer stand on drywall, concrete, masonry, and wood surfaces, ensuring your storage system remains stable and pristine for years to come.
Preparation: Essential Tools and Wall Anchor Selection
Before drilling any holes, you must prepare your workspace and gather the correct tools. Having the right equipment on hand prevents mid-installation delays and ensures that each step is executed with precision.
Products mentioned in this guide
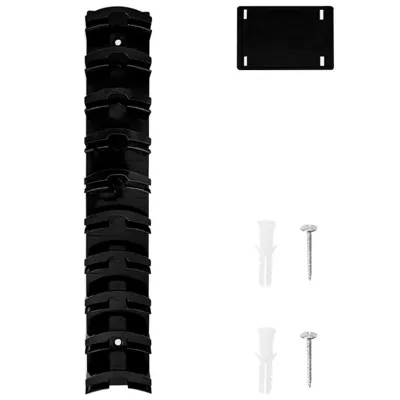
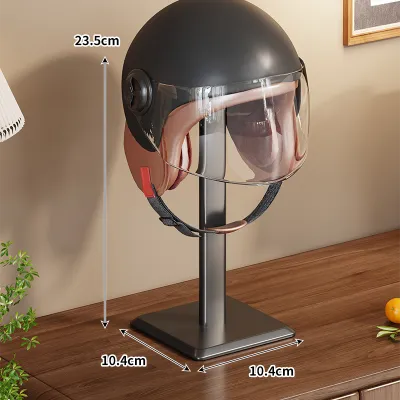
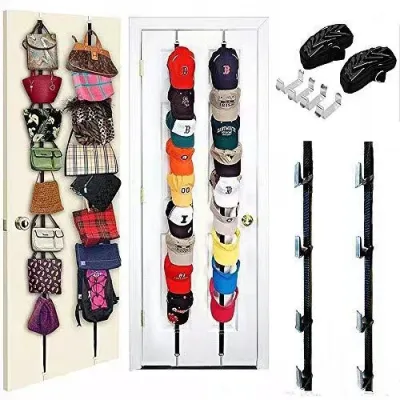
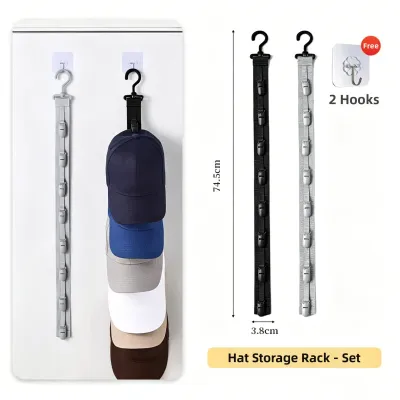

Prices are valid at publication and may change. Please refer to the product page for the latest price.
Essential Tools Checklist To complete this installation, you will need the following tools:
- Power Drill: A standard drill driver works well for wood and drywall, but a hammer drill is highly recommended for concrete or masonry walls.
- Drill Bits: Use standard twist drill bits for wood, specialized brad-point or spade bits for clean holes in drywall, and carbide-tipped masonry bits for concrete.
- Screwdriver or Drill Driver: A manual Phillips screwdriver allows for precise torque control, while a cordless drill driver speeds up the process of driving screws.
- Spirit Level: Essential for ensuring the cap rack is perfectly horizontal.
- Measuring Tape and Pencil: Used to measure mounting hole distances and mark precise drilling locations on the wall.
- Safety Gear: Always wear safety glasses to protect your eyes from flying dust and a high-quality dust mask to avoid inhaling fine gypsum or concrete particles.
Anchor Selection Guide Using the wrong wall anchor is the single most common cause of wall damage and mounting failure. The table below outlines the recommended hardware for each common wall type:
| Wall Type | Recommended Anchor Type | Best For |
|---|---|---|
| Hollow Drywall | Plastic expansion anchors or toggle bolts | Light to medium loads |
| Drywall with Wood Studs | Wood screws (driven directly into the stud) | Heavy loads |
| Concrete / Masonry | Sleeve anchors, wedge anchors, or masonry screws | Heavy loads on hard surfaces |
| Solid Wood / Plywood | Wood screws | Direct mounting into structural wood |
| Thin Wood Paneling | Long wood screws (must reach studs behind) | Mounting through decorative surfaces |
Pre-Installation Verification Before proceeding, consult the manufacturer instructions for your specific cap rack organizer stand to verify its maximum weight capacity and any recommended hardware size specifications. It is also critical to use a high-quality stud finder or a multi-scanner pipe detector before drilling. In many modern homes, electrical conduits (often orange flexible pipes in the Philippines) and water lines are embedded directly behind drywall or concrete surfaces. Scanning the wall first prevents costly and dangerous accidental punctures.
How to Install on Drywall: Studs vs. Hollow Walls
Drywall, while smooth and easy to work with, lacks the structural density to hold heavy screws on its own. When mounting a cap rack organizer stand on drywall, you must determine whether you can anchor directly into the wooden studs behind the wall or if you must rely on hollow-wall anchors.

Locating and Using Studs Wooden studs provide the strongest possible support for any wall-mounted furniture. Use a stud finder to locate the vertical framing members behind your drywall. Move the device horizontally across the wall until it indicates the edges and center of a stud, then mark these locations with a pencil. If your cap rack’s mounting brackets align with these stud marks, you can skip wall anchors entirely. Drill a pilot hole using a drill bit slightly smaller than the core of your wood screw, then drive the screw directly through the rack’s bracket into the stud. This direct connection offers maximum load capacity and stability.
Hollow Drywall Installation Steps If your desired mounting position does not align with wooden studs, you must use hollow-wall anchors to distribute the weight of the rack. Follow these steps for a secure hollow drywall installation:
- Position and Level: Hold the cap rack organizer stand against the wall at your desired height. Place a spirit level on top of the rack or its mounting plate. Adjust the rack until the bubble is perfectly centered between the lines, then use a pencil to mark the exact center of each mounting hole.
- Drill Pilot Holes: Select a drill bit that matches the exact diameter specified by your wall anchor manufacturer. Drill straight into the marked pencil points, keeping the drill perfectly perpendicular to the wall. Do not force the drill; let the bit do the work to avoid tearing the paper backing of the drywall.
- Insert the Anchors: For standard plastic expansion anchors, gently tap them into the drilled holes using a hammer until the flange sits perfectly flush with the drywall surface. If you are using heavy-duty toggle bolts, thread the metal wing onto the bolt, fold the wings flat, and push them completely through the pre-drilled hole until you hear them spring open behind the wall.
- Mount the Rack: Align the mounting brackets of your cap rack with the installed anchors. Insert the screws through the brackets and into the anchors. Tighten the screws using a manual screwdriver or a low-torque drill setting.
Crucial Warning Never attempt to drive screws or nails directly into hollow drywall without an anchor. While the screw may initially feel snug, drywall is made of a soft gypsum core that crumbles easily under stress. The dynamic, repetitive force of pulling caps off the rack and hanging them back up will quickly strip the drywall core, causing the screw to pull out, ruining your wall paint, and dropping your cap collection. Additionally, stop tightening the screws the moment the bracket is snug against the wall. Over-tightening can crush the drywall core or strip the plastic threads inside the anchor, rendering it useless.
How to Install a Cap Rack Organizer Stand on Concrete and Masonry Walls
Concrete and masonry walls are incredibly robust, making them ideal for heavy storage, but they require specialized tools and techniques to drill into without causing structural cracking or stripping your hardware. In the Philippines, residential interior walls are frequently constructed from concrete hollow blocks (CHB) finished with a layer of plaster, which presents unique installation challenges.
Drilling into Hard Surfaces To drill into concrete, a standard rotary drill is rarely sufficient; you will need a hammer drill, which combines rotary action with a rapid hammering motion to pulverize the tough aggregate. Equip your hammer drill with a high-quality, carbide-tipped masonry drill bit. The diameter of the bit must match the exact specifications labeled on your masonry anchor packaging. If the bit is too small, the anchor will not fit; if it is too large, the anchor will spin freely inside the hole and fail to grip.
Depth Control and Cleaning Drilling too deep can weaken the masonry or strike hidden structural reinforcements. To prevent this, measure the length of your masonry anchor and wrap a piece of masking tape or painter’s tape around your drill bit at that exact distance from the tip. This tape serves as an easy-to-see visual depth guide while drilling. Once you have drilled to the correct depth, you must perform the vital step of cleaning the hole. Use a narrow wire brush, a hand blower, or a vacuum cleaner with a crevice attachment to remove all concrete dust and debris from the hole. If you leave concrete dust inside, it will act as a lubricant, preventing the anchor from expanding fully and gripping the concrete walls properly.
Anchoring and Mounting After thoroughly cleaning the holes, insert your masonry anchors. Tap them gently with a hammer until they are flush with the plaster surface. Position your cap rack organizer stand over the anchors, aligning the mounting holes. Insert your masonry screws or sleeve bolts through the brackets and into the anchors. Tighten the hardware securely using a wrench, socket, or drill driver, ensuring the brackets are firmly clamped against the wall surface.
Troubleshooting and Safety Always wear safety goggles and a high-quality dust mask when drilling into concrete, as masonry dust is highly abrasive and hazardous to inhale. If you encounter an extremely hard spot that your drill cannot penetrate, you may have hit a piece of steel rebar; stop drilling immediately to avoid breaking your bit, and shift your mounting location slightly. If the plaster or concrete hollow block crumbles excessively during drilling, leaving a hole that is too large or causing the anchor to spin, do not attempt to force the installation. Remove the loose hardware, clean the cavity, and either step up to a larger sleeve anchor or fill the damaged hole with a high-strength masonry epoxy before re-drilling.
How to Install on Wood Surfaces and Paneling
Mounting a cap rack organizer stand on solid wood, plywood, or decorative wood paneling is generally straightforward, but it requires careful attention to detail to prevent splitting the wood or compromising the structural integrity of the wall.
Solid Wood and Plywood Solid wood and thick plywood offer excellent holding power for wood screws. However, driving a screw directly into dry wood can create intense internal pressure, causing the wood fibers to split along the grain. To prevent this, you must drill a pilot hole before inserting the screw. Select a drill bit that matches the diameter of the screw’s inner shank (the solid central core of the screw, excluding the protruding threads). Drill the pilot hole to a depth slightly shorter than the length of the screw. Once the pilot hole is ready, align your cap rack bracket and drive the wood screw directly into the wood. The threads will cut cleanly into the walls of the pilot hole, creating a highly secure grip without any risk of splitting.
Handling Thin Wood Paneling Thin decorative wood paneling, beadboard, or plywood sheets under 9mm thick are common in older homes or rustic interiors, but they are generally too thin and weak to support the weight of a fully loaded cap rack. If you mount the rack directly to thin paneling, the weight will eventually cause the paneling to bow, warp, or pull away from the wall framing. To install securely, you must locate the structural wooden studs hidden behind the decorative paneling. Use a stud finder or tap the wall to locate the solid framing. You must use wood screws that are long enough to pass entirely through the decorative paneling, bridge any air gap behind it, and penetrate the structural stud by at least one inch (25mm). This ensures the load is borne by the house’s structural frame rather than the cosmetic paneling.
Finishing the Mount When driving your screws, ensure the screw heads sit perfectly flush with the mounting bracket of the cap rack. Avoid using excessive force at the end of the driving process. Over-tightening can easily dent soft woods, strip the wood fibers inside the pilot hole (rendering the screw loose), or crack the delicate surface of decorative paneling. If using a power drill driver, adjust the clutch setting to a low level so that the drill slips when the screw is fully seated.
Testing the Mount and Long-Term Maintenance
Once your cap rack organizer stand is securely mounted, you must verify the stability of the installation before displaying your entire collection, and establish a simple maintenance routine to keep it secure over time.
Gradual Load Testing Do not immediately load the rack to its maximum capacity. Instead, perform a gradual load test by adding your caps one by one, starting with your lightest headwear. As you add weight, closely observe the mounting brackets and the surrounding wall surface. Look for any signs of pulling away from the wall, hairline cracks in the plaster or drywall, or sagging in the brackets. Always stay well within the manufacturer’s specified weight limits to prevent structural fatigue.
Visual and Physical Inspection Conduct a physical check by gently tugging the mounted rack from different angles. It should feel completely rigid and show absolutely no movement or play. Inspect the interface between the mounting bracket and the wall surface; there should be no visible gaps. If you notice any flexing or movement, tighten the mounting hardware immediately or re-evaluate your anchor selection.
Routine Maintenance in Humid Climates In tropical environments like the Philippines, high humidity and dramatic seasonal temperature shifts can cause building materials to expand and contract. Wood studs can swell during the rainy season and shrink during dry months, while drywall and plaster can experience subtle structural shifts. Over time, this natural movement can gradually loosen mounting screws and anchors. Make it a habit to inspect your cap rack every few months. Gently check the screws and tighten any that have begun to back out, taking care not to over-tighten and strip the threads. Keeping the hardware snug prevents minor play from turning into significant wall damage.
Frequently Asked Questions (FAQ)
Can I use adhesive strips instead of drilling to mount a cap rack organizer stand?
Adhesive strips are only suitable for very light, single-cap hooks on smooth, non-porous surfaces like glass or finished tile. For a multi-cap rack organizer stand, the combined weight of the caps and the dynamic force of pulling a cap off the rack will easily exceed adhesive limits. Relying on adhesives risks the rack falling, which can damage your caps and tear the paint or drywall paper upon failure. Drilling with the correct wall anchors is the only secure method for loaded racks.
What should I do if my wall anchor spins or won't grip?
If an anchor spins, it means the hole is too large or the wall material has crumbled. Do not force the screw. For drywall, remove the spinning anchor and switch to a toggle bolt, which expands behind the wall cavity and does not rely on the gypsum core for grip. For concrete or masonry, remove the anchor, clean the hole, and use a larger sleeve anchor or fill the hole with a high-strength masonry epoxy before re-drilling.
Community discussion
Share your experience or ask a question. Comments are reviewed before publication.