
Mounting a cap wall mount organizer is an excellent way to keep your headwear collection organized, preserved, and easily accessible. Achieving a secure, sag-free installation depends entirely on matching your mounting hardware and drilling techniques to the specific wall material in your home. Whether you are dealing with solid concrete walls common in tropical climates like the Philippines, standard drywall, or wooden studs, using the correct anchors prevents unsightly wall damage and ensures your organizer remains firmly in place. By taking the time to assess your wall type and prepare the proper tools, you can complete this home improvement project with professional-grade results.
Pre-Installation Checks and Tool Preparation
Before making any permanent marks or drilling holes into your wall, a thorough pre-installation assessment is essential to guarantee a safe and lasting mount. Begin by unboxing your cap wall mount organizer and carefully reviewing the manufacturer’s installation manual. Pay close attention to the specified weight capacity, recommended hardware sizes, and required clearances. While caps themselves are lightweight, the cumulative weight of multiple hats, combined with the weight of the organizer itself and the downward pull when grabbing a cap, can place surprising stress on your wall fasteners.
Next, gather all the necessary tools and place them within arm’s reach to streamline the installation process. You will need a reliable power drill, a set of drill bits matched to your wall type, a spirit level to ensure a perfectly straight mount, a tape measure, and a pencil for marking. Having a vacuum cleaner or a small brush nearby is also helpful for clearing away drilling dust as you work. If your organizer features a multi-piece frame, assemble the components on a flat surface beforehand to verify that all parts fit together correctly and to measure the exact distance between the mounting brackets.
Products mentioned in this guide
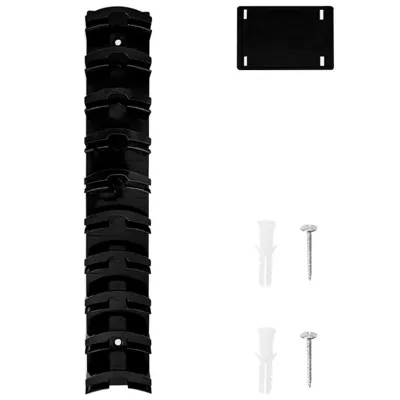
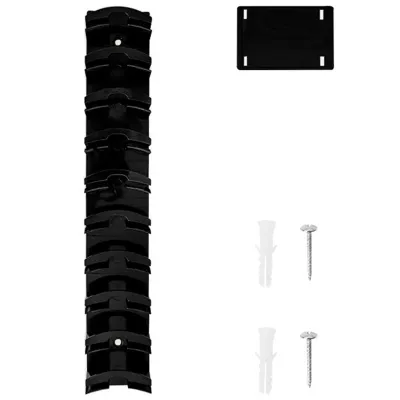
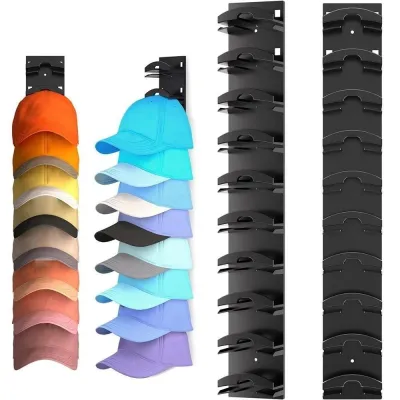
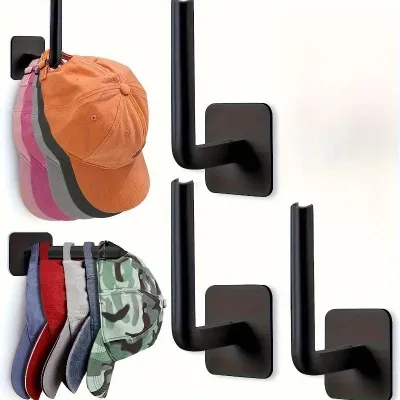
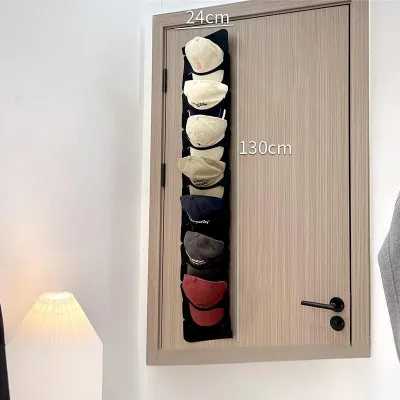
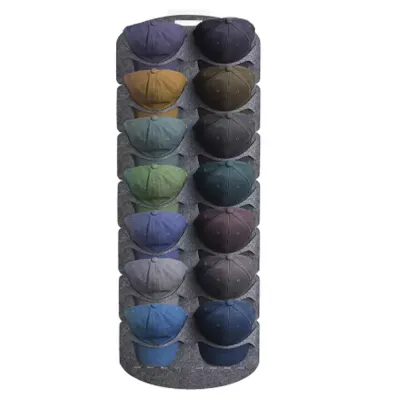

Prices are valid at publication and may change. Please refer to the product page for the latest price.
Inspect the chosen wall area closely before proceeding. Look for any signs of structural damage, such as deep cracks, crumbling plaster, or soft spots. In humid environments, check for signs of moisture or water staining, which can severely compromise the holding power of drywall and wood. If you encounter any of these issues, or if the manufacturer’s instructions conflict with the physical condition of your wall, stop immediately and consult a qualified professional to address the underlying structural concerns before mounting any fixtures.
Identifying Your Wall Type
Selecting the wrong fastener for your wall type is the most common cause of installation failure. In many regions, including the Philippines, residential construction heavily utilizes solid concrete or masonry for both exterior and interior partition walls, whereas other homes may feature drywall over metal or wood studs. To determine exactly what lies behind your paint or wallpaper, start with a simple visual and tactile inspection. Tap the wall gently with your knuckles; a hollow, clear sound typically indicates drywall or plasterboard, while a dull, solid thud points to concrete, brick, or solid wood.

For hollow walls, a stud finder is an indispensable tool to locate the wooden or metal framing members hidden behind the drywall. Slide the stud finder horizontally across the wall surface and mark the edges of any detected studs with a pencil. If you do not have a stud finder, look for clues such as the positioning of electrical outlets and light switches, which are almost always anchored to a stud.
Before drilling, you must also verify that the path behind the wall is clear of hidden hazards. Avoid mounting your organizer directly above or below light switches, electrical outlets, or plumbing fixtures, as utility lines run vertically and horizontally from these points. If you are unsure about what lies behind the wall surface, or if the knock test yields inconsistent results, halt the installation and seek professional advice to avoid costly and dangerous utility punctures.
Installation Steps by Wall Material
Once you have identified your wall type and confirmed the mounting location is safe, you can proceed with the installation. The key to a successful mount lies in adapting your drilling technique and anchoring hardware to the specific physical properties of the wall material. Always measure twice and mark your hole positions using a spirit level to ensure the organizer sits perfectly horizontal.
Drywall (Plasterboard)
Drywall lacks the structural density to hold standard screws securely on its own, meaning you must rely on specialized hollow-wall anchors to distribute the weight. If your cap organizer’s mounting holes do not align with a wall stud, you must use toggle bolts, self-drilling threaded anchors, or expansion anchors as specified in the product manual. Toggle bolts offer the highest load capacity for hollow walls, as their spring-loaded wings expand behind the drywall panel to provide a wide surface area of support.
To install these anchors, begin by holding the organizer or its mounting template against the wall, using a spirit level to align it, and marking the exact center of each mounting hole with a pencil. Select a drill bit that matches the exact diameter specified on the anchor packaging. Drill the pilot holes straight into the drywall, keeping the drill perfectly perpendicular to the wall surface to avoid creating an oval, oversized hole.
Insert the anchors into the pre-drilled holes. If using plastic expansion anchors, gently tap them with a hammer until they sit completely flush with the drywall surface. If using toggle bolts, feed the bolt through the organizer’s mounting bracket first, thread the toggle wing onto the bolt, compress the wings, and push them completely through the pre-drilled hole until you hear them spring open behind the wall. Tighten the screws slowly with a manual screwdriver or a low-torque power drill setting; over-tightening can easily strip the plastic anchor or crush the fragile gypsum core of the drywall, ruining its holding capacity.
Concrete or Masonry
Concrete, brick, and hollow block walls provide exceptional holding power but require specialized tools and heavy-duty fasteners to penetrate. Standard drill bits will quickly overheat and dull against masonry, so you must use a carbide-tipped masonry drill bit. For solid concrete, a hammer drill is highly recommended, as its rapid pulsing action chips away the hard material while the bit rotates, making the drilling process significantly faster and cleaner.
Start by marking your mounting holes on the concrete surface using your organizer as a template. Securely chuck the correct size of carbide-tipped bit into your drill. Hold the drill firmly with both hands, position the tip on your pencil mark, and apply steady, forward pressure. Drill to a depth slightly deeper than the length of the anchor you plan to use, which ensures the anchor can sit fully flush without bottoming out on concrete debris.
Once the holes are drilled, it is critical to clear out all concrete dust and debris from the cavity. Use a hand pump, a vacuum cleaner, or a small brush to clean the holes; leftover dust acts as a lubricant and can prevent the anchor from gripping the concrete walls properly. Insert your plastic wall plugs or metal sleeve anchors into the clean holes, tapping them flush with a hammer if necessary. Align the cap organizer over the anchors and drive the screws in until they are snug and secure, taking care not to over-torque and snap the screw heads.
Wood or Wall Studs
Mounting your cap organizer directly into solid wood panels or structural wall studs provides the strongest possible connection, completely eliminating the need for wall anchors. This method is highly recommended if your organizer is designed to hold a large volume of heavy caps or additional accessories.
After using your stud finder to locate and mark the center of the wooden studs, align your organizer’s mounting holes with these marks. Because wood is dense and fibrous, driving a screw directly into it without preparation can cause the wood to split along the grain, severely weakening the hold and damaging your wall. To prevent this, you must pre-drill pilot holes.
Select a wood drill bit with a diameter slightly smaller than the inner shank of your wood screws (excluding the outer threads). Drill straight into the marked stud locations to the depth of the screw length. Once the pilot holes are prepared, hold the organizer in place, insert the wood screws through the mounting brackets, and drive them directly into the studs. Tighten the screws until the bracket is held firmly against the wall, ensuring a rock-solid mount that will easily withstand daily use.
Post-Installation Verification and Maintenance
With the organizer mounted, you must verify the stability of the installation before loading it with your cap collection. Begin with a visual inspection to confirm that the unit is perfectly level and sits flush against the wall surface without any visible gaps. Check each fastener to ensure it is seated tightly against the mounting brackets.
Next, perform a gradual load test. Instead of placing all your caps on the organizer at once, add them one by one while observing the brackets and the wall area around the fasteners. Listen closely for any creaking sounds and watch for any flexing, sagging, or movement of the anchors. If you notice the wall material cracking or the anchors pulling away even slightly, remove the weight immediately and inspect the hardware.
To maintain the safety and longevity of your wall mount, establish a simple periodic maintenance routine. Over time, the repeated action of placing and removing caps, along with natural home vibrations and seasonal humidity shifts, can cause screws to loosen slightly. Every few months, inspect the organizer, gently wiggle the frame to check for play, and use a manual screwdriver to tighten any loose fasteners. Regularly check the wall surface around the anchors for signs of wear, moisture damage, or cracking to ensure your storage setup remains secure for years to come.
Frequently Asked Questions (FAQ)
Can I install a cap organizer on tiled walls?
Yes, you can install a cap organizer on tiled walls, but you must take extra precautions to avoid cracking the fragile ceramic or porcelain surface. Never use a standard masonry bit or a hammer drill directly on the tile face. Instead, use a specialized diamond-tipped or carbide glass-and-tile drill bit, and run your drill at a slow speed with light, steady pressure. Applying a piece of masking tape over the marked drilling spot can help prevent the drill bit from slipping and scratching the tile. Once the bit successfully penetrates the hard outer tile layer and reaches the underlying wall substrate (such as concrete or backer board), switch to the appropriate masonry or standard bit to complete the hole, then insert your anchor securely.
What should I do if the anchor spins in the wall?
An anchor that spins freely inside the wall indicates that the pre-drilled hole was made too large, the wall material has crumbled, or the anchor type is incorrect for that specific wall. To resolve this without causing further damage, first carefully back the screw out of the spinning anchor. You can often grip the rim of the anchor gently with needle-nose pliers to keep it from spinning while you unscrew it. Once the screw is out, pull the failed anchor from the wall. You can replace it with a larger, heavy-duty anchor designed for oversized holes, such as a toggle bolt for drywall, or fill the damaged area with wall patch compound, let it cure completely, and shift your mounting position slightly to drill a fresh, correctly sized hole.
Community discussion
Share your experience or ask a question. Comments are reviewed before publication.