
Mounting a cap organizer hanging system in your room is an excellent way to keep your baseball caps, snapbacks, and sun hats structured, clean, and easily accessible. However, a successful installation depends entirely on matching your mounting method to the specific wall or door material in your space. Choosing the wrong hardware can lead to sagging mounts, cracked plaster, or damaged doors that are costly to repair.
Before hammering any nails or drilling holes, you must evaluate whether you are working with hollow drywall, solid concrete, or a wooden door. Each surface has distinct load-bearing capacities and requires specific tools to ensure your organizer remains securely attached over time. Taking a systematic approach to installation preserves your walls and keeps your collection neatly displayed.
Assess Your Wall Type and Gather the Right Tools
Identifying the exact material of your wall is the first and most critical step of the installation process. In many modern homes and condominiums in the Philippines, interior partition walls are made of drywall or gypsum board, while exterior and structural walls are typically constructed from solid concrete or concrete hollow blocks.
Products mentioned in this guide
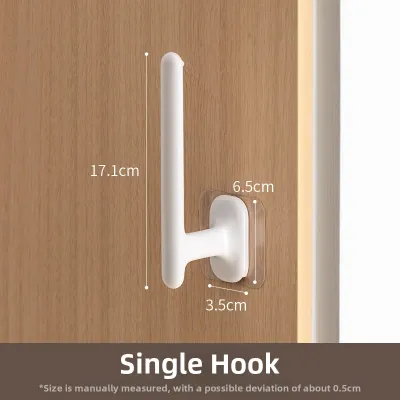
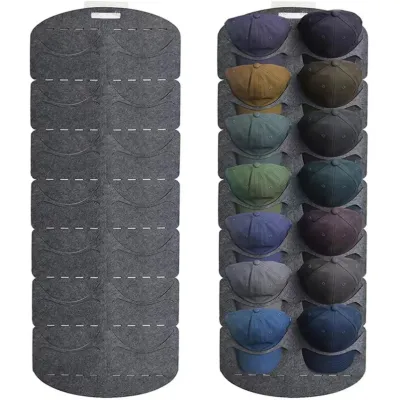
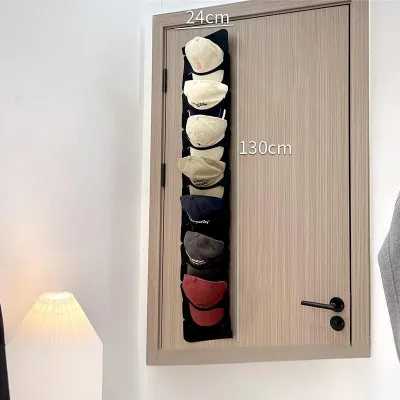
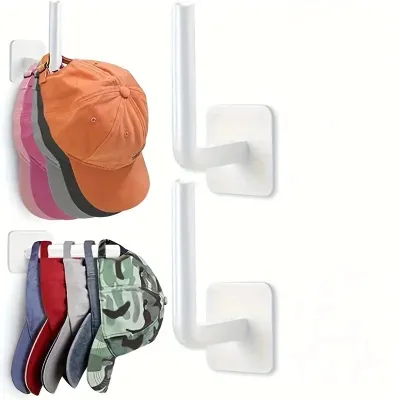
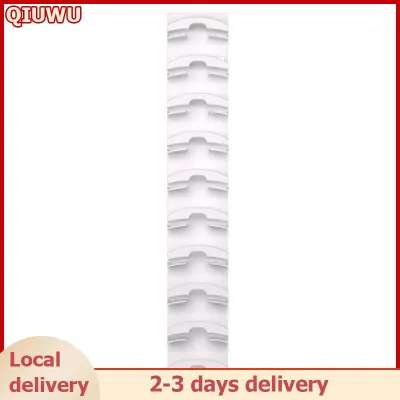
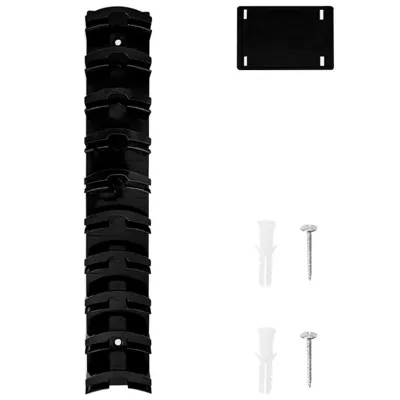
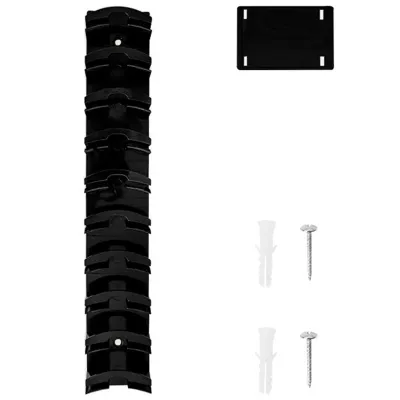
Prices are valid at publication and may change. Please refer to the product page for the latest price.
To determine what lies behind your paint, perform a simple tap test. Gently tap your knuckles against the wall surface in several spots; a hollow, resonant sound indicates drywall or fiber cement board, whereas a dull, solid thud indicates concrete or masonry.
For doors, inspect the top edge and knock on the center to determine if you are dealing with a hollow-core door, which is lightweight and hollow inside, or a heavy, solid wood door.
Once you have identified the surface, gather the necessary tools to ensure a smooth installation process. A complete toolkit for this project includes:
- Stud finder: Essential for locating wooden or metal framing behind drywall.
- Power drill: A standard drill works for drywall and doors, but a hammer drill is highly recommended for concrete.
- Drill bits: Standard wood/metal bits for drywall and doors, and carbide-tipped masonry bits for concrete.
- Screwdriver: A manual Phillips-head or flathead screwdriver prevents over-tightening.
- Spirit level: Keeps your organizer perfectly horizontal and visually aligned.
- Pencil and measuring tape: For marking precise drill points.
Before starting, unbox your cap organizer hanging system and read the manufacturer’s instruction manual thoroughly. Examine the included mounting hardware, such as screws and plastic anchors, to verify if they are suitable for your specific wall type. Many default kits include low-grade plastic plugs that may not perform well on hollow drywall or heavy concrete, meaning you may need to purchase higher-quality anchors from a local hardware store.
Safety must be your top priority before you begin drilling. Always check for hidden utility lines, such as electrical wiring or water pipes, running behind your planned mounting location. Avoid drilling directly above or below light switches, electrical outlets, or near bathroom walls where plumbing lines are likely situated.
Step-by-Step Installation on Drywall
Drywall offers a smooth surface for mounting, but it lacks the structural integrity to hold heavy loads on its own. When installing a cap organizer hanging unit on drywall, your primary goal is to anchor the hardware into a wooden stud behind the wall board.

Studs provide the highest possible holding strength because the mounting screws bite directly into solid wood framing. Use a stud finder to locate the edges of the stud, mark the center with a pencil, and plan to mount your organizer’s main brackets directly onto these points.
If your desired layout does not align with the studs, you must use specialized hollow wall anchors to distribute the weight of the organizer and your caps. Never rely on bare screws driven directly into drywall, as they will quickly pull out and ruin the wall.
To install the organizer using hollow wall anchors, follow these steps:
- Mark the holes: Hold the organizer or its mounting brackets against the wall, place a spirit level on top to ensure it is straight, and mark the screw holes with a pencil.
- Drill pilot holes: Select a drill bit that matches the exact diameter specified on your anchor packaging. Drill straight into the marked pencil spots without wobbling the drill, keeping the tool perpendicular to the wall.
- Insert the anchors: Push the plastic expansion anchors or toggle bolts into the pilot holes. If using plastic expansion anchors, tap them gently with a hammer until they sit flush with the drywall surface.
- Drive the screws: Align the organizer brackets over the anchors, insert the screws, and tighten them using a manual screwdriver.
When securing the brackets, tighten the screws until they are snug, but avoid over-tightening. Excessive force can strip the plastic anchor or crush the surrounding gypsum core, rendering the mount unstable.
Keep in mind that drywall has a lower pull-out strength compared to solid masonry. Always check the weight rating printed on your wall anchor packaging and ensure the combined weight of your organizer and cap collection does not exceed this limit. If the drywall crumbles during drilling or the anchor spins freely in the hole, stop immediately, patch the damaged area, and relocate your mounting hole to a fresh, stable section of the wall.
Step-by-Step Installation on Concrete or Masonry Walls
Concrete and masonry walls are incredibly sturdy, making them ideal for heavy-duty storage, but they require specialized tools and techniques to penetrate. Standard drill bits will quickly dull and overheat when used on concrete, so preparing the correct equipment is essential.
For a successful installation on concrete, you will need a hammer drill—or a standard power drill with a hammer setting—and a high-quality, carbide-tipped masonry drill bit. The hammer action pulverizes the stone and concrete hollow block material, while the carbide tip cuts through the tough aggregate.
To mount your cap organizer hanging rack on a concrete wall, follow this step-by-step procedure:
- Mark the mounting points: Position the organizer on the wall, verify its alignment with a spirit level, and mark the drilling spots clearly with a pencil.
- Set the drilling depth: Wrap a piece of masking tape around your masonry drill bit at the exact depth required by your wall plugs or sleeve anchors. This prevents you from drilling too deep or too shallow.
- Drill the holes: Hold the hammer drill firmly with both hands, position the bit on the pencil mark, and apply steady forward pressure. Drill until you reach the tape marker, then pull the bit out while it is still spinning to clear out loose debris.
- Clear the dust: Use a vacuum cleaner nozzle or a can of compressed air to thoroughly blow out any remaining concrete dust from inside the drilled holes. Leftover dust acts as a lubricant and can prevent wall plugs from gripping the concrete securely.
- Insert the anchors: Tap your plastic wall plugs (often referred to locally as tox plugs) or sleeve anchors into the clean holes until they are flush with the masonry surface.
- Mount the organizer: Align the organizer frame over the plugs, insert the mounting screws, and tighten them securely with a screwdriver.
Working with concrete generates fine silica dust and flying debris, so always wear safety glasses and a protective dust mask during the drilling process. If your drill bit suddenly stops advancing or binds within the hole, you may have hit a steel reinforcing bar or an exceptionally hard river stone within the concrete mix. Do not force the tool, as this can break the bit or damage your drill motor. Instead, pause the installation, shift your mounting position slightly, or consult a professional handyman to complete the drilling safely.
Door-Mounted and Over-the-Door Installation Options
If you are renting your home or simply want to maximize unused space without drilling into your walls, mounting a cap organizer hanging system on a door is a highly practical alternative. This approach utilizes existing vertical space but requires careful planning to protect the door’s finish and operation.
Over-the-door hooks are the easiest, damage-free option available. Before purchasing an over-the-door organizer, measure the thickness of your door and check the clearance gap at the top and sides using a small coin. If the gap is too narrow, the metal bracket may scrape the door frame, preventing the door from closing or latching properly.
To prevent the metal brackets from scratching the paint or wood finish, apply thin foam or felt adhesive pads to the inside surfaces of the hooks that contact the door. This also dampens vibrations and prevents the organizer from rattling when you open and close the door.
Adhesive hooks or mounting strips offer another drill-free solution, but they require meticulous surface preparation to succeed. Clean the door surface thoroughly with rubbing alcohol to remove dust, oils, and fingerprints, and let it dry completely.
Apply the adhesive strips according to the manufacturer’s instructions, pressing firmly for at least thirty seconds, and allow the adhesive to cure for a full twenty-four hours before hanging any caps.
Keep in mind that high relative humidity, which is common in tropical climates like the Philippines, can weaken adhesive bonds over time. Avoid using adhesive solutions on freshly painted, heavily textured, or peeling door surfaces, and always stay well below the adhesive manufacturer’s specified weight limits.
If you prefer a permanent, heavy-duty mount on a wooden door, you can screw the organizer directly into the wood. First, verify whether your door is solid wood or hollow core by knocking on it; hollow-core doors have very thin wood veneers on the outside and cannot support heavy screws without specialized hollow-core anchors.
When drilling into a wooden door, use standard wood screws and select a drill bit slightly smaller than the screw shank for your pilot holes. Measure the door’s thickness carefully to ensure your drill bit and screws do not penetrate through to the opposite side of the door.
Testing the Mount and Organizing Your Caps
Before you begin loading your newly installed cap organizer hanging system with your favorite hats, you must verify the structural integrity of your mount. Testing the installation ensures that the organizer can handle daily use without suddenly pulling away from the wall.
Perform a gentle “pull test” by applying light downward and outward pressure to the mounted organizer frame. Watch the wall surface closely around the anchors or screws; there should be no visible movement, creaking sounds, or hairline cracks forming in the drywall plaster or concrete paint.
Once the mount is verified as stable, organize your caps strategically to distribute the weight evenly. Place your heaviest headwear, such as thick winter beanies, structured flat-brims, or heavy snapbacks, near the main mounting brackets or toward the bottom of the organizer.
Lighter items, such as unstructured baseball caps, visors, or running hats, should be placed toward the top or outer edges of the hanging system. This balanced distribution minimizes leverage stress on the upper wall anchors, extending the lifespan of your installation.
Over time, the repetitive motion of pulling caps off and hanging them back up can gradually loosen screws and anchors. Make it a habit to periodically inspect the mounting hardware every few months, gently tightening any screws that have backed out slightly due to daily vibrations.
If you notice the organizer beginning to sag, tilt, or pull away from the wall surface at any point, remove all caps immediately to prevent further damage. Reassess the wall integrity, inspect the anchors for signs of failure, and upgrade to heavy-duty toggle bolts or concrete sleeve anchors if necessary.
Frequently Asked Questions (FAQ)
Can I use adhesive strips for a heavy cap organizer?
Adhesive strips are convenient but have strict weight limits printed on their packaging, which must account for both the weight of the organizer frame and the collective weight of your caps. Heavy metal organizers or expansive cap collections will easily exceed these limits, leading to adhesive failure, fallen items, and peeled wall paint. For heavy cap organizer hanging setups, mechanical fasteners such as screws and wall anchors are highly recommended to ensure a secure, long-term hold.
What if my concrete wall is too hard to drill?
If your drill fails to penetrate a concrete wall or the drill bit becomes extremely hot, you are likely dealing with high-strength cured concrete or have hit a steel rebar reinforcement. Ensure you are using a dedicated hammer drill on the correct setting paired with a sharp, high-quality carbide-tipped masonry bit. If the bit still cannot make progress, stop immediately to avoid burning out your power tool’s motor or damaging the wall, and contact a professional handyman to complete the installation.
Community discussion
Share your experience or ask a question. Comments are reviewed before publication.