
Installing a hanging console cabinet in a bathroom without drilling into tiles is entirely possible, primarily through the use of high-strength, waterproof construction adhesives or vertical tension-based support systems. In many modern Philippine condominiums, drilling into bathroom tiles is either strictly prohibited by building administrations or highly risky due to the danger of puncturing hidden water pipes and breaching waterproofing membranes. By choosing the right non-invasive mounting method, you can secure your bathroom storage while keeping your security deposit and wall integrity fully intact.
Assessing Wall Conditions and Weight Limits
Before purchasing any adhesive or mounting hardware, you must evaluate the structural integrity of your bathroom wall. Tiles that are loose, cracked, or improperly bonded to the substrate cannot support the sheer weight of a hanging console cabinet, regardless of how strong your adhesive is. You can check for structural issues by gently tapping each tile in the target area with the handle of a screwdriver or a plastic mallet. A hollow, echoing sound indicates an air pocket behind the tile, meaning it is unsupported and highly susceptible to cracking or falling off under load.
Next, determine the substrate material behind your tile wall. In the Philippines, condo bathroom walls are typically constructed from either solid poured concrete, concrete hollow blocks, or light fiber cement boards on metal framing. Adhesives bond exceptionally well to tiles over solid masonry because the underlying wall does not flex. If your tiles are laid over flexible drywall or thin fiber cement boards, the structural flex under the weight of a heavy cabinet can cause the adhesive bond or the tiles themselves to shear off.
Products mentioned in this guide
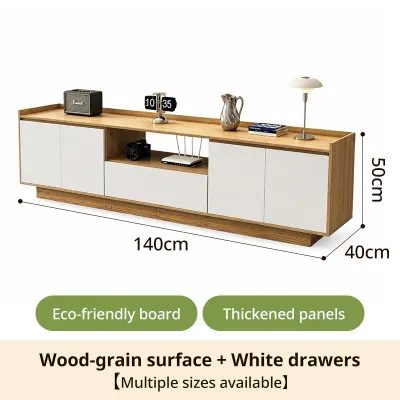
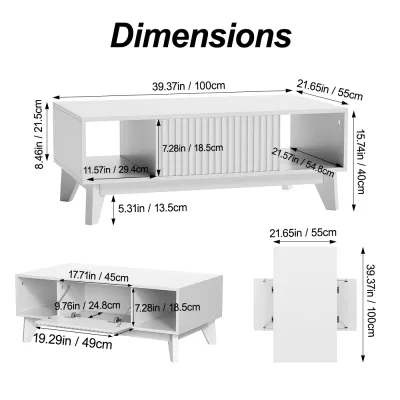
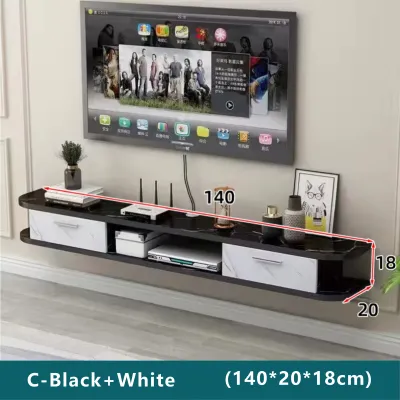
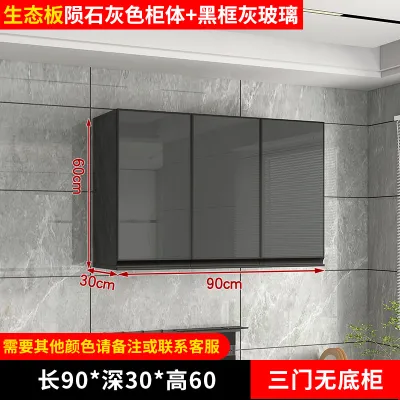
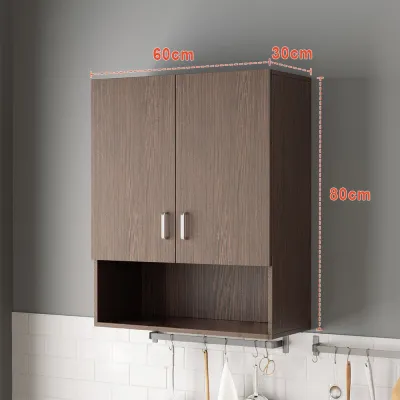
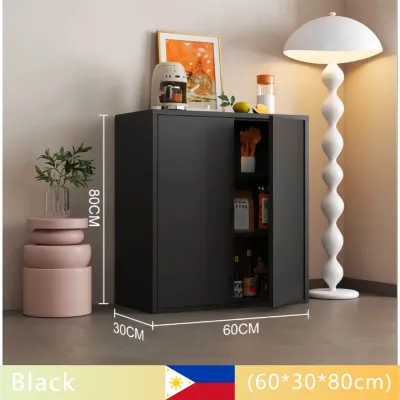
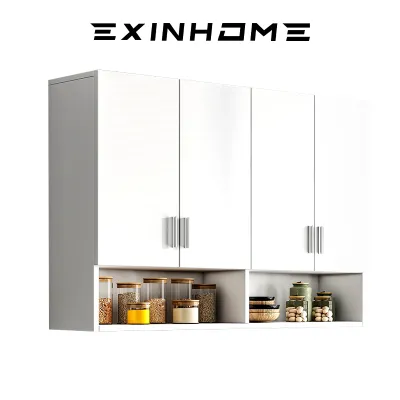
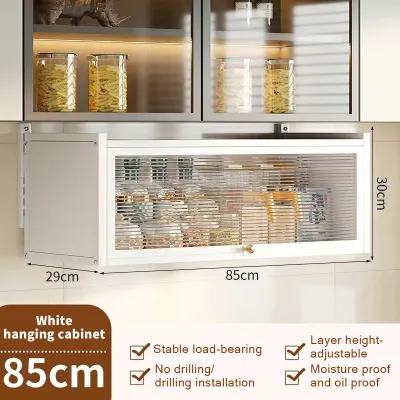
Prices are valid at publication and may change. Please refer to the product page for the latest price.
Calculating the total load is a critical safety step that you must perform before proceeding. Weigh your empty hanging console cabinet and add the estimated weight of all items you plan to store inside, such as toiletries, heavy bottles, and towels. Check the cabinet manufacturer’s specifications for its maximum load capacity, and cross-reference this total with the weight limits specified on your chosen adhesive’s packaging. If the combined weight of the cabinet and its contents exceeds the rated capacity of the adhesive, or if your tiles show any signs of damage, you must halt the project and opt for a floor-standing storage unit instead.
Finally, always consult your condominium’s property management office guidelines before starting. Many properties require a minor work permit or have specific clauses regarding the use of permanent construction adhesives on shared walls. Clarifying these rules beforehand prevents unexpected penalties and ensures your installation aligns with building safety standards.
Comparing No-Drill Mounting Methods
Several non-destructive mounting options exist, but they offer vastly different levels of security and weight capacity.

Heavy-Duty Construction Adhesive: This is the most reliable method for permanently mounting a heavy hanging console cabinet to smooth, non-porous ceramic or porcelain tiles. Waterproof polyurethane-based or hybrid polymer adhesives create an incredibly strong chemical bond that resists the constant moisture of a tropical bathroom. However, this method is virtually permanent; removing the cabinet later requires significant effort, heat, and chemical solvents, which may still leave minor residues or risk chipping the tile glaze during removal.
Tension-Based Floor-to-Ceiling Systems: If you are renting a condo and need a completely reversible solution, tension-based vertical post systems are an excellent alternative. These systems use spring-loaded or screw-threaded metal poles that wedge securely between your bathroom floor and ceiling, holding shelves or a console cabinet in place without touching the tiled wall. While highly secure and completely damage-free, these poles remain visible and may limit your layout options in compact bathroom layouts.
Heavy-Duty Suction Cups and Mounting Tapes: Although widely advertised on ecommerce platforms for bathroom organization, suction cups and double-sided mounting tapes are highly unsuitable for supporting a heavy hanging console cabinet. Suction cups rely on a continuous vacuum seal, which inevitably fails over time due to temperature fluctuations and high humidity. Double-sided foam tapes lack the sheer strength required to support cantilevered furniture, and the moisture in a tropical bathroom rapidly degrades their adhesive backing, leading to catastrophic cabinet failure.
Tools and Materials Checklist
Having the correct tools and materials on hand before you begin ensures a seamless and safe installation process.
Essential Materials:
- Waterproof Construction Adhesive: Look for a high-tack, polyurethane or polymer-based adhesive explicitly rated for wet environments and non-porous surfaces like glazed tile.
- Surface Cleaner: Isopropyl alcohol (70% or higher) or a specialized residue-free tile cleaner to strip away oils and soap scum.
- Painter's Tape: High-quality masking tape to mark boundaries and protect surrounding tile surfaces.
- Waterproof Silicone Caulk: For sealing the edges after the adhesive cures.
Required Tools:
- Microfiber Cloths: For lint-free cleaning and drying of the tile surface.
- Caulk Gun: To apply the construction adhesive smoothly and evenly.
- Spirit Level: To guarantee the cabinet is perfectly level before the adhesive sets.
- Measuring Tape and Erasable Marker: For precise layout measurements.
Temporary Support Equipment:
- Adjustable Tension Poles or Wooden Props: Essential for holding the heavy cabinet firmly against the wall during the initial curing phase.
Ensure your bathroom is well-ventilated by opening windows and turning on exhaust fans during the application, as some construction adhesives emit strong fumes while curing.
Step-by-Step Adhesive Installation Guide
Surface Preparation and Dry Fitting
A successful adhesive bond relies entirely on a pristine tile surface. Soap scum, hard water deposits, and body oils create a microscopic barrier that prevents the adhesive from fusing with the tile glaze. Scrub the target tile area thoroughly using a non-abrasive bathroom cleaner, rinse it completely with clean water, and wipe it down with isopropyl alcohol. Allow the wall to dry completely; even a tiny amount of residual moisture can ruin the chemical reaction of the adhesive.
Once the wall is dry, perform a dry fit of your hanging console cabinet. Hold the cabinet against the wall at your desired height, and have a helper place a spirit level on top to ensure it is perfectly horizontal. Use an erasable marker or pencil to draw light lines along the top, bottom, and side edges of the cabinet onto the tiles.
Apply painter’s tape just outside these marked lines. This creates a protective border around the mounting area, ensuring that any excess adhesive that squeezes out during installation lands on the tape rather than staining your exposed bathroom tiles.
Adhesive Application and Temporary Support
With the preparation complete, prepare your adhesive cartridge and load it into the caulk gun. Cut the nozzle at a 45-degree angle to produce a bead of adhesive approximately six millimeters wide, or as recommended by the product manufacturer.
Apply the adhesive to the back of the cabinet mounting plate or directly to the tile surface in vertical, parallel beads spaced about five to ten centimeters apart. Never apply adhesive in a closed circular pattern or a horizontal line across the top; vertical beads allow air to circulate, which is necessary for the adhesive to cure, and prevent water from getting trapped behind the cabinet in humid bathroom conditions.
Lift the cabinet and press it firmly against the tiled wall, aligning it precisely with your marked tape boundaries. Press with steady, even pressure across the entire surface for at least one to two minutes to ensure the adhesive spreads and makes full contact with both surfaces.
Immediately position your temporary supports, such as adjustable tension poles or custom-cut wooden props, underneath the cabinet to bear its full weight. Do not release your grip on the cabinet until you are absolutely certain that your temporary supports are locked in place and stable. Wet adhesive has very little initial shear strength, and the cabinet will slide down or fall off the wall instantly without robust mechanical support.
Curing, Testing, and Humid Climate Maintenance
Patience is critical during the curing phase, especially in the tropical, high-humidity climate of the Philippines. Most heavy-duty construction adhesives require a full 24 to 72 hours to reach their maximum rated strength. Check the manufacturer’s label for specific curing times relative to ambient humidity, and do not disturb, nudge, or place any weight on the cabinet during this period. Keep your bathroom well-ventilated and avoid taking hot, steamy showers during the first 48 hours to prevent excess moisture from interfering with the curing process.
Once the curing period has fully elapsed, carefully remove the temporary supports. Perform a gradual load test by gently pressing down on the cabinet with your hands, checking for any signs of movement, flexing, or separation from the wall. If the bond feels secure, begin placing your bathroom items inside one by one over several days, starting with the lightest items and slowly building up to your intended storage weight.
To protect your installation from long-term damage, apply a bead of waterproof silicone caulk along the top and side edges where the cabinet meets the tile wall. This seal prevents water from splashing behind the cabinet during daily use, which could otherwise lead to mold growth and gradual degradation of the structural adhesive.
Periodically inspect the edges of the cabinet and the adhesive bond line at least once every few months. Look for signs of peeling, discoloration, or moisture ingress, particularly near the top edge where water is most likely to pool. If you notice any softening of the seal or separation, consult the adhesive manufacturer’s care guidelines or a professional installer to address the issue before the cabinet’s stability is compromised.
Frequently Asked Questions (FAQ)
Can I use double-sided mounting tape for a hanging console cabinet?
No, you should not use double-sided mounting tape to support a hanging console cabinet. While heavy-duty mounting tapes are convenient for lightweight items like soap dispensers or small mirrors, they lack the structural shear strength required to support a heavy, cantilevered furniture piece. The constant humidity and temperature shifts in a typical bathroom will rapidly break down the tape’s acrylic adhesive, leading to sudden failure and potential damage to your bathroom floor and plumbing. Always use a high-quality, waterproof construction adhesive or a dedicated floor-to-ceiling tension system for heavy bathroom furniture.
How do I safely remove the cabinet and adhesive later?
To remove the cabinet without damaging your bathroom tiles, you must soften the cured adhesive using heat. Direct a heat gun or a high-wattage hair dryer set to high heat at the gap between the cabinet and the tile wall, moving it constantly to avoid overheating and cracking a single tile. Once the adhesive softens, carefully slide a strong piece of dental floss, high-tensile fishing line, or a flexible plastic putty knife behind the cabinet to slice through the bond. Avoid using metal scrapers or screwdrivers, as these will scratch or chip the glazed surface of your tiles. Clean any remaining adhesive residue using a plastic scraper and a chemical adhesive remover recommended by the manufacturer, testing it on a hidden area of the tile first to ensure it does not dull the glaze.
Community discussion
Share your experience or ask a question. Comments are reviewed before publication.