
To install a hanging door shelf organizer without damage, you must protect the contact points with non-abrasive padding, verify door clearance, and secure the bottom of the frame to prevent swinging. Taking these preventive measures keeps the door’s paint intact, avoids deep wood gouges, and prevents structural strain on the hinges.
By following a systematic preparation and mounting process, you can maximize your vertical storage space while keeping your rental property or home interior completely pristine.
Assessing Door Clearance and Shelf Compatibility
A hanging door shelf organizer is an excellent storage solution, but it requires careful preparation before purchase. Begin by measuring the gap between the top of the door leaf and the head jamb. A clearance of at least 2 to 3 millimeters is generally required to accommodate standard mounting brackets. If the gap is too tight, forcing a metal bracket over the door will scrape off the paint and wood fibers every time the door is opened or closed.
Products mentioned in this guide
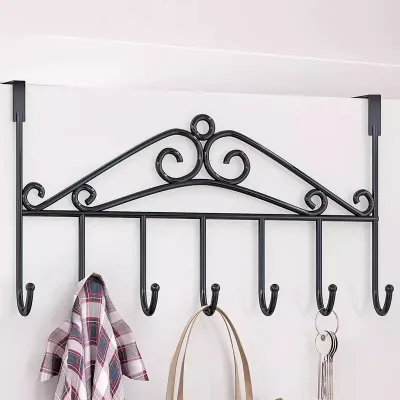
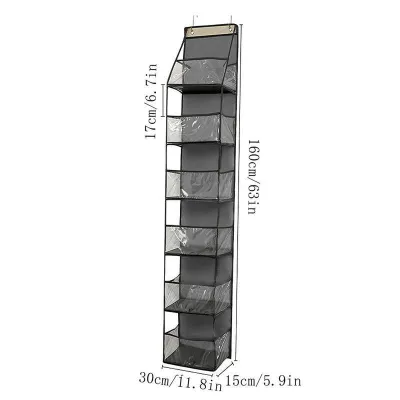
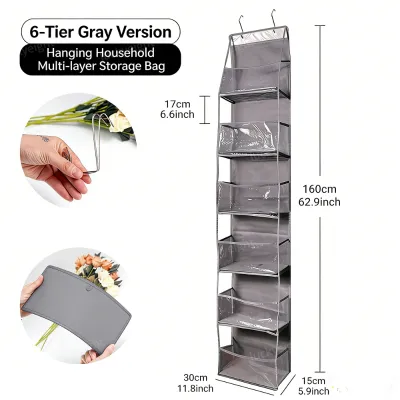
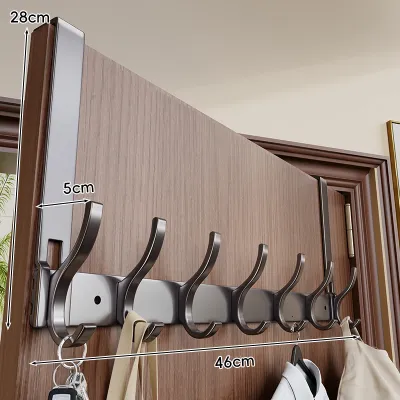
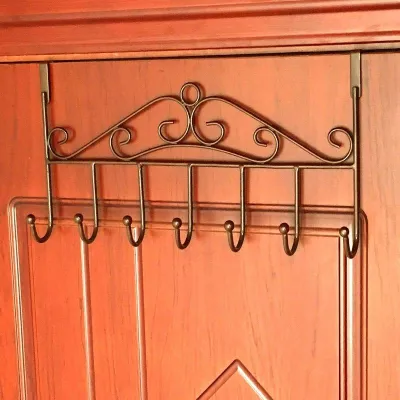
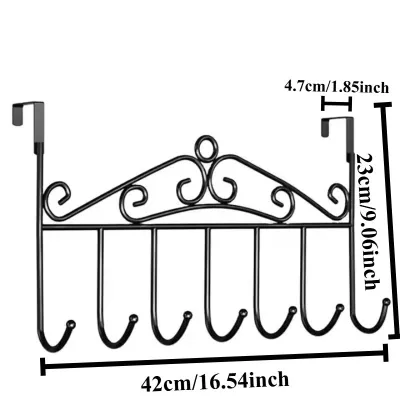
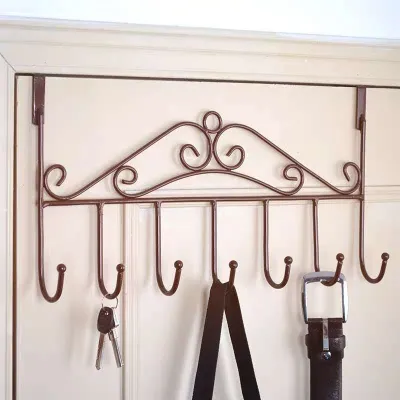
Prices are valid at publication and may change. Please refer to the product page for the latest price.
You can easily test this clearance by placing a standard 10-peso coin on top of the door and slowly closing it. If the door sticks, scrapes, or resists closing with the coin in place, the clearance is insufficient for standard hooks. In such cases, forcing an installation will inevitably damage both the door and the frame.
Next, identify whether your door is a solid-core or hollow-core model. Hollow-core doors are incredibly common for interior rooms in modern homes and apartments. They feature a thin outer veneer over a honeycombed cardboard interior, meaning the top and bottom rails are the only solid wood parts. Heavy downward pressure from an overloaded shelf can crush these thin edges or cause the veneer to crack under stress.
Finally, check the manufacturer’s load capacity rating for the organizer and compare it against your intended storage items. Most over-the-door organizers are rated for 10 to 15 kilograms, but this capacity depends entirely on proper weight distribution and a stable door structure. Overloading a shelf on a weak door can lead to structural sagging or warping.
Essential Tools for a Scratch-Free Setup
Gathering a few basic protective items before unboxing your hanging door shelf organizer ensures a secure, scratch-free installation. Having these tools ready prevents improvised solutions that could harm your door’s finish.

Required Tools and Materials:
- Hanging door shelf organizer: Choose a model with adjustable brackets if your door thickness is non-standard.
- Adhesive felt pads or high-density foam tape: These act as a soft barrier, absorbing vibrations and preventing direct metal-to-paint friction.
- Clear silicone or rubber bumpers: Placed on the back of the shelf frame where it contacts the face of the door, these prevent the organizer from rattling.
- Steel measuring tape: Used to verify the door's thickness against the bracket width.
- Small spirit level: Essential to ensure the unit hangs perfectly straight.
- Microfiber cloth and mild surface cleaner: Necessary to prepare the door surface before applying any adhesive components.
Step-by-Step Installation Guide
Preparing the Hooks and Door Edge
Start by thoroughly cleaning the top edge and the face of the door where the organizer will sit. In warm, humid environments, doors easily accumulate a layer of fine dust, grease, and moisture. Wipe these areas with a microfiber cloth dampened with a mild soap solution, then dry them completely with a clean towel. Any remaining moisture or dust will prevent the adhesive pads and rubber bumpers from sticking properly.
Next, measure the inner width of the metal hanging hooks and compare it to the thickness of your door. Cut pieces of adhesive felt padding or high-density foam tape to match the exact inner dimensions of the hooks. Carefully peel the backing and stick the foam to the inside of the hooks, covering any area of the metal bracket that will touch the top, front, or back of the door leaf. This simple step ensures that the hard metal edges never grind against your door’s finish.
Hanging and Aligning the Shelf
If your hanging door shelf organizer requires assembly, put the main frame together on a flat, clean surface according to the manufacturer’s instructions. Ensure all screws or snap-fit joints are fully tightened and stable. Once assembled, lift the shelf evenly with both hands, or ask another person for assistance if the frame is tall or heavy.
Carefully lower the padded hooks over the top edge of the door, ensuring they sit fully flush against the wood. Do not force or slam the hooks down; if the fit is snug, gently wiggle the brackets until they slide into place. Once the shelf is hanging, place a small spirit level on one of the middle baskets. Adjust the horizontal position of the hooks until the bubble is perfectly centered. A tilted shelf concentrates the entire weight of the organizer on one side, which can warp the door frame or damage the hinges over time.
Securing the Bottom to Prevent Swinging
A common mistake is leaving the bottom of the organizer loose, allowing it to swing like a pendulum every time you open or close the door. This constant movement causes the back of the shelf to repeatedly slam against the door face, leading to deep scratches, chipped paint, and annoying rattling noises.
To prevent this, use bottom hooks, tension screws, or adhesive anchor strips to secure the lower part of the frame. If your unit uses adhesive strips, ensure they are rated for clean removal to protect your paint when you eventually take the shelf down. Apply the adhesive strips or clear silicone bumper pads to the lowest contact points on the back of the organizer frame. Press the frame firmly against the door for at least thirty seconds to secure the bond. If your model uses bottom tension brackets, tighten them gradually until the frame is snug against the door leaf, taking care not to over-tighten and crush the door edge.
How to Protect Your Door from Scratches and Hinge Strain
Proper weight distribution is critical to maintaining both the shelf and the door’s structural integrity. Always place your heaviest items, such as large bottles, heavy jars, or canned goods, on the lowest shelves of the organizer. This lowers the center of gravity of the entire assembly, which significantly reduces the outward swinging force and minimizes the leverage strain placed on the top hooks. Lighter items, like tissues, sponges, or small plastic containers, should be kept on the upper shelves.
In humid environments, high relative humidity can accelerate the rusting of metal components, especially on budget-friendly organizers. Rust can easily transfer from a corroded metal bracket onto your door’s paint, leaving permanent, unsightly orange stains that are incredibly difficult to remove. To prevent this, always ensure that any metal hooks are fully covered with foam tape or are finished with a high-quality, rust-resistant powder coating. If you notice any chips in the organizer’s paint, touch them up immediately with a rust-inhibiting paint or nail polish to seal the metal away from moist air.
Additionally, perform a quick inspection of the installation every few months. Over time, the constant downward pressure of the stored items will compress the foam tape or felt pads. If the padding becomes too thin or shifts out of place, the bare metal of the hooks may begin to rub directly against the door. Replacing worn-out pads early is a quick, low-cost maintenance task that saves you from a costly door repainting job later.
Testing Stability and Adjusting for Daily Use
Once the installation is complete, it is time to run a series of functional tests before fully loading the organizer. Slowly open and close the door at a normal speed, paying close attention to any resistance, scraping sounds, or rattling. The door should swing smoothly without catching on the top frame or dragging along the floor. If you hear a scraping sound at the top, double-check that the hooks are sitting completely flat and that the foam padding is not bunching up.
Next, begin loading your items onto the shelves gradually rather than placing everything on them at once. Start with about one-third of your planned items on the lower shelves, then test the door’s movement again. This gradual approach allows you to monitor how the door hinges handle the added weight. If the door begins to sag or squeak, or if you notice the top hinges pulling away from the wall frame, you have exceeded the comfortable weight limit of your door hinges and should reduce the load immediately.
If you notice any slight shifting or vibration during these tests, adjust the bottom tension screws or add extra silicone bumper pads to the sides of the frame to absorb the movement. Taking an extra ten minutes to fine-tune the fit at the start ensures a quiet, stable, and completely damage-free storage solution for years to come.
Frequently Asked Questions (FAQ)
Can I install a hanging shelf on a hollow-core door?
Yes, you can install a hanging shelf on a hollow-core door, but you must take extra precautions. Because the top edge of a hollow-core door is thin and structurally delicate, avoid overloading the shelves. Use wider, well-padded hooks to distribute the downward pressure across a larger surface area, and keep the total weight of your stored items well below the door’s maximum capacity to avoid crushing the top panel.
How do I stop the door shelf from banging when I open the door?
To stop the shelf from banging, you must anchor the lower half of the frame to the door leaf. Use bottom tension screws, over-the-door bottom hooks, or thick rubber bumper strips. Applying damage-free, removable adhesive strips to the lowest contact points of the shelf frame will keep the organizer flush against the door, eliminating movement and noise.
Will the metal hooks peel the paint off my door?
Bare metal hooks can easily scratch or peel the paint off your door over time due to constant friction and vibration from daily use. To prevent this, always apply adhesive felt pads or high-density foam tape to the inside of the hooks before hanging them. This soft barrier cushions the contact points and protects the paint finish from wear.
Community discussion
Share your experience or ask a question. Comments are reviewed before publication.