
Installing a hanging rack organizer is an excellent way to maximize vertical space and keep your home tidy. However, a secure installation depends entirely on matching your drilling techniques, tools, and hardware to your specific wall material. Whether you are mounting a heavy organizer on solid concrete, setting up a display on drywall, or organizing toiletries on a tiled bathroom wall, understanding your wall’s unique characteristics ensures your rack remains firmly in place.
Assess Your Wall and Prepare the Right Tools
Before drilling, you must identify your wall’s composition and locate any hidden hazards behind it. In tropical climates like the Philippines, residential construction heavily relies on concrete hollow blocks or solid concrete for interior walls, though modern condominiums frequently use drywall partitions. Use a reliable multi-scanner to detect live electrical wiring and water pipes running behind the surface, or consult your building’s structural layout plans before starting.
Next, evaluate the weight capacity requirements of both your hanging rack organizer and the items you plan to store. A rack intended for heavy kitchen items or books requires robust mechanical anchors, whereas a light key holder can rely on lighter hardware. Check the manufacturer’s documentation for the empty weight of the organizer and its maximum rated load capacity to avoid overloading the wall.
Products mentioned in this guide
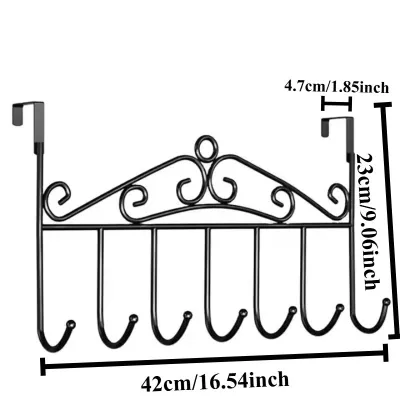
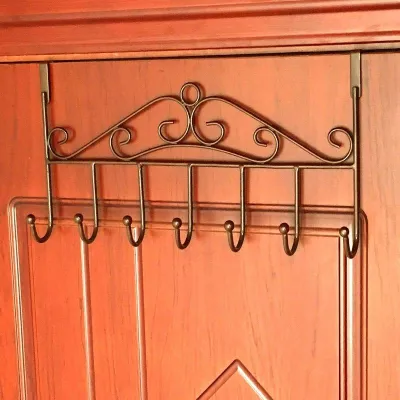
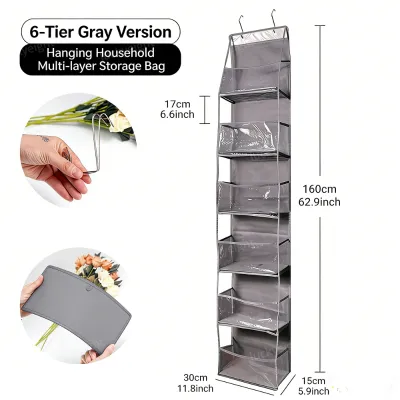
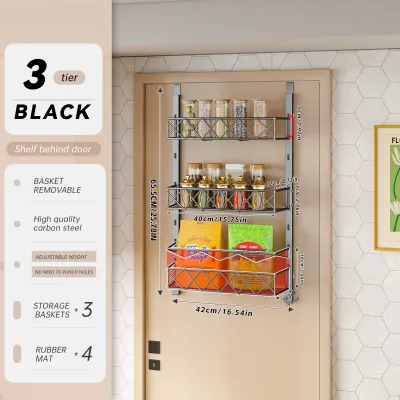
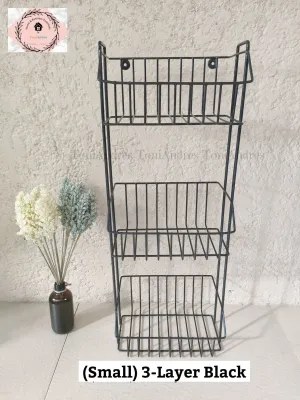
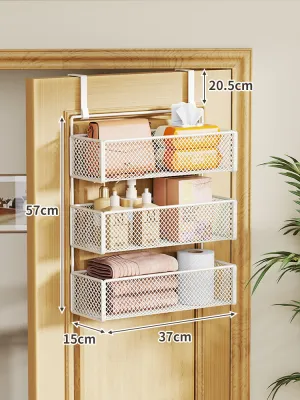
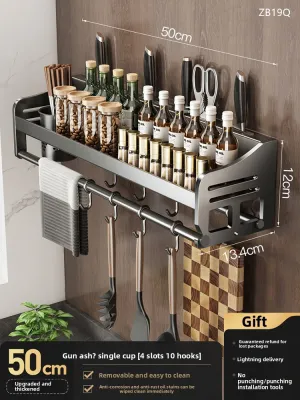
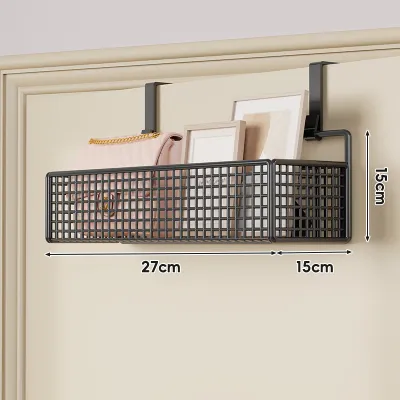
Prices are valid at publication and may change. Please refer to the product page for the latest price.
Gathering the correct tools beforehand prevents mid-project frustration and ensures a clean, precise installation. You will need a variable-speed power drill, a spirit level, a measuring tape, a pencil, and safety gear. Most importantly, select drill bits and wall anchors designed specifically for your wall type, as using the wrong hardware can lead to immediate mounting failure.
Installation Steps for Different Wall Materials
Achieving a professional-grade installation requires adapting your drilling speed, pressure, and hardware to the physical properties of the wall substrate. Using the wrong combination of drill bits and wall anchors can lead to loose mounts, crumbling walls, or shattered tiles.

Before beginning any drilling work, prioritize personal safety by putting on safety goggles and a dust mask. Drilling into concrete, drywall, and tile releases fine particulate matter into the air, which can irritate your eyes and respiratory system in enclosed indoor spaces.
Concrete and Masonry Walls
Solid concrete and concrete hollow blocks require specialized tools and high-impact force to create clean, stable holes. For these surfaces, a hammer drill is highly recommended, as its rapid pulsing action chips away the tough masonry while the bit rotates. Equip your drill with a high-quality masonry drill bit featuring a hardened carbide tip designed to withstand intense friction and heat.
Mark your mounting points clearly with a pencil and set the depth guide on your drill to match the length of your expansion anchors. If your drill does not have a depth guide, wrap a piece of colored tape around the drill bit at the desired depth measurement. The hole must be drilled slightly deeper than the length of the anchor to ensure the screw can thread completely. Hold the drill perfectly perpendicular to the wall, apply firm forward pressure, and engage the hammer setting to drill steadily.
Once the hole is drilled, you must clear out all concrete dust and debris before inserting the anchor. Leftover dust acts as a lubricant, significantly reducing the friction and grip of plastic expansion plugs, which can cause them to pull out under load. Use a hand pump or a vacuum cleaner to clean the hole thoroughly. Insert the plastic wall anchor—commonly referred to as a “tox plug” in local hardware stores—into the clean hole, tapping it gently with a hammer until it sits completely flush with the concrete surface.
Drywall and Gypsum Boards
Drywall and gypsum boards are relatively soft, hollow materials that lack the structural density to hold standard screws on their own. When mounting a hanging rack organizer on drywall, your primary goal is to anchor the hardware directly into the wooden or metal studs running behind the panels. Use a stud finder to locate these vertical supports, marking their center points clearly to provide the highest possible load-bearing capacity.
If your organizer’s mounting holes do not align with the positions of your wall studs, you must use specialized hollow-wall anchors instead of standard wood screws. Toggle bolts, butterfly anchors, or self-drilling threaded drywall anchors are designed to expand or unfold behind the drywall panel, distributing the weight across a wider surface area. Never attempt to use standard tapered plastic plugs in drywall, as they will easily pull straight out when any downward force is applied.
When drilling into drywall, switch your power drill to its standard rotary mode and disable any hammer action. Apply steady, moderate pressure to prevent the drill bit from tearing the paper backing or crumbling the fragile gypsum core. Keep the drill steady and straight to ensure the hole remains perfectly round, which is essential for a snug, secure fit for your hollow-wall anchors.
Tile and Smooth Surfaces
Drilling into ceramic, porcelain, or glass tiles requires patience and precision to prevent the glossy surface from cracking or shattering. Because tiles are incredibly smooth, a standard drill bit will easily slip or wander across the surface when you attempt to start the hole. To prevent this, apply a piece of heavy-duty masking tape directly over your marked drilling spot to provide traction and keep the drill bit centered.
You must use a specialized spear-point carbide bit or a diamond-tipped hole saw designed specifically for tile and glass. Keep your drill set to a low speed, apply light, consistent pressure, and strictly disable the hammer action, as any high-impact vibration will instantly shatter the fragile tile. To prevent the bit from overheating and burning out, periodically dip it in water to keep the surface cool.
Once the drill bit has successfully penetrated the entire thickness of the tile and reached the underlying substrate, stop drilling immediately. Switch your drill bit to match the material behind the tile—typically concrete or drywall—and adjust your drill settings accordingly. Be careful not to use the hammer action while the wider body of the drill bit is spinning inside the tile hole, as the lateral vibration can still crack the tile edges.
Mounting the Rack and Verifying Safety
With the holes drilled and the appropriate anchors securely in place, you are ready to mount the hanging rack organizer. Hold the rack up to the wall and align its mounting brackets with the installed anchors. Insert the screws manually first to ensure they thread correctly into the anchors without cross-threading or stripping the heads.
Before tightening the screws completely, place a spirit level on top of the organizer to verify that it is perfectly horizontal. Even a slight tilt can cause items stored on the rack to slide off, creating a safety hazard and looking visually unappealing. Adjust the position of the rack slightly within the play of the mounting holes until the bubble in the spirit level is perfectly centered, then tighten the screws securely.
Inspect the final fit of the organizer against the wall surface. The mounting brackets must sit completely flush against the wall, with no visible gaps, tilting, or wobbling when you apply gentle manual pressure. To ensure the installation is safe for daily use, conduct a progressive load test by placing a few lightweight items on the rack first, then gradually adding heavier items over several hours while closely monitoring the wall for any signs of cracking or anchor slippage.
When to Stop and Call a Professional
While installing a wall rack is a manageable DIY project for many homeowners, certain situations present safety risks that require professional assistance. Stop drilling immediately if you encounter unexpected resistance, as this often indicates you have hit a steel rebar, a metal stud, or a hidden utility pipe. Continuing to drill through these obstructions can cause severe electrical hazards, water leaks, or structural damage to your home.
You should also halt the project if the wall material crumbles excessively during drilling, which suggests the substrate is degraded, damp, or structurally compromised. This is particularly common in older masonry walls exposed to high tropical humidity, where the mortar or concrete may have weakened over time. If the wall cannot support the weight of the anchors, it will not safely hold your organizer.
Finally, seek professional help if your installation requires working at high elevations, mounting exceptionally heavy or bulky organizers, or if you lack the proper safety equipment. Attempting to balance on a tall ladder while holding a heavy rack and operating a power drill alone is highly dangerous. A qualified carpenter or handyman has the specialized tools and experience to complete the installation safely and securely.
Frequently Asked Questions (FAQ)
Can I install a hanging rack organizer without drilling?
You can use damage-free mounting options, such as heavy-duty adhesive strips or suction cups, but only under very specific conditions. These non-drill methods are suitable exclusively for extremely lightweight items, such as key holders or light plastic baskets, mounted on perfectly smooth, non-porous surfaces like glass or glazed tile. Keep in mind that adhesive strips often fail on textured walls, matte paint, or dusty concrete surfaces, and they are highly susceptible to peeling in hot, humid environments. Always clean the surface thoroughly with rubbing alcohol and allow the adhesive to cure for the manufacturer’s recommended time before placing any weight on the rack.
How do I repair the wall if I make a mistake during drilling?
If you drill a hole in the wrong spot or make it too large, you can easily repair the damage using material-specific fillers. For drywall, fill the mistake with a small amount of spackle or joint compound, let it dry completely, sand it smooth, and apply a coat of matching paint to blend it with the surrounding wall. For concrete or masonry walls, use a heavy-duty masonry filler or hydraulic cement to plug the hole, ensuring a strong seal. If you damage a tile, you can fill small chips with color-matched epoxy or grout, but severely cracked tiles may require replacing the individual tile entirely to restore the wall’s appearance and water resistance.
Community discussion
Share your experience or ask a question. Comments are reviewed before publication.