
Mounting a bag display stand on your wall is an excellent way to organize your collection, save valuable floor space, and turn your favorite accessories into a curated visual feature. However, a secure installation requires more than just driving screws into the nearest flat surface. To ensure your display stand remains stable, level, and capable of holding the weight of your bags over time, you must carefully evaluate your wall type, gather the correct installation tools, and follow a precise, step-by-step mounting process.
Before beginning any installation, check the display stand manufacturer’s instructions and your wall material specifications. If instructions conflict, if the wall material is unidentified, or if the specific mounting scenario is not covered, stop immediately and consult the manufacturer or a qualified professional.
Preparing for Installation: Tools and Wall Assessment
In the Philippines, residential walls vary significantly. Many houses and condominiums feature solid concrete walls or concrete hollow blocks (CHB) finished with plaster, while interior partitions in modern units often use drywall or gypsum board over light-gauge steel studs. Each of these wall materials behaves differently under load and requires a specific anchoring strategy. Solid concrete offers the highest load capacity but requires robust masonry anchors, whereas hollow concrete blocks have thin outer shells and empty interior chambers that demand specialized toggle bolts or sleeve anchors to prevent pull-out. Drywall partitions are the most fragile and should ideally be anchored directly into the structural studs; if that is not possible, heavy-duty self-drilling drywall anchors or toggle bolts are necessary.
Products mentioned in this guide
![[In Stock]Stainless Steel Bag Stand Display Silver Adjustable Bag Display Stand Holder](https://img.lazcdn.com/g/p/a3435e98eef5bda18cb25b8c680c8bb1.jpg_400x400q80.jpg_.webp)
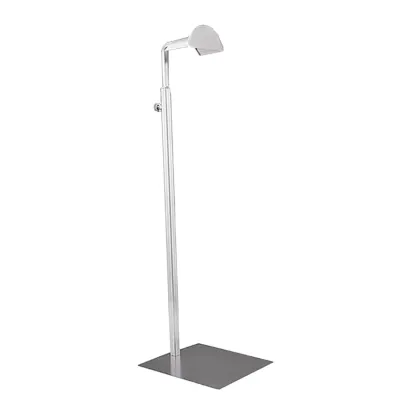
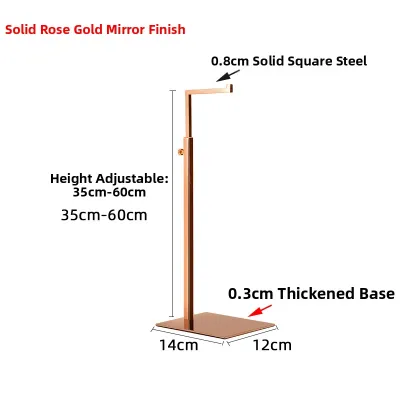
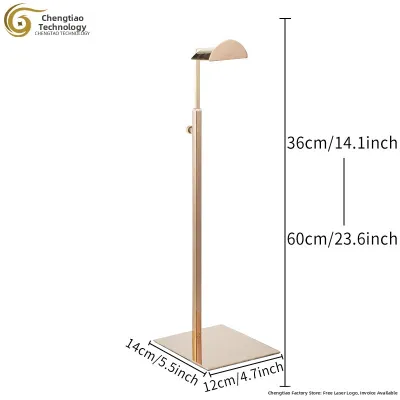
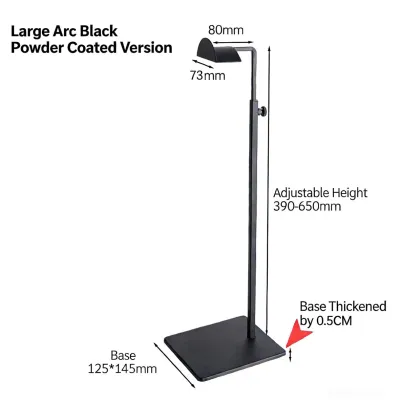
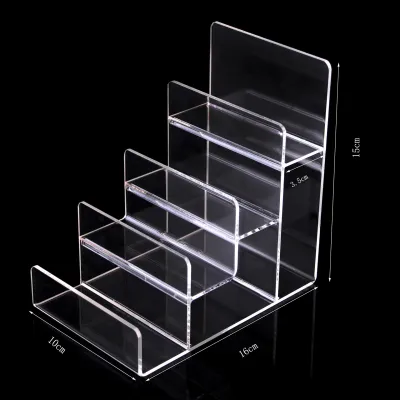
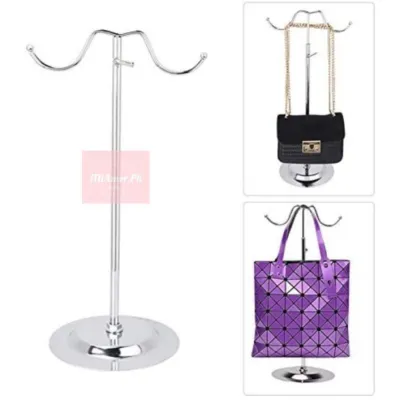
Prices are valid at publication and may change. Please refer to the product page for the latest price.
Before making any permanent modifications, gather all necessary tools to ensure a smooth, uninterrupted installation process. Your essential toolkit should include:
- Power drill: A hammer drill is highly recommended if you are working with solid concrete or concrete hollow blocks, while a standard rotary drill is sufficient for drywall.
- Drill bits: Use high-quality carbide-tipped masonry bits for concrete or plaster, and standard wood or metal bits for drywall and studs.
- Spirit level: Crucial for ensuring your shelves or rails are perfectly horizontal.
- Measuring tape and pencil: For precise layout planning and marking drill points.
- Screwdriver or drill driver: To secure the mounting screws into the anchors.
- Hammer: To gently tap wall anchors flush with the surface.
- Wall anchors and screws: Select these based on your specific wall type, ensuring they match the hole size of your display stand's mounting brackets.
Before drilling, you must perform a critical safety check to avoid hitting hidden hazards. Use a reliable stud finder with live-wire detection to scan the intended drilling zone for hidden electrical wiring, conduit, or plumbing pipes. In many Philippine homes, electrical conduits are embedded directly into concrete or run behind drywall partitions, making a pre-drill scan essential to prevent severe injury or costly utility damage. Always read the display stand manufacturer’s installation manual before starting. Verify the recommended screw sizes, bracket spacing, and the maximum weight capacity specified for the unit. If the manufacturer’s instructions conflict with your specific wall setup, or if you are unsure of the wall’s internal structure, stop immediately and consult a qualified local contractor.
Step-by-Step Guide to Mounting Your Bag Display Stand
Mounting your bag display stand requires a systematic approach to ensure the final setup is both aesthetically pleasing and structurally sound. By taking your time during the preparation, alignment, and drilling phases, you can avoid common pitfalls like crooked shelves, loose anchors, or damaged wall surfaces.

Step 1: Measuring and Marking the Drill Points
Determining the ideal mounting height is the first step in creating an ergonomic and visually balanced display. Consider the specific types of bags you plan to showcase. For example, smaller clutches, wallets, and evening bags are best displayed at eye level (typically between 140 to 160 centimeters from the floor) where their fine details can be easily appreciated. Larger tote bags, backpacks, or shoulder bags with long straps require higher clearance to prevent the straps or bag bodies from dragging on the floor or crowding lower shelves. Measure the longest bag in your collection from the top of its strap to its base to calculate the minimum vertical clearance required between shelves or hooks.
Once you have determined the preferred height, use your measuring tape and a pencil to mark the exact locations for the mounting brackets. If your display stand came with a paper mounting template, tape it securely to the wall at your chosen height. If no template is provided, measure the distance between the bracket holes on the physical stand and transfer these dimensions directly to the wall. Mark each screw hole with a small, clear crosshair rather than a simple dot, as this makes it easier to keep your drill bit centered.
Before proceeding to drill, place a spirit level horizontally across your pencil marks. Adjust the marks as necessary until the level’s bubble sits perfectly between the two center lines. Even a minor deviation of a few millimeters can cause a long display rail or shelf to look noticeably tilted once installed, which can also cause round-bottomed bags or accessories to slide or roll to one side. Double-check your measurements against the actual mounting holes on your display stand one last time to ensure absolute accuracy.
Step 2: Drilling Pilot Holes and Inserting Anchors
The integrity of your installation depends heavily on the fit of your wall anchors. Select a drill bit that matches the exact outer diameter of the plastic or metal wall anchors you intend to use. If the drill bit is too small, you will not be able to insert the anchor without damaging it; if the bit is too large, the anchor will spin freely inside the hole or pull out under the weight of your bags. Check the anchor packaging for the recommended drill bit size, which is typically printed clearly on the box or label.
When drilling, hold the power drill perfectly perpendicular to the wall. Applying steady, moderate pressure, drill straight into the marked crosshair. If you are drilling into concrete or plaster, use the hammer function on your drill and let the tool do the work; forcing the drill can overheat the bit or crack the surrounding plaster. Drill to a depth slightly deeper than the overall length of the wall anchor to ensure that any accumulated dust at the back of the hole does not prevent the anchor from sitting flush. Once the hole is drilled, clear out the loose concrete or drywall dust using a hand pump, a vacuum cleaner, or by gently blowing into the hole while wearing protective eyewear.
Next, insert the wall anchor into the pilot hole. It should fit snugly; you should be able to push it in halfway by hand, then use a hammer to gently tap it the rest of the way until the collar of the anchor is perfectly flush with the wall surface. If the anchor bends or deforms while tapping, remove it, clear the hole of debris, and check if the hole needs to be drilled slightly deeper.
Maintain a strict safety boundary throughout this process. If you encounter unexpected metal resistance (which could indicate a steel stud, metal conduit, or rebar), hollow voids in a wall you assumed was solid concrete, or if the plaster begins to crumble excessively around the hole, stop drilling immediately. Continuing to drill through these obstacles can compromise your home’s structural elements, damage utilities, or result in an unstable mount that cannot support your display. Reassess the wall composition, adjust your mounting location slightly, or consult a professional builder to determine the safest path forward.
Step 3: Securing the Brackets and Mounting the Stand
With the wall anchors securely in place, align the mounting brackets of your bag display stand with the holes. Insert the mounting screws through the bracket holes and into the anchors. Turn the screws clockwise using a manual screwdriver or a power drill set to a low-torque setting. Using a low-torque setting prevents the drill from driving the screw too quickly, which can easily strip the plastic threads of the anchor or damage the screw head.
Avoid the temptation to over-tighten the screws. Tighten them until they are snug and the bracket is pulled tight against the wall surface. Over-tightening can strip the anchor’s grip inside the wall, crack fragile plaster or drywall, or warp the metal mounting brackets of your display stand. If the bracket still wobbles after the screw is snug, the anchor may be loose or the screw may be too short; remove the screw and inspect the anchor before proceeding.
Once the brackets are securely attached to the wall, assemble the main components of your bag display stand. Depending on the design, this may involve slotting horizontal rails into vertical brackets, hanging individual display hooks, or securing wooden or acrylic shelves onto the metal support arms. Follow the manufacturer’s specific assembly sequence to ensure all interlocking parts click or screw together correctly.
Before placing any valuable bags on the stand, perform a gentle shake test. Grasp the brackets or the main frame of the stand and apply light pressure in different directions. The assembly should feel completely rigid and show no signs of wobbling, tilting, or pulling away from the wall surface. If you notice any movement or if the wall anchors begin to slip outward, remove the display components immediately and re-evaluate the anchoring system.
Verifying Weight Capacity and Safety
Before displaying your collection, you must verify that the installed stand can safely support the intended load. A wall-mounted bag display stand is subject to dynamic forces, especially when you are frequently placing and removing heavy leather bags, laptop totes, or backpacks. To perform a gradual load test, place your hands on the secured shelves or rails and apply gentle, downward pressure, gradually increasing the force to simulate the weight of your bags. Watch the wall interface closely for any signs of flexing, cracking, or movement.
Proper weight distribution is essential for maintaining the long-term stability of your display. Avoid placing all of your heaviest bags on a single shelf or on one side of the stand, as this creates localized stress that can cause the mounting brackets to warp or pull out of the wall over time. Distribute the weight evenly across the entire structure, placing heavier items like leather travel bags or structured totes on the lower shelves or closer to the main vertical support brackets, while keeping lighter clutches and fabric bags on the upper or outer sections.
Remember that the true weight capacity of your display is determined by the weakest link in the entire installation chain. While the manufacturer may state that the display stand can hold up to 20 kilograms, this rating assumes a perfect installation into solid wood studs or solid concrete. If you have mounted the stand onto plaster-coated hollow blocks or drywall using standard plastic anchors, your actual safe weight limit will be significantly lower. Always prioritize the lower weight rating of your wall anchoring system over the maximum capacity stated on the product box.
Establish clear stop conditions to prevent catastrophic failures or damage to your walls and bags. If you observe any new hairline cracks forming in the plaster around the brackets, if the stand begins to bow under minimal weight, or if the mounting screws feel loose to the touch, remove all items immediately. Do not attempt to reinforce a failing mount with larger screws without first identifying the underlying issue. Consult a professional carpenter or contractor to inspect the wall and recommend a more robust structural support system.
Adjusting and Maintaining Your Wall-Mounted Display
A functional bag display should adapt to your changing storage needs and seasonal wardrobe rotations. Many modern wall-mounted display stands feature adjustable shelving tracks or modular hooks that allow you to reconfigure the layout without removing the main wall brackets. When transitioning your collection—such as swapping out compact summer crossbody bags for larger, structured winter totes—take the time to adjust the shelf heights or hook spacing. This ensures each bag has adequate breathing room, preventing them from pressing against one another, which can cause permanent creases or color transfer on delicate leather surfaces.
High humidity levels in tropical climates like the Philippines can impact both your walls and the hardware of your display stand. Moisture in the air can cause drywall to soften slightly or cause metallic screws and brackets to undergo subtle thermal expansion and contraction, which can gradually loosen the mounting hardware. Establish a routine maintenance schedule every six months to inspect your display stand. Gently check the tightness of each mounting screw with a manual screwdriver, and inspect the wall surface around the anchors for any signs of moisture damage, paint peeling, or structural sagging.
In addition to structural checks, regularly inspect the display stand’s contact points for wear. Metal hooks, wire racks, or wooden shelves can develop rough edges, splinters, or burrs over time due to friction and daily use. These imperfections can easily snag delicate fabrics, scratch premium calfskin, or damage the hardware of your bags. Run your fingers along the edges of the hooks and shelves during your routine cleaning; if you detect any rough spots, address them immediately according to the material’s care instructions—such as lightly sanding wooden surfaces or applying protective covers to metal edges.
If you eventually decide to rearrange your room layout or move to a new home, removing the wall-mounted display stand must be done carefully to minimize wall damage. Carefully unscrew the brackets and pull the wall anchors out using needle-nose pliers. For concrete or plaster walls, clean any loose debris from the remaining holes, fill them with a high-quality interior wall putty or spackling compound, and sand the area smooth once dry. Apply a matching coat of primer and paint to restore the wall to its original condition, ensuring no visible traces of the previous installation remain.
Frequently Asked Questions (FAQ)
Can I mount a bag display stand on a hollow block wall?
Yes, you can mount a bag display stand on a concrete hollow block (CHB) wall, but you must use specialized hardware designed for hollow materials. Standard plastic expansion plugs are designed for solid concrete and will not expand securely inside the hollow cavities of a CHB wall, leading to a high risk of pull-out. Instead, use heavy-duty toggle bolts, sleeve anchors, or nylon hollow-wall anchors that expand behind the outer shell of the block to grip the inner wall surface. Because hollow blocks have lower pull-out resistance than solid concrete, you must strictly adhere to the lower weight limits specified by the anchor manufacturer and distribute the weight of your bags across multiple mounting brackets.
How do I prevent the display stand from scratching my bags?
To protect your bags from scratches, inspect the display stand’s finish immediately upon unboxing and use protective barriers on all contact points. You can apply clear silicone sleeves, adhesive felt pads, or heat-shrink tubing to metal hooks and shelf edges to create a soft, non-abrasive barrier between the stand and your bags’ leather or hardware. If you detect any manufacturing burrs or sharp metal edges, lightly file or sand them smooth before assembly. For long-term storage of highly delicate, exotic, or easily scratched leather bags, keep them inside their original breathable dust bags while they are resting on the display stand to prevent dust accumulation and accidental friction scratches.
Community discussion
Share your experience or ask a question. Comments are reviewed before publication.