
Securely mounting a bag holder stand rack in your home requires matching your installation technique to the specific material of your wall. Whether you are organizing everyday backpacks or displaying valuable designer handbags, a loose mount can lead to damaged walls and fallen items. In tropical climates like the Philippines, high indoor humidity can gradually soften drywall and cause wood paneling to expand, making proper anchoring critical for long-term stability. By identifying your wall type, choosing the correct hardware, and following a precise mounting process, you can ensure your storage rack remains firmly in place.
Pre-Installation Checks for Wall-Mounted Bag Holders
Before drilling, verify the physical dimensions of your bag holder stand rack against your available wall space. Ensure there is sufficient clearance around the rack so that hung bags do not block doorways, corridors, or adjacent furniture. It is also essential to check the manufacturer-stated maximum load capacity. Remember that this weight limit includes both the weight of the rack itself and the cumulative weight of all the bags, straps, and contents you plan to store, protecting your investment in designer bags that can easily cost ₱10,000 or more.
Next, determine the exact composition of your wall. Homes in the Philippines commonly feature solid concrete, concrete hollow blocks, hollow drywall, or decorative wood paneling. You can identify the wall type by tapping on the surface; a hollow, echoing sound typically indicates drywall or thin wood paneling, while a dull, solid thud points to concrete. For drywall and wood walls, using a reliable stud finder is highly recommended to locate the internal wooden or metal framing members.
Products mentioned in this guide
![[In Stock]Stainless Steel Bag Stand Display Silver Adjustable Bag Display Stand Holder](https://img.lazcdn.com/g/p/a3435e98eef5bda18cb25b8c680c8bb1.jpg_400x400q80.jpg_.webp)

![[On Hand] Shira Bag Rack Stand White/Brown/Wood Bamboo Coat Rack Stand With 8 Hooks Coat Rack Bag Organizer](https://img.lazcdn.com/g/p/96e29a17c0e7c61dca4e321264263d0c.jpg_400x400q80.jpg_.webp)
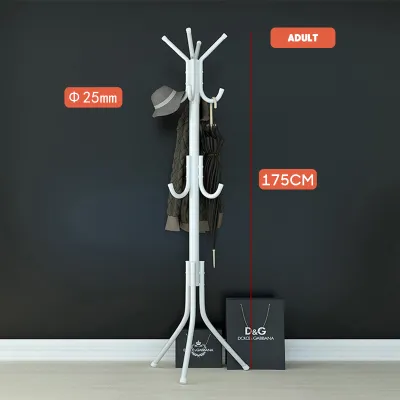
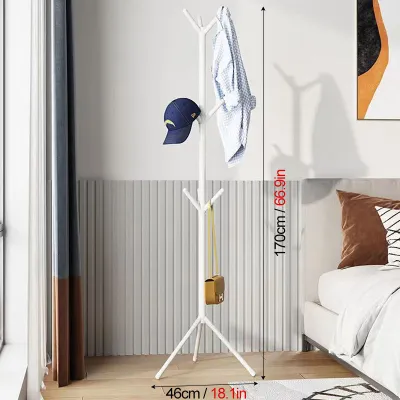
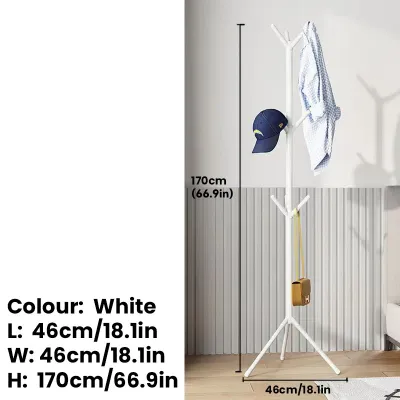
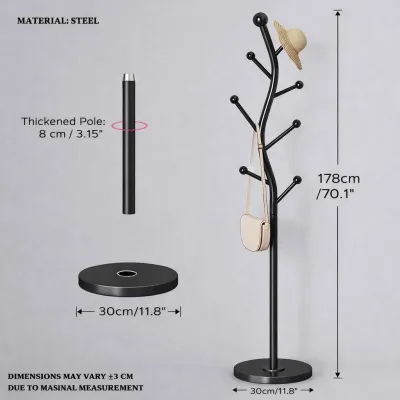
Prices are valid at publication and may change. Please refer to the product page for the latest price.
Finally, always scan the intended drilling area for hidden hazards. Electrical wiring and plumbing pipes often run behind walls, especially near light switches, outlets, or adjacent bathrooms. Using a multi-scanner or stud finder with live wire detection can prevent dangerous accidents and costly repairs. If you are uncertain about what lies behind the wall, select an alternative mounting location to ensure safety.
Tools and Hardware Required for Different Walls
Having the correct tools on hand before you begin will streamline the installation process and prevent damage to your walls. At a minimum, you will need a power drill, a spirit level to ensure the rack sits perfectly straight, a measuring tape, a pencil for marking drill points, and safety goggles to protect your eyes from falling dust.

For hollow drywall, standard plastic expansion plugs are rarely sufficient for supporting the weight of multiple bags. Instead, opt for heavy-duty metal toggle bolts or threaded drywall anchors. Toggle bolts expand behind the drywall sheet, distributing the weight across a wider surface area and providing a much higher load capacity.
If you are mounting onto solid concrete or concrete hollow blocks, you will need a masonry drill bit and specialized concrete fasteners. Sleeve anchors or concrete screws are ideal for these dense materials. A standard wood or metal drill bit will quickly dull and fail to penetrate concrete, so using a dedicated carbide-tipped masonry bit is essential.
For wood paneling, the choice of hardware depends on the thickness of the wood. If the paneling is thin veneer, you must use wood screws that are long enough to pass completely through the paneling and bite deep into the structural studs behind it. For solid wood walls, high-quality wood screws alone will provide an exceptionally strong grip without the need for wall anchors.
Step-by-Step Installation by Wall Type
Before addressing the specific drilling techniques for each wall material, you must complete the universal preparation steps. Begin by holding the bag holder stand rack against the wall at your desired height. Place a spirit level on top of the rack or its mounting bracket to ensure it is perfectly horizontal, then use a pencil to mark the exact center of each mounting hole. Double-check the distance between your pencil marks against the actual spacing of the rack’s brackets to confirm they align precisely before you begin drilling.
Hollow Drywall Installation
When mounting a bag holder stand rack on drywall, your primary goal is to anchor it directly into wall studs whenever possible. If the stud spacing does not align with the mounting holes of your rack, you must rely on heavy-duty drywall anchors. Avoid using simple plastic press-in plugs, as the weight of several heavy bags can easily pull them out of the fragile gypsum core.
To install toggle bolts or heavy-duty anchors, start by drilling pilot holes at your marked locations. The size of the pilot hole must match the manufacturer’s specifications printed on the anchor packaging. For toggle bolts, the hole must be large enough to allow the folded spring wings of the bolt to pass through. Once the wings clear the back of the drywall, they will spring open to grip the inner side of the wall.
Align the bag holder bracket over the holes, insert the screws through the bracket and into the anchors, and tighten them slowly. Use a manual screwdriver for the final turns rather than a high-speed power drill. Over-torquing can easily strip the threads of the anchor or crush the surrounding drywall, severely compromising the strength of the mount.
Concrete Wall Installation
Concrete and masonry walls offer the most robust support for heavy storage racks, but they require specialized tools and techniques. To drill into solid concrete or concrete hollow blocks, use a hammer drill set to its hammer function. This setting combines rotary drilling with a rapid pulsing action, allowing the carbide-tipped masonry bit to pulverize the dense material as it penetrates.
Drill the pilot holes slightly deeper than the length of your concrete anchors or screws. Once the holes are drilled, it is critical to clear out all the concrete dust and debris. Leftover dust acts as a lubricant, preventing the anchor from gripping the sides of the hole properly. You can blow the dust out using a hand pump, a straw, or a vacuum cleaner with a narrow nozzle attachment.
Insert your sleeve anchors or concrete screws into the clean holes. Position the bag holder stand rack over the anchors and tighten the nuts or screws firmly. Because concrete does not flex or compress like wood or drywall, a properly installed concrete anchor provides an incredibly rigid, high-capacity mount that easily supports heavy leather bags and backpacks.
Wood Paneling Installation
Wood paneling can be deceptive, so you must first determine whether you are working with solid wood planks or a thin decorative veneer installed over drywall. Thin veneer paneling has very little structural strength and cannot support a loaded bag holder stand rack on its own. If you have thin paneling, your mounting screws must be long enough to penetrate through the veneer and at least 25 to 38 millimeters into the structural studs behind it.
For solid wood walls or when mounting directly into studs, always pre-drill pilot holes. Use a drill bit that is slightly smaller than the shank of your wood screws. Pre-drilling prevents the wood from splitting along the grain, which is especially common in older wood or in dry, air-conditioned indoor environments.
Drive the wood screws through the mounting brackets of the bag holder stand rack directly into the pre-drilled holes. Ensure the screws are driven straight and flush against the bracket. This direct wood-to-wood connection provides an exceptionally strong hold that resists sagging, even when subjected to the daily pulling and hanging of heavy bags.
Post-Installation Safety and Load Testing
Once the bag holder stand rack is securely mounted, you must verify its stability before trusting it with your valuable bags. Begin by performing a gradual load test. Hang a single, lightweight bag on the rack first, then slowly add heavier items one by one. This step-by-step approach allows you to observe how the wall and the rack behave under increasing weight without risking sudden failure.
During the load test, closely inspect the mounting points and the surrounding wall surface. Look for any signs of wall cracking, drywall crumbling, or anchors pulling away from the wall. If you notice any flexing in the rack’s brackets or if the wall surface begins to bow, remove the weight immediately to prevent structural damage.
Over time, the constant physical action of hanging and removing bags can cause mounting screws to settle or loosen slightly. Establish a routine maintenance check every few months to inspect the rack. Gently wiggle the frame to check for play, and use a manual screwdriver to tighten any screws that may have worked loose due to weight shifts and daily use.
Frequently Asked Questions (FAQ)
Can I install a wall-mounted bag holder without drilling?
While non-drilling alternatives like heavy-duty adhesive strips or tension rods are available, they are generally not suitable for supporting a fully loaded bag holder stand rack. Adhesive strips rely heavily on a perfectly smooth, non-porous surface and are highly sensitive to the high humidity levels common in tropical climates. Over time, moisture can weaken the adhesive bond, leading to a sudden collapse that could damage your walls and your bags. Furthermore, adhesive solutions have strict weight limits that are easily exceeded by even a single heavy leather purse or backpack. If you must avoid drilling, consider a freestanding bag holder stand rack instead of a wall-mounted model.
What should I do if the drywall anchor starts pulling out?
If you notice a drywall anchor beginning to pull away from the wall, you must act quickly to prevent further damage. Remove all bags from the rack immediately to eliminate the load. Unscrew the mounting bracket and pull the failing anchor out of the wall. Do not attempt to reuse the same damaged hole with the same size anchor, as the surrounding gypsum core has already been structurally compromised.
To fix the issue, you can patch the damaged hole with a high-quality wall spackling compound, let it dry, sand it smooth, and repaint. You will then need to relocate the bag holder stand rack to a new position, preferably where you can screw directly into a wall stud. Alternatively, if you must use the same general location, you can upgrade to a much larger toggle bolt that can span across the damaged area and grip the solid drywall further away from the hole.
Community discussion
Share your experience or ask a question. Comments are reviewed before publication.