
To keep your bags organized and off the floor, a wall-mounted bag rack is an excellent solution. However, the prospect of drilling holes into your walls can be daunting, especially if you are renting an apartment, condo, or simply want to preserve your home’s pristine surfaces. Installing a bag rack securely without causing permanent damage is entirely possible when you match the mounting method to your specific wall type and the weight of your items.
This guide provides a comprehensive path to selecting, installing, and eventually removing a wall-mounted bag rack. By understanding the structural characteristics of your walls and the physical limits of different mounting technologies, you can enjoy a clutter-free space without sacrificing your security deposit or ruining your paint.
Assess Your Wall Type and Weight Requirements
Before purchasing any mounting hardware, you must identify the structural material of the wall where you plan to hang your bag rack. In the Philippines, residential walls vary significantly between older houses, modern condominiums, and subdivisions. The most common wall types include solid poured concrete, hollow concrete blocks finished with plaster, drywall (gypsum board) on metal studs, and ceramic or porcelain tiles in entryways or bathrooms. Each of these surfaces responds differently to adhesives and mechanical fasteners, meaning a method that works perfectly on one wall could fail catastrophically on another.
Products mentioned in this guide
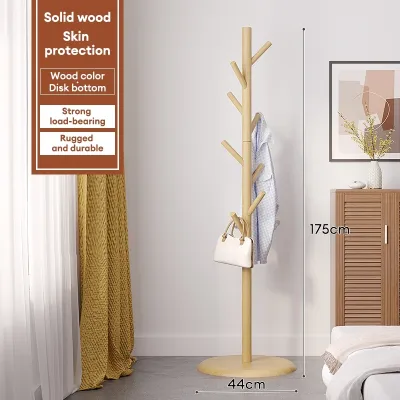
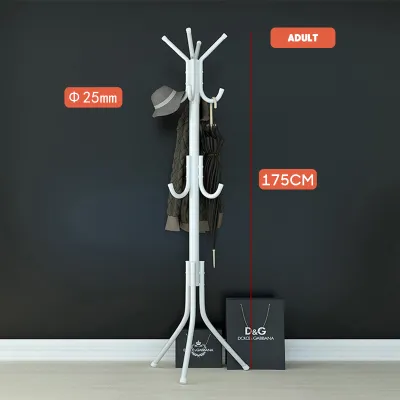
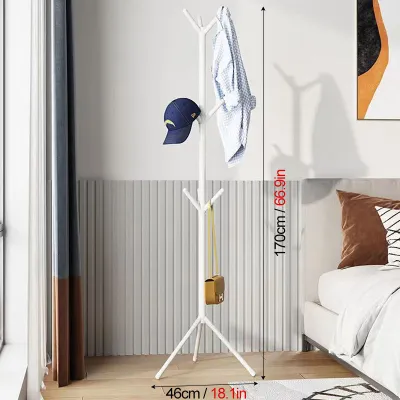
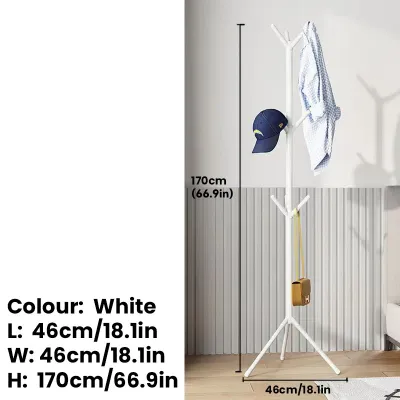
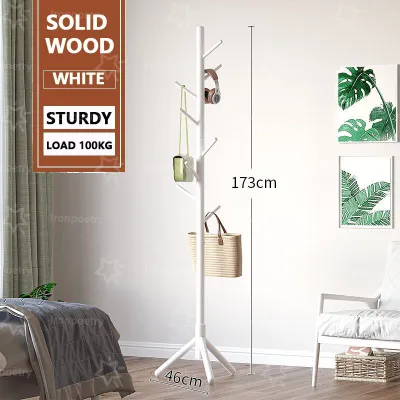
Prices are valid at publication and may change. Please refer to the product page for the latest price.
Next, you must calculate the total load the installation will support. This is not just the weight of the physical bag rack itself, but the cumulative weight of the rack plus the heaviest bags you intend to store on it. A leather backpack filled with a laptop, books, and water bottles can easily weigh 5 to 7 kilograms. Multiply this by the number of hooks on your rack to determine the maximum potential load.
Once you have a realistic weight estimate, check the bag rack manufacturer’s specifications and the weight ratings of your mounting hardware. Never exceed these limits. If your calculated total load is exceptionally high, you must accept a crucial structural boundary: if the weight exceeds the maximum capacity of damage-free adhesives for your specific wall type, low-impact drilling becomes the only safe and reliable option to prevent the rack from falling and damaging both your bags and the floor.
Choose the Right Mounting Method for Your Wall
Selecting the appropriate mounting method requires balancing the weight of your bags against the physical limitations of your wall surface and local environmental factors.

Heavy-Duty Adhesive Strips or Tapes These are highly popular for lightweight storage solutions because they require no tools and leave no holes when removed correctly. They perform exceptionally well on smooth, non-porous surfaces such as glazed ceramic tiles, glass, and well-sealed, fully cured painted drywall. However, they rely on a strong bond with the outermost layer of the wall. If your wall has poorly cured paint, cheap chalky flat paint, or moisture damage, the adhesive strip may pull the paint layer right off the plaster or drywall under a moderate load.
Liquid Construction Adhesive For porous surfaces like bare or painted concrete and masonry where standard adhesive strips fail to grip, liquid construction adhesives (such as polyurethane or hybrid polymers) offer an incredibly strong alternative. These adhesives fill the microscopic voids in concrete, creating a highly stable bond. While they do not require drilling, they are semi-permanent; removing them will require heat and mechanical scraping, which can peel away paint or plaster layers that will need minor patching later.
Traditional Drilling with Wall Anchors When your bag rack must hold heavy backpacks, multiple purses, or wet umbrellas, traditional drilling is the safest choice. Although it creates holes, it is actually a “low-impact” method because small drill holes in concrete or drywall are incredibly easy to patch, sand, and paint over when you move out. It provides mechanical support directly from the wall’s core structure, eliminating the risk of adhesive failure.
Tropical Climate Considerations In the Philippines, high relative humidity and seasonal temperature fluctuations play a major role in adhesive performance. Standard adhesives can soften or lose their grip when exposed to constant moisture and heat, particularly in non-airconditioned rooms. When using adhesives, you must select products specifically rated for humid environments, clean the surfaces meticulously to remove invisible moisture films, and allow extended curing times before hanging any weight.
Tools and Materials Checklist
Having the correct tools on hand ensures a smooth installation process and prevents mid-project mistakes that can damage your walls.
For Adhesive Methods
- Rubbing alcohol (70% isopropyl)
- Clean microfiber cloths
- A spirit level (or a leveling app on your phone)
- Painter's tape (for temporary support and marking)
- The chosen heavy-duty adhesive strips or liquid construction adhesive
For Drilling Methods
- A power drill (with a hammer function if drilling into concrete)
- Appropriate drill bits (masonry bits for concrete/masonry, standard twist bits for drywall)
- Plastic wall anchors and matching screws (ensure they match the weight requirements)
- A spirit level
- A pencil for marking
- A stud finder or wire detector to locate hidden hazards
For Removal and Repair
- A hairdryer or heat gun
- Dental floss or high-test fishing line
- A mild chemical adhesive remover
- Lightweight spackle or wall putty
- A flexible putty knife
- Fine-grit sandpaper (120 to 220 grit)
- Touch-up paint matching your wall color
Step-by-Step Installation Guide
Follow these precise, sequential instructions to install your bag rack securely using your chosen method.
Installing with Heavy-Duty Adhesive Strips (For Tiles and Painted Drywall)
First, clean both the wall surface and the backplate of the bag rack thoroughly. Dampen a microfiber cloth with rubbing alcohol and wipe the areas to remove dust, skin oils, and tropical humidity residue. Let the surfaces dry completely for at least ten minutes; do not use household glass cleaners or soapy water, as they can leave a slippery film that prevents the adhesive from bonding.
Second, apply the adhesive strips to the back of the bag rack according to the manufacturer’s instructions. Space them evenly across the mounting plate to distribute the weight. Press each strip firmly against the rack for at least 30 seconds to activate the pressure-sensitive adhesive.
Third, use a spirit level and a pencil to mark a straight guideline on the wall. Align the rack with your marks, press it firmly against the wall, and hold it with heavy pressure for 30 seconds. If using removable strips with separate wall-mounting brackets, slide the rack off the brackets and press the brackets directly against the wall to maximize contact.
Fourth, observe the critical waiting period. Do not hang any bags on the rack immediately. The adhesive requires time to build a strong bond. Leave the rack completely empty for the exact duration specified by the manufacturer—typically 24 hours—especially in humid environments where curing can take longer.
Installing with Liquid Construction Adhesive (For Concrete and Masonry)
First, prepare the concrete wall by wiping away any loose dust or chalky paint residue with a damp cloth, then allow it to dry completely. If the paint is peeling or flaking, gently scrape away the loose sections, as the adhesive will only be as strong as the paint it is bonded to.
Second, apply the liquid construction adhesive to the backplate of the bag rack. Instead of spreading it flat, apply the adhesive in a zigzag or dotted pattern. This pattern prevents air and moisture from getting trapped behind the rack, which can lead to mold growth or weaken the adhesive bond over time.
Third, press the bag rack firmly against the marked spot on the wall. Use a spirit level to ensure it is perfectly horizontal. Because liquid adhesive takes time to grab, use strips of painter’s tape or temporary wooden props to hold the rack tightly flush against the concrete wall so it does not slide down.
Fourth, allow the adhesive to cure completely. Refer strictly to the product label for the recommended curing time. In highly humid or poorly ventilated rooms, extend this waiting period by an additional 12 to 24 hours before removing the temporary supports and hanging any bags.
Drilling for Heavy Loads (Minimal Damage Approach)
First, safety must be your top priority. Use an electronic wire and pipe detector over the intended installation area to ensure you do not drill into hidden electrical conduits or water pipes, which are common in Philippine concrete walls. Mark the drilling spots carefully through the mounting holes of the bag rack using a pencil and a spirit level.
Second, select a drill bit that matches the exact diameter of your plastic wall anchors. For concrete or hollow block walls, use a masonry drill bit and set your power drill to its hammer setting. Hold the drill perfectly perpendicular to the wall and drill to a depth slightly deeper than the length of the anchor.
Third, clean the dust out of the drilled holes using a straw or a vacuum cleaner. Insert the plastic wall anchors into the holes; they should fit snugly and require a light tap with a hammer to sit perfectly flush with the wall surface. If the anchor is loose, it will spin when you insert the screw, compromising the load capacity.
Fourth, align the bag rack over the anchors. Insert the screws through the rack’s mounting holes and into the wall anchors. Tighten the screws evenly using a manual screwdriver or a drill on a low clutch setting to avoid over-tightening, which can crack the plastic anchor, the rack, or the surrounding wall plaster.
How to Remove the Rack and Restore the Wall
When it is time to move out or rearrange your room, you can remove the bag rack and restore your walls to their original condition by following these careful steps.
Removing Adhesive Strips If you used stretch-release adhesive strips, never pull the strip outward or away from the wall, as this will tear the paint. Instead, hold the bag rack gently with one hand and slowly pull the exposed paper tab straight down, parallel to the wall. Stretch the strip slowly—it can extend up to several times its original length—until the bond releases cleanly. If a tab breaks off behind the rack, slide a piece of dental floss or high-test fishing line behind the rack and use a sawing motion to slice through the foam core of the strip, then rub away the remaining adhesive residue with your fingers.
Removing Liquid Adhesive To remove a rack bonded with liquid construction adhesive, use a hairdryer or a heat gun on a medium setting to apply heat directly to the metal or wooden backplate. The heat will soften the polymer bonds of the adhesive. Once the adhesive is warm, gently insert a putty knife behind the rack and pry it away from the concrete wall slowly to minimize damage to the plaster. If any hardened adhesive remains on the wall, apply a small amount of chemical adhesive remover to a hidden spot first to ensure it does not dissolve your wall paint, then scrape the softened residue away.
Patching Drill Holes If you drilled holes into the wall, use a pair of needle-nose pliers to pull the plastic wall anchors out of the wall. If they are stuck, push them slightly deeper into the hole using a screwdriver so they sit below the wall surface. Use a flexible putty knife to apply a small amount of lightweight spackle or wall putty into the hole, pressing it in firmly to fill the void. Smooth the surface with the flat edge of the putty knife, leaving it slightly mounded to account for shrinkage as it dries. Once dry, sand the area smooth with fine-grit sandpaper and apply a quick touch-up coat of matching paint.
Frequently Asked Questions (FAQ)
Can I mount a bag rack on wallpaper or freshly painted walls?
No, you should avoid using any adhesive mounting methods on wallpaper or freshly painted walls. Adhesive strips and liquid glues form a bond that is stronger than the wallpaper’s attachment to the wall, meaning the weight of your bags will inevitably tear the wallpaper and pull it away. For freshly painted walls, the paint requires at least 30 days to fully cure and harden. Applying adhesives before this period traps solvents and prevents curing, which causes the adhesive to pull the soft paint layer off the wall upon removal. If you cannot wait, use a freestanding coat tree or bag stand instead.
How do I know if my wall anchor is strong enough for my bags?
To verify if your wall anchors can safely support your bag rack, you must check the shear and tensile weight ratings printed on the anchor packaging. Shear strength refers to the downward pulling force, which is the primary force exerted by a bag rack. Calculate your total expected weight (rack plus bags) and divide that number by the number of wall anchors you are using. For example, if your loaded rack weighs 12 kilograms and you use three anchors, each anchor must have a safe working load rating of at least 4 kilograms. Always choose anchors rated higher than your calculated weight to provide a safety margin.
Community discussion
Share your experience or ask a question. Comments are reviewed before publication.