
A wall-mounted cap display rack is an excellent way to organize your headwear collection, turning everyday accessories into a clean, stylish wall display. However, a poorly mounted rack can quickly sag, damage your wall, or fall entirely under the weight of your caps. Installing a wall-mounted sabitan ng cap securely requires understanding your specific wall type, using the correct hardware, and following a precise, step-by-step mounting procedure. By taking the time to prepare your surface and align your tools, you can achieve a professional-grade installation that keeps your caps organized and your walls damage-free.
Preparation: Assessing Your Wall and Rack
In the Philippines, residential walls vary significantly. Most homes feature walls made of poured concrete or concrete hollow blocks finished with a layer of plaster. Some modern condominiums and renovated spaces utilize gypsum drywall over light-gauge metal studs. Identifying your wall material is the most critical first step because concrete requires masonry drill bits and expansion anchors, while drywall requires toggle bolts or stud-mounting screws. Attempting to drive a standard screw directly into concrete or using a simple plastic plug in a hollow block void will result in a weak hold that eventually pulls out.
Next, examine the physical specifications of your display rack. Check the manufacturer’s documentation for its exact dimensions, weight, and recommended load capacity. Remember that a cap display rack does not just hold the static weight of the fabric caps; it must also withstand the physical pulling force exerted when you repeatedly grab or hang your caps. Always check the display rack manufacturer’s instructions and wall anchor specifications before beginning your installation.
Products mentioned in this guide
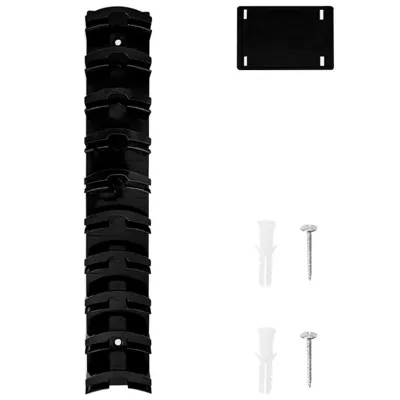
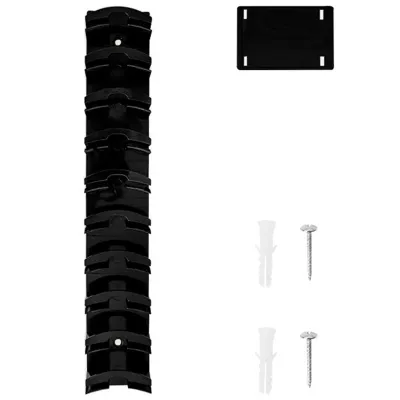
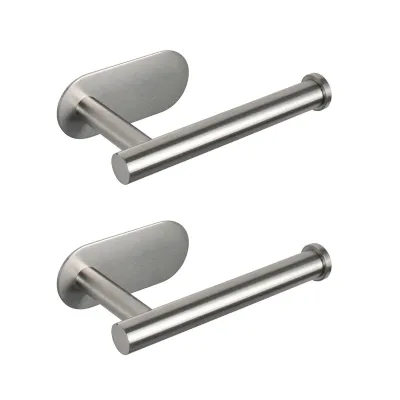
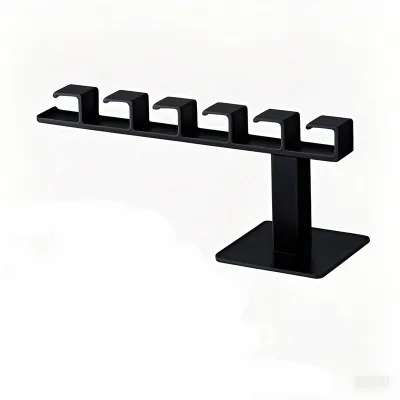
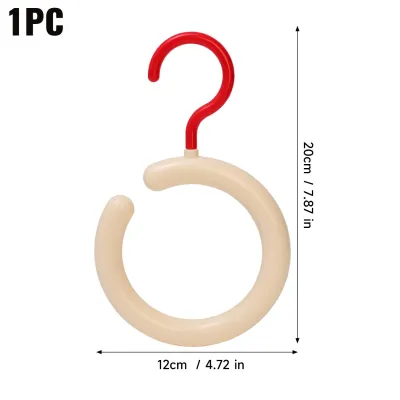
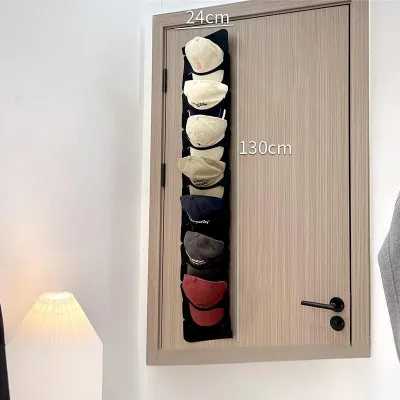
Prices are valid at publication and may change. Please refer to the product page for the latest price.
Measure your intended wall space carefully before drilling any holes. Ensure there is enough clearance so that the caps, which often have protruding visors, do not obstruct nearby doors, window treatments, or high-traffic walkways. You want the display to look intentional and integrated into the room rather than crowded into a tight corner.
Finally, look at the mounting bracket pattern on the back of the rack. If you are mounting on drywall, try to align at least one set of mounting holes with a wall stud for maximum stability. On solid concrete or hollow block walls, ensure the drilling locations do not sit too close to the edges of the wall structure, which can cause the concrete or plaster to chip and crack under pressure.
Tools and Materials Checklist
Before you begin, gather all necessary tools and materials to ensure a smooth, uninterrupted installation process. Having everything on hand prevents mid-project delays and ensures that you do not take shortcuts that compromise safety.

- Power Drill and Drill Bits: You will need a reliable power drill. If you are working with concrete or concrete hollow blocks, a hammer drill is highly recommended, paired with a high-quality masonry drill bit. For drywall or wood studs, a standard rotary drill with wood or metal bits is sufficient.
- Wall Anchors and Screws: Never rely on generic screws alone. For concrete or solid plaster walls, use plastic expansion plugs or heavy-duty masonry anchors. For hollow concrete blocks, specialized sleeve anchors or toggle bolts are ideal if you drill into a hollow section. For drywall, use toggle bolts or self-drilling threaded drywall anchors.
- Measuring and Alignment Tools: A metal measuring tape, a reliable spirit level, and a sharp pencil are essential for ensuring your rack is perfectly straight and centered.
- Safety Equipment: Always wear safety glasses to protect your eyes from flying concrete dust or drywall debris. A dust mask is also highly recommended, especially when drilling into concrete or plaster, to avoid inhaling fine particulates.
- Hammer or Rubber Mallet: This is necessary for gently tapping your plastic wall anchors or sleeve anchors into the drilled holes without damaging the surrounding wall surface.
Step-by-Step Installation Process for Your Sabitan ng Cap
Step 1: Measuring and Marking the Position
Begin by deciding on the optimal height for your display. It should be easily reachable for daily use while remaining high enough to stay out of the path of children, pets, or passing shoulders. Once you have chosen the general area, hold the mounting bracket or the rack itself against the wall. Place a spirit level on top of the bracket to verify it is perfectly horizontal.
While holding the level steady, use a pencil to mark the exact center of each mounting hole onto the wall. Once marked, set the rack down and use your measuring tape to double-check the distance between your pencil marks against the actual distance between the holes on your rack. This step prevents the common frustration of drilling holes that are slightly too wide or too narrow for the bracket.
Step 2: Drilling Holes and Setting Anchors
Select a drill bit that matches the exact diameter of your wall anchors. If the bit is too small, the anchor will not fit; if it is too large, the anchor will spin freely inside the hole and fail to grip. When drilling into concrete, set your drill to hammer mode and apply firm, steady pressure, keeping the drill completely perpendicular to the wall.
Drill slightly deeper than the length of the anchor to ensure the screw can penetrate fully. Once the hole is drilled, use a vacuum cleaner nozzle or a small hand pump to blow out all the dust and debris from inside the hole. Leftover dust acts as a lubricant, which significantly reduces the friction grip of plastic expansion plugs.
Insert the wall anchor into the clean hole. It should fit snugly. If there is resistance, use a rubber mallet or a hammer to tap it gently until the collar of the anchor sits completely flush with the plaster or drywall surface.
Step 3: Mounting and Securing the Rack
Lift your sabitan ng cap and align its mounting holes with the installed wall anchors. Insert the screws by hand through the bracket and into the anchors to ensure they are threaded correctly.
Using a manual screwdriver or a power drill set to a low-torque setting, tighten the screws gradually. If you are using a power drill, stop before the screw is fully seated and finish tightening it by hand. This prevents over-torqueing, which can easily strip plastic anchors or crack the wooden or plastic mounting tabs of your display rack. Tighten until the rack is snug and flush against the wall surface with no visible gaps.
If your display rack features secondary components—such as individual hanging hooks, snap-on rails, or decorative end caps—assemble and attach them now according to the manufacturer’s specific instructions.
Step 4: Verifying Stability and Safety
Before placing your valuable cap collection on the rack, you must verify the structural integrity of the installation. Gently grasp the sides of the mounted rack and perform a light wobble test. There should be absolutely no play, wiggle, or movement against the wall surface.
Next, apply gradual, gentle downward pressure to the rack to simulate the weight of the caps and the pulling force of daily use. If you notice any flexing in the drywall, cracking in the concrete plaster, or if the anchors begin to pull forward, stop immediately. This indicates either a hollow wall cavity that requires a different anchor type or a hole that was drilled too large.
Finally, wipe down the wall and the rack with a dry microfiber cloth to remove any remaining construction dust, ensuring your caps stay clean when displayed.
Common Installation Mistakes to Avoid
One of the most frequent errors is using basic drywall plugs inside hollow concrete blocks or solid concrete walls. Drywall plugs rely on expanding behind a thin sheet of gypsum board, whereas concrete anchors rely on friction expansion against solid material. Using the wrong anchor type will inevitably cause the rack to sag or pull loose over time.
Over-tightening the mounting screws is another mistake that can ruin an otherwise perfect installation. Excessive force can strip the internal threads of plastic anchors, rendering them useless, or crack the mounting bracket of the rack itself.
Never ignore the manufacturer’s specified weight limits. While a single cap is lightweight, a full collection of heavy snapbacks, fitted caps, or wet hats can add up, especially if other items like bags or keys are hung on the same rack.
Skipping the use of a spirit level is a shortcut that always shows. A crooked rack not only looks unprofessional but also places uneven gravitational stress on one side of the mounting points, accelerating anchor fatigue.
Lastly, failing to clean the dust out of drilled concrete holes is a silent failure point. The fine concrete powder prevents the plastic plug from making direct, high-friction contact with the concrete wall, causing the anchor to slip out under minimal load.
Long-Term Maintenance and Cap Care
In the tropical climate of the Philippines, high humidity levels can affect both your wall structure and your display rack. Periodically inspect the wall area surrounding the mounting points. Look for any signs of plaster bubbling, moisture stains, or hairline cracks, which could indicate water ingress or structural weakening.
Vibrations from nearby doors slamming or general household activity can slowly loosen screws over time. Check the tightness of the mounting screws every few months, gently tightening them with a hand screwdriver if necessary.
Dust and humidity are a dangerous combination for cap collections, as they can lead to mold growth and fabric deterioration. Dust your sabitan ng cap and the headwear regularly using a soft brush or a vacuum attachment.
To protect your caps and the metal components of your rack from rust and mold, maintain good airflow in the room. Use a dehumidifier or keep windows open during dry, breezy days to manage indoor humidity levels effectively.
Frequently Asked Questions (FAQ)
Can I install a cap rack on a tiled or glass surface?
Never attempt to drill into a glass surface, as it will shatter instantly. Drilling into ceramic or porcelain tiles is possible but requires specialized diamond-tipped or carbide drill bits and a slow, steady drilling speed without hammer action to prevent cracking the tile. If you want to avoid drilling entirely, consider high-quality, heavy-duty waterproof adhesive strips or suction mounts designed specifically for smooth, non-porous surfaces.
How do I determine the maximum weight capacity of my wall?
The load capacity depends heavily on your wall material and the specific anchors you use. Solid poured concrete walls offer the highest load-bearing capacity, followed by concrete hollow blocks, while drywall offers the least. Always check the weight rating printed on your wall anchor packaging, which typically lists shear and pull-out strength, and apply a conservative safety margin of at least fifty percent to account for dynamic forces.
What is the ideal height for mounting a cap display rack?
For the best visual appeal and ease of access, mount the center of your cap display rack at average eye level, which is approximately 57 to 60 inches (145 to 152 centimeters) from the floor. You should adjust this height based on your personal reach, the height of surrounding furniture, and whether you want the caps to be easily accessible to children or kept safely out of their reach.
Community discussion
Share your experience or ask a question. Comments are reviewed before publication.