
Organizing a growing hat collection requires a smart storage solution that keeps your headwear structured, clean, and easily accessible. Installing a cap organizer rack wall system is one of the most efficient ways to showcase your collection while freeing up valuable closet space. However, mounting any storage fixture securely depends entirely on matching your installation method to the specific wall material of your home.
In the Philippines, residential walls vary significantly, ranging from solid concrete hollow blocks to modern gypsum boards and traditional plywood partitions. Each of these materials responds differently to drilling, anchoring, and weight distribution. Understanding these differences before you begin prevents costly wall damage and ensures your favorite caps remain safely displayed.
Assessing Your Wall Type and Weight Limits for a Cap Organizer Rack Wall Mount
Before picking up a drill, you must accurately identify the material of the wall where you plan to mount your rack. In many local homes, the most common wall type is concrete or concrete hollow block, which is typically finished with a layer of plaster and paint. You can identify a concrete wall by tapping on it; it will produce a solid, dull thud and feel completely unyielding when pressed. Attempting to push a small pin or nail into concrete by hand is virtually impossible.
Products mentioned in this guide
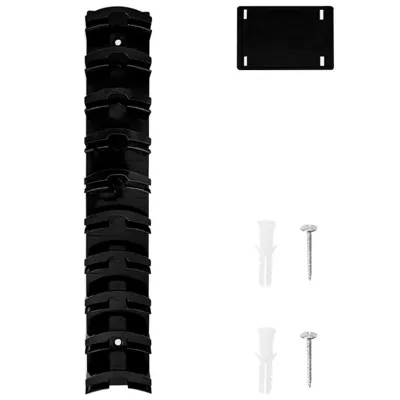
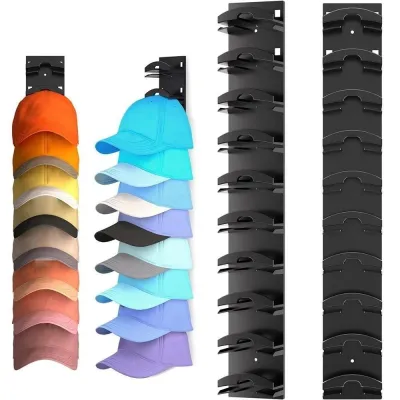
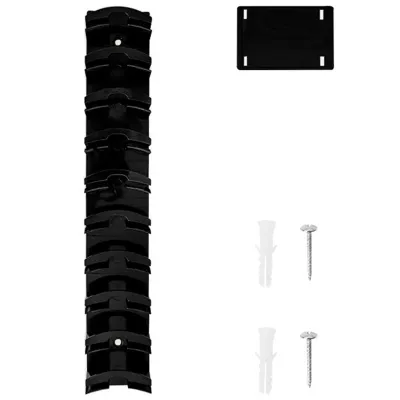
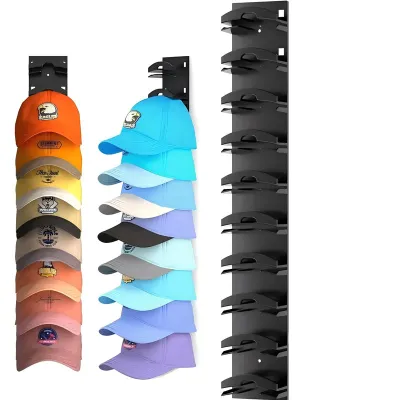

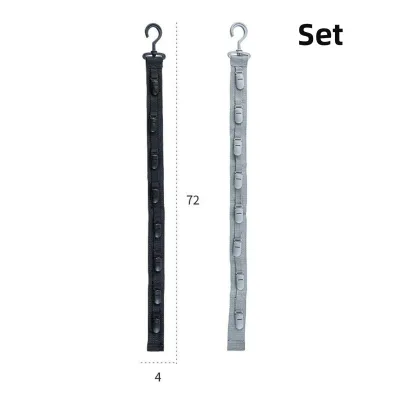
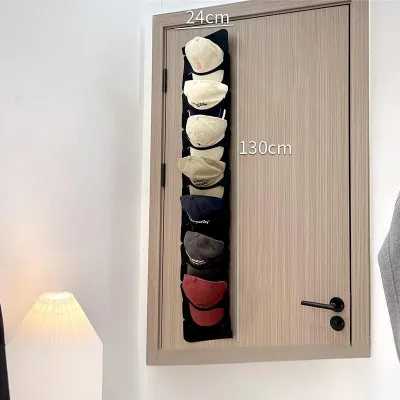
Prices are valid at publication and may change. Please refer to the product page for the latest price.
Drywall or gypsum board is more common in modern condominiums, renovated spaces, and newer residential developments. These walls are perfectly flat and smooth, but tapping them produces a hollow, slightly ringing sound. Drywall has a slight amount of flex when pushed firmly and is much easier to puncture, making proper anchoring absolutely critical to prevent the rack from pulling out of the fragile plaster core.
Wooden walls, often made of plywood or local hardwood panels, are also widely used for interior partitions. Tapping a plywood wall yields a semi-hollow but firm sound, and you can often feel the distinct texture or see subtle seams between panels under the paint. Wood offers excellent grip for screws, but thin plywood panels require careful handling to avoid splitting or warping under load.
Once you have identified your wall type, check the manufacturer’s maximum load rating on your cap rack’s packaging. While a single baseball cap or snapback seems incredibly light, a collection of ten, fifteen, or twenty caps can weigh several kilograms. This total weight, combined with the downward leverage exerted when you pull a cap off its hook, puts continuous stress on your wall anchors.
Finally, prioritize safety by checking the wall for hidden hazards before drilling any holes. Electrical conduits, PVC water pipes, and structural reinforcing bars are frequently embedded within concrete walls or run directly behind drywall partitions. Use a reliable multi-scanner or stud finder equipped with live-wire detection to scan the intended mounting area. If you are unsure of what lies behind the surface, stop immediately and consult a professional electrician or contractor.
Essential Tools and Hardware for a Secure Mount
Having the correct tools on hand makes the installation process smooth and prevents damage to both your wall and your new storage organizer. To begin, gather a set of universal tools that are necessary regardless of your wall type. You will need a power drill, a measuring tape, a pencil for marking, safety glasses, and a dust mask to protect your lungs from fine masonry or gypsum dust. A spirit level is also indispensable; relying on visual estimation often results in a crooked rack that causes caps to slide or hang unevenly.

The type of drill bit you use must match your wall material precisely. For concrete and masonry walls, you must use a carbide-tipped masonry drill bit, which is designed to grind through tough stone and plaster. For wood and drywall, a standard high-speed steel twist drill bit or a brad-point bit is ideal, as these cut cleanly through softer fibers without tearing the material.
Matching your mounting hardware to the wall type is the single most important factor in preventing installation failure. For concrete walls, standard plastic expansion anchors provide a reliable grip by expanding tightly against the solid masonry as the screw is driven in. For drywall, do not use simple plastic expansion plugs, as they will easily pull out under the weight of the rack; instead, opt for heavy-duty toggle bolts, self-drilling metal anchors, or hollow-wall molly bolts. For solid wood walls, no anchors are needed, as standard wood screws bite directly into the wood fibers to create a strong hold.
Before starting, verify that the screws provided in your cap organizer kit are compatible with your chosen wall anchors. Many manufacturer-supplied screws are designed only for basic wooden studs and may be too short or too thin for heavy-duty drywall toggle bolts or concrete plugs. If the supplied screws do not fit your anchors perfectly, visit a local hardware store to purchase screws of the correct length and gauge.
Step-by-Step Installation Guide by Wall Type
Different wall materials require distinct techniques to ensure a clean, permanent mount. Follow these specific steps to secure your rack safely.
Concrete and Hollow Block Walls
First, hold your cap organizer rack against the concrete wall at your desired height. Place a spirit level on top of the rack to ensure it is perfectly horizontal, then use a pencil to mark the exact center of each mounting hole onto the wall surface.
Next, equip your power drill with a carbide-tipped masonry bit that matches the outer diameter of your plastic expansion anchors. Set your drill to its hammer function, which combines rotary drilling with a rapid pulsing action to break through tough concrete. Drill straight into each marked spot, ensuring the drill remains perfectly perpendicular to the wall. The depth of the hole should be slightly longer than the length of the anchor itself; you can wrap a piece of painter’s tape around the drill bit to serve as a visual depth guide. Once drilled, use a hand pump, vacuum, or small brush to clear all concrete dust and loose debris from inside the holes.
Now, insert the plastic expansion anchors into the clean holes. They should fit snugly; if they do not slide in completely by hand, use a hammer to gently tap them until they are flush with the plastered wall surface. If an anchor stops short, do not force it, as this can bend the plastic; instead, remove it and drill slightly deeper to clear any remaining concrete debris.
Finally, align the mounting brackets of your organizer rack with the installed anchors. Insert the screws through the brackets and drive them into the plastic plugs using a screwdriver or a drill on a low-torque setting. Tighten the screws until the brackets are firmly pressed against the wall, but avoid over-tightening, which can strip the plastic anchor and ruin its grip.
Drywall and Gypsum Board
Begin by using a stud finder to locate any wooden or metal framing studs behind your drywall. Whenever possible, mounting at least one side of your cap rack directly into a stud provides the highest level of stability. If a stud aligns with your desired layout, you can drive wood screws directly through the drywall and into the wood stud without using anchors.
If no studs are available where you want to place the rack, you must rely on heavy-duty hollow-wall anchors. Hold the rack in position, level it carefully, and mark the mounting holes with your pencil. Drill pilot holes using a standard twist drill bit. The diameter of the drill bit must match the manufacturer’s instructions for your specific drywall anchors; toggle bolts, for example, require a relatively large hole to allow the spring-loaded metal wings to fold and pass through the drywall sheet.
Next, prepare and insert your anchors. If you are using toggle bolts, thread the bolt through the mounting bracket of the cap rack first, then screw the spring-loaded wings onto the end of the bolt. Compress the wings with your fingers, push them completely through the drilled hole until you feel them spring open on the back side of the drywall, and pull the rack slightly toward you to create tension. If you are using self-drilling threaded anchors, screw them directly into the drywall using a manual screwdriver until they sit flush with the paper surface.
To finish, tighten the screws slowly and carefully. When tightening toggle bolts, maintain outward tension on the rack so the wings do not spin behind the wall. Stop tightening immediately as soon as the bracket feels secure and flush; over-tightening will crush the fragile gypsum core, causing the drywall to dimple, crack, or lose its structural integrity.
Wood and Plywood Panels
Start by inspecting the wooden panel or plywood wall to ensure it is structurally sound, completely dry, and firmly attached to the underlying wall studs. Thin plywood sheets can warp or flex under weight, so verify that the paneling is thick enough to support a loaded rack without pulling away from the frame.
Position the cap organizer rack on the wood surface, check it with your spirit level, and mark the mounting holes. Drill small pilot holes using a standard wood drill bit. The diameter of the pilot hole should be slightly smaller than the inner shank of your wood screws (excluding the outer threads). This pilot hole prevents the wood fibers from splitting as the screw is driven in, while still allowing the threads to bite deeply and securely into the wood.
Align the rack’s brackets with the pilot holes and drive your wood screws directly into the wood. Tighten the screws until the bracket is flush and secure against the panel. Because wood can strip easily if subjected to excessive force, tighten the final turns by hand with a screwdriver to ensure a firm, secure fit without damaging the wood fibers.
How to Test Stability and Ensure Load Safety
Before hanging your entire cap collection, you must verify that the installation is stable and capable of holding weight safely over time. Begin with a visual and physical inspection. Stand back and look at the rack from multiple angles to ensure it sits perfectly flush against the wall with no visible gaps, tilting, or unevenness. Gently wiggle the rack with your hand; there should be absolutely no play, wobble, or loose movement at the bracket connection points.
Next, perform a gradual load test to safely assess the strength of the mount. Do not load all your hats onto the rack at once. Start by placing just one or two lightweight caps on the rack and let them hang for a few minutes. Gradually add more caps, observing how the rack behaves as the weight increases. Once fully loaded, gently apply a small amount of downward pressure with your hand to simulate the realistic pulling force of grabbing a cap off its hook.
While performing this test, pay close attention to any warning signs of installation failure. Listen carefully for any creaking, cracking, or popping sounds coming from the wall. Watch the area immediately surrounding the mounting brackets for falling plaster dust, fine concrete debris, or paint peeling. If you notice the anchors pulling outward even slightly, or if micro-cracks begin to form in your drywall or plaster, remove the weight immediately. This indicates that the chosen anchors are failing or the wall material is too weak, requiring you to reinstall the rack using stronger hardware or in a different location.
Tips for Organizing and Maintaining Your Cap Display
To keep your cap organizer rack wall installation looking great and functioning safely, proper organization and maintenance are essential, especially in a tropical environment. Always distribute the weight of your hats evenly across the entire length of the rack. Avoid clustering heavy, structured caps on one side while leaving the other side empty, as this uneven leverage puts unnecessary, lopsided stress on your wall anchors.
In the warm, humid climate of the Philippines, proper air circulation is vital to protect your caps from damage. High humidity can quickly lead to mold growth, musty odors, and fabric discoloration on caps stored too closely together. Leave a small amount of space between each cap on the rack to allow air to flow freely. Additionally, avoid mounting your display directly opposite an air conditioner vent where condensation might form, or in dark, unventilated corners of your room.
Maintaining both your caps and the mounting hardware requires very little effort but yields long-term benefits. Periodically dust the rack and your caps using a soft microfiber cloth or a soft-bristled brush to prevent dust buildup. Every few months, check the tightness of the mounting screws; seasonal changes in temperature and humidity can cause wood and drywall to expand and contract, which can slowly loosen hardware over time. Finally, always make sure your caps are completely dry and free of sweat or hair oils before hanging them up, as moisture and oils can transfer to the rack and attract mold or dust.
Frequently Asked Questions (FAQ)
Can I install a cap rack without drilling?
While heavy-duty adhesive strips, magnetic hooks, or over-the-door organizers are popular rental-friendly alternatives, they are generally not recommended for semi-permanent wall-mounted cap organizer racks. The dynamic weight of multiple caps, combined with the leverage exerted when pulling hats off the rack, can easily cause adhesive backings to fail over time. Furthermore, high tropical humidity can degrade adhesive bonds, causing the rack to fall and damage both your caps and your wall paint. If you must use adhesive methods, ensure the wall surface is non-porous, completely smooth, and thoroughly cleaned with rubbing alcohol, and strictly adhere to the adhesive manufacturer’s weight limits, keeping your total load well below the rated maximum.
How many caps can a standard wall-mounted rack hold?
The physical number of loops, clips, or hooks on a cap organizer rack does not dictate its safe load capacity. The true limit is determined by the strength of your wall material, the quality of the wall anchors used, and the manufacturer’s official weight rating. For instance, a rack mounted securely into solid concrete or a wooden stud can safely carry a full load of heavy caps, whereas the exact same rack mounted with cheap plastic plugs in thin drywall might fail under half that weight. Always calculate the combined weight of your caps (an average structured cap weighs around 80 to 100 grams, meaning a collection of 20 caps weighs approximately 2 kilograms) and verify that this total remains well within the safe limits of both the rack and your specific wall installation.
Community discussion
Share your experience or ask a question. Comments are reviewed before publication.