
Installing a wall-mounted cap rack is a highly effective way to organize your headwear, preserve the shape of your caps, and turn your collection into an attractive wall display. To achieve a secure, professional-looking installation, you must select the right location, choose the correct wall anchors for your specific wall type, drill precise pilot holes, and mount the hardware securely. Taking the time to measure accurately and prepare your tools prevents loose mounts, sagging racks, and unsightly wall damage.
Whether you are organizing a few favorite snapbacks or displaying a massive collection of sports caps, the stability of your installation relies entirely on the connection between the mounting hardware and your wall. This guide provides a clear, step-by-step process to help you complete the installation with confidence, ensuring your rack remains firmly in place for years to come.
Preparation: Tools and Materials You Will Need
Before beginning your installation, gathering the correct tools and materials ensures a smooth workflow and prevents mid-project interruptions. The specific items you need depend largely on the material of your wall, as standard drywall screws will not hold securely in solid concrete or hollow blocks without the proper matching anchors.
Products mentioned in this guide
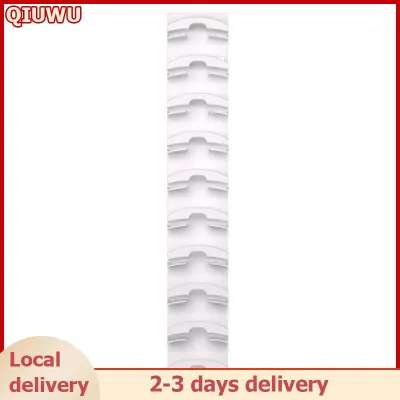
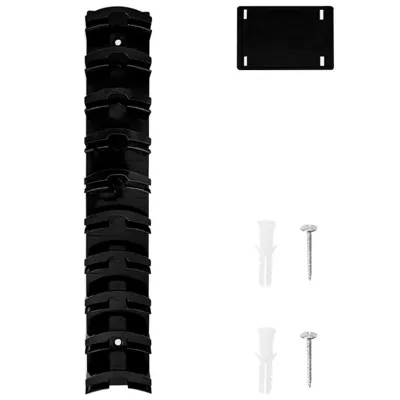
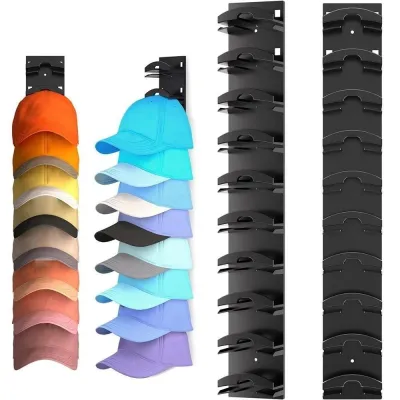
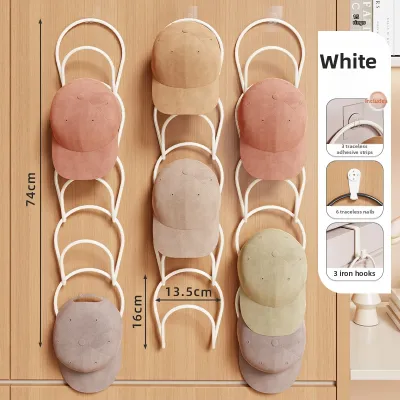


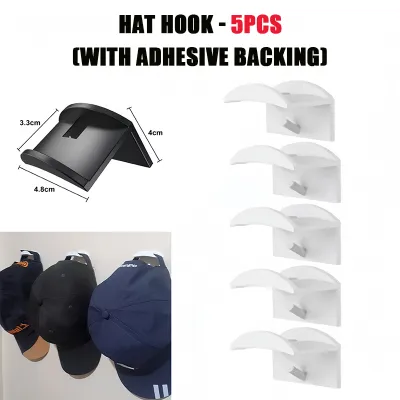
Prices are valid at publication and may change. Please refer to the product page for the latest price.
Here is a checklist of the essential tools and materials required for a secure installation:
- Power drill: A standard rotary drill is sufficient for drywall, while a hammer drill is highly recommended for concrete or hollow block walls.
- Drill bits: Use standard wood or metal drill bits for drywall, and carbide-tipped masonry drill bits for concrete or masonry walls.
- Screwdriver: A manual Phillips-head or flat-head screwdriver offers better control than a power tool during the final tightening phase.
- Tape measure and pencil: Essential for precise measuring and marking your drill points on the wall surface.
- Spirit level: A bubble or digital level ensures your cap rack sits perfectly horizontal rather than tilted.
- Wall anchors and screws: These must match your specific wall material to prevent the rack from pulling loose under weight.
Most wall-mounted cap racks come with a basic hardware kit containing standard screws and plastic anchors. However, you should inspect these included fasteners carefully before proceeding. Often, the provided generic plastic plugs are low-quality or unsuitable for your specific wall type. If you are mounting onto concrete or hollow blocks, you will need to supplement the kit with high-quality expansion anchors. If you are mounting onto drywall, specialized drywall anchors are necessary. Selecting the correct wall anchor is the single most critical factor in ensuring your cap rack remains firmly attached to the wall over time.
Step 1: Choose the Right Location and Mark the Spots
Choosing the ideal location for your cap rack involves balancing daily accessibility with safety and aesthetics. Look for an open wall space that is easy to reach but clear of high-traffic pathways where people might accidentally bump into the rack or knock the caps loose. Common locations include entryways, bedroom walls, walk-in closets, or dedicated display areas.

To begin marking, determine the optimal height for your rack. The top of the rack should ideally sit at eye level or slightly higher, allowing you to view and select your caps easily. Hold the cap rack or its mounting plate against the wall at your chosen height. Use a tape measure to verify that the distance from the floor is uniform on both sides, ensuring the rack is positioned exactly where you want it.
Once the position is set, place your spirit level along the top edge of the rack or the mounting template. Adjust the angle until the level’s bubble sits perfectly centered between the indicator lines. Holding the rack firmly in this leveled position, insert a sharp pencil through the mounting holes to mark the exact drilling spots on the wall. Double-check your marks by measuring the distance between them and comparing it to the distance between the mounting holes on the rack itself.
Before you pull out your drill, you must perform a crucial safety check. Verify that there are no hidden electrical wires, water pipes, or utility lines running behind the wall where you intend to drill. In many homes, plumbing lines run vertically behind bathroom and kitchen walls, while electrical wiring often runs horizontally or vertically from outlets and switches. If you are unsure of what lies behind the wall, use a reliable stud finder with wire-detection capabilities, or choose a different wall section to avoid catastrophic utility damage.
Step 2: Drill the Holes and Insert Wall Anchors
Drilling clean, precise holes is essential for a stable mount. If the holes are too large, the wall anchors will spin or pull out; if they are too small, you risk damaging the wall or the anchor as you try to force it in. Always check the packaging of your wall anchors to find the exact drill bit size required. The packaging typically lists the diameter of the drill bit that matches the outer diameter of the anchor sleeve.
When drilling, hold the power drill perfectly perpendicular to the wall. Tilting the drill creates an oval or angled hole, which significantly reduces the holding power of the anchor. Apply steady, moderate pressure, and let the drill bit do the work. To ensure you drill to the correct depth, you can wrap a piece of masking tape around the drill bit at a distance equal to the length of the wall anchor. Stop drilling as soon as the tape marker reaches the wall surface. Once the hole is drilled, pull the bit straight out while it is still spinning to clear out any loose dust and debris from inside the hole.
Drilling into Concrete or Hollow Block Walls (Common in the Philippines)
In the Philippines, residential walls are predominantly constructed from solid concrete or concrete hollow blocks finished with plaster. Drilling into these tough materials requires a carbide-tipped masonry drill bit and, ideally, a hammer drill. A standard rotary drill can eventually penetrate concrete, but it will take significantly longer and can quickly dull your drill bit.
Set your drill to the hammer function and apply firm, forward pressure. Once the hole is drilled to the correct depth, blow out the concrete dust using a straw or a hand pump. Insert your plastic or metal expansion anchors into the holes. If they do not slide in easily, use a hammer to gently tap them until they sit completely flush with the plastered wall surface. Avoid hitting the plaster directly with the hammer to prevent unsightly chipping or cracking.
Drilling into Drywall or Gypsum Boards
While less common than concrete in traditional homes, drywall and gypsum board partitions are widely used in modern Philippine condominiums, offices, and renovated rooms. Drywall is relatively soft and hollow, meaning standard plastic expansion plugs will not grip the material and will easily pull out under the weight of a loaded cap rack.
For drywall installations, you must use specialized drywall anchors such as self-drilling threaded anchors or toggle bolts. Self-drilling anchors can be screwed directly into the drywall using a manual screwdriver until they are flush. For heavier or larger cap racks, toggle bolts are the safest choice. To install a toggle bolt, drill a hole large enough for the folded metal wings to pass through. Once inside the hollow wall cavity, the wings spring open, distributing the weight across a much wider surface area behind the drywall.
Step 3: Mount the Cap Rack and Secure the Screws
With your wall anchors securely in place, you are ready to mount the cap rack. Align the mounting holes on the rack’s frame or bracket precisely with the openings of the installed wall anchors. If your rack uses a two-piece mounting system, you will mount the bracket first, then slide or snap the main rack onto the secured bracket.
Insert the screws through the rack’s mounting holes and thread them into the wall anchors by hand for the first few turns. This ensures the screws are properly aligned and prevents cross-threading. Once the screws are started, use a manual screwdriver to tighten them. If you prefer to use a power drill or electric screwdriver, set it to a very low torque setting to maintain control and avoid sudden slips that could scratch the rack or damage the surrounding wall.
As you tighten the screws, pay close attention to the resistance. You want the screws to be snug and the rack to sit firmly against the wall without any play. However, you must strictly avoid over-tightening. Over-tightening can strip the plastic threads inside the wall anchor, causing it to lose its grip entirely, or it can crack the wooden, plastic, or acrylic mounting base of your cap rack. Stop tightening the moment the screw head is flush against the bracket and the rack feels stable.
Step 4: Verify Stability and Arrange Your Caps
Before placing your cap collection on the rack, you must verify the stability of your installation. This step ensures that the rack can handle the daily motion of pulling caps off and hanging them back up without loosening over time. Perform a manual stability test by placing your hands on the rack and applying gentle downward and outward pressure.
Listen and feel for any signs of movement, creaking, or play between the rack and the wall. If the rack wobbles or if you notice the anchors pulling away from the wall even slightly, stop immediately. This movement indicates that either the anchors are too small for the drilled holes, the screws are not fully engaged, or the wall material is failing to support the load. You will need to tighten the screws further or reinstall the rack using more robust anchors.
Once you have verified that the installation is perfectly stable, refer to the manufacturer’s weight limit specifications before arranging your caps. While caps are generally lightweight, a large collection can add up in weight, especially if the rack also holds other items like bags or keys. Arrange your caps by distributing them evenly across the entire length of the rack. Avoid concentrating all the weight on one side or on a single hook, as this uneven load can put unnecessary stress on a single anchor and cause the rack to tilt or sag over time.
Common Installation Mistakes to Avoid
A successful installation depends on precision and patience. To ensure your cap rack remains secure for years to come, be mindful of these common mistakes that often lead to failed mounts or wall damage:
- Skipping the spirit level: Relying on your eyes to judge whether a rack is straight almost always results in a crooked installation, which becomes highly noticeable once the caps are hung.
- Using the wrong anchor for your wall type: Attempting to use concrete plugs in drywall or drywall anchors in concrete will result in a loose, unstable mount that will eventually fail.
- Ignoring hidden utilities: Drilling blindly into a wall without checking for electrical wires or water pipes can lead to expensive repairs and severe safety hazards.
- Over-tightening screws: Forcing screws past their stopping point strips the internal threads of plastic anchors, rendering them useless.
Knowing when to pause your project is just as important as knowing how to proceed. You should establish a strict ‘stop and consult’ condition during your installation. If you begin drilling and the wall crumbles excessively, leaving a large, irregular hole, or if the wall anchor spins freely in place without gripping when you insert the screw, stop immediately. Do not attempt to force the screw or glue the anchor in place. These issues indicate that the wall material is either compromised, hollow, or unsuitable for the fasteners you are using. In such cases, seek professional assistance or choose an alternative mounting location with a sound wall structure.
Frequently Asked Questions (FAQ)
Can I install a cap rack without drilling?
Yes, you can install a cap rack without drilling by using heavy-duty adhesive strips, adhesive hooks, or over-the-door hangers. These non-drill options are excellent for renters or those who want to avoid wall damage. However, adhesives have strict limitations. They are only suitable for very light, single-cap displays or small racks holding a few caps. In humid climates, such as in the Philippines, high humidity can weaken adhesive bonds over time, causing them to fail unexpectedly. Adhesives are never recommended for heavy, multi-cap racks or solid wood displays, which require mechanical fasteners for safety.
How much weight can a standard wall-mounted cap rack hold?
The weight capacity of a wall-mounted cap rack is not a single fixed number; it depends entirely on the rack’s construction material, your wall type, and the quality of the anchors used. A solid wood or metal rack mounted into concrete with heavy-duty expansion anchors can easily support dozens of caps and light accessories. Conversely, the same rack mounted into drywall with basic plastic plugs will have a significantly lower weight limit. Always check the manufacturer’s specifications for the rack’s weight capacity, and verify the weight rating printed on your wall anchor packaging to ensure a safe installation.
Community discussion
Share your experience or ask a question. Comments are reviewed before publication.