
To properly install a wall-mounted hat rack organizer, you must identify your specific wall type—whether it is solid concrete, hollow block, or drywall—and use the exact anchoring hardware designed for that material. A secure installation prevents the organizer from sagging, pulling away, or falling under the weight of your hats, especially in high-humidity environments where walls and materials can shift. By matching your tools and fasteners to your wall’s internal structure, you can create a durable storage solution that keeps your collection organized and accessible.
Essential Tools and Hardware for Mounting a Hat Rack Organizer
Before you begin drilling into your walls, gathering the correct tools and hardware is essential for a clean, secure, and safe installation. Using the wrong drill bit or an incorrect anchor can damage your wall, ruin the hat rack, or lead to a sudden collapse.
To start, you will need a reliable power drill. If you are working with concrete or concrete hollow blocks (CHB), a hammer drill is highly recommended because it combines rotational force with a rapid hammering action to pulverize hard masonry. Along with the drill, you must select the correct drill bits:
Products mentioned in this guide
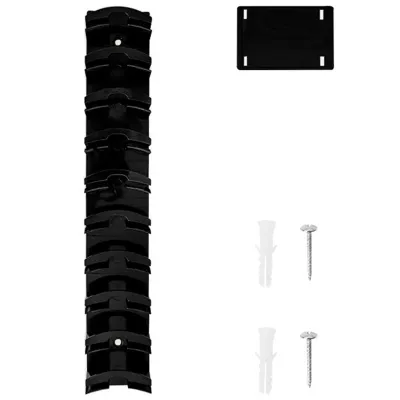
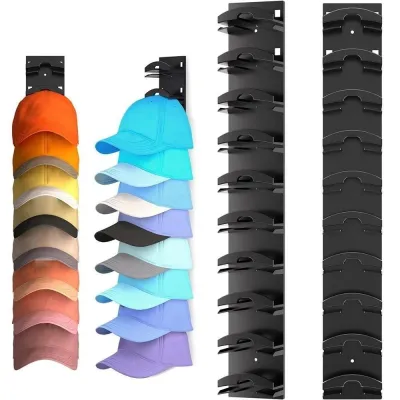
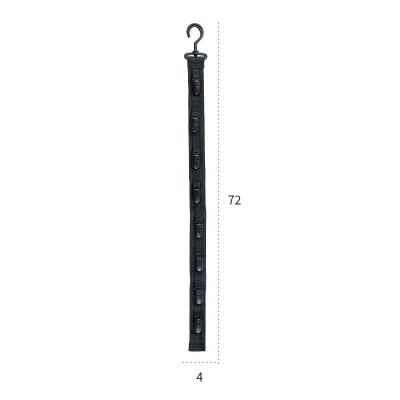
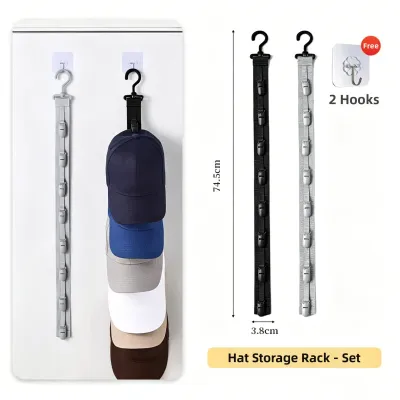
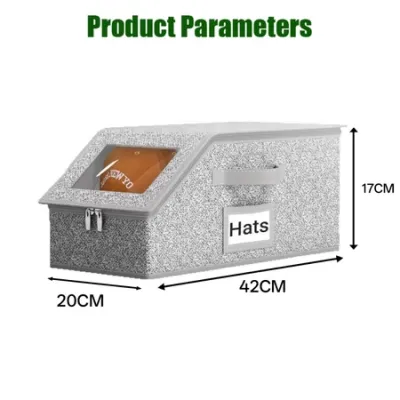
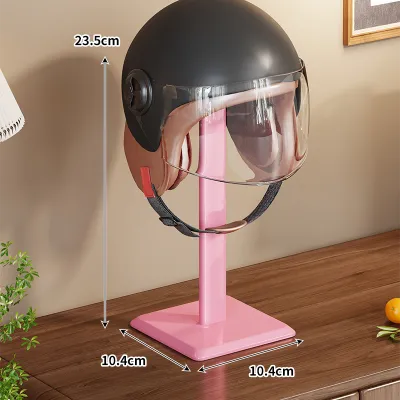

Prices are valid at publication and may change. Please refer to the product page for the latest price.
- Masonry drill bits: These feature a wide, arrowhead-shaped carbide tip designed to chip away concrete, brick, and mortar.
- Wood or metal drill bits: These are standard twist bits or brad-point bits used for drilling clean pilot holes into wooden or metal wall studs behind drywall without splintering the material.
Accurate measurement and alignment are critical to ensure your organizer hangs straight and looks professional. Make sure you have these tools on hand:
- Tape measure: For planning the height, spacing, and overall layout of your installation.
- Spirit level: To verify that the mounting holes are perfectly horizontal, preventing a slanted display.
- Pencil: For marking the exact drilling spots on the wall surface.
- Stud finder with AC wire detection: Essential for scanning drywall to locate structural studs and detect live electrical wiring or pipes hidden behind the surface.
The most critical factor in a successful mount is matching the wall anchors and screws to both your wall material and the organizer itself. Never assume that the generic hardware included in the box is suitable for your specific wall type. You must verify the hat rack manufacturer’s instructions to check the recommended screw sizes, required hardware, and maximum weight limits. If the manufacturer-provided anchors do not match your wall type (for example, if they provide basic drywall plugs but you have concrete walls), you will need to purchase specialized anchors separately.
How to Identify Your Wall Type Before Drilling
In many homes, particularly in the Philippines, walls may look identical on the surface due to layers of plaster and paint, but their internal composition varies dramatically. Identifying your wall type before you drill prevents structural damage and ensures you use the correct mounting strategy.

Solid Concrete Walls Solid concrete walls are incredibly dense, hard, and structural. They are typically found on the exterior perimeter of a home or as major load-bearing walls inside. When you tap on a solid concrete wall, it will sound completely solid and flat, with no hollow resonance. When drilling, you will feel high resistance, and the drill will produce a fine, light-gray powder.
Hollow Block (Concrete Hollow Block) Walls Concrete hollow blocks (CHB) are the most common building material for residential interior and exterior walls in local construction. These walls consist of solid concrete webs (the vertical and horizontal ribs of the block) and large hollow voids in between. Tapping on a CHB wall will produce a distinct hollow sound in some areas and a duller, more solid sound where the internal webs or concrete columns are located. Drilling into a hollow block will yield resistance initially, followed by a sudden drop in resistance as the drill bit enters the empty internal cavity.
Drywall or Gypsum Board Partitions Drywall, also known as gypsum board, is commonly used for interior partition walls, room dividers, or ceiling drops, especially in modern condominiums and renovated spaces. It consists of a soft gypsum core sandwiched between heavy paper. Tapping on drywall produces a very clear, hollow, and slightly resonant sound. When you drill into drywall, the bit will pass through very quickly with almost no resistance, producing a fine white plaster dust.
Safety Boundary Regardless of the wall type, safety must be your top priority. Before drilling any holes, use a high-quality stud finder with built-in live wire and pipe detection to thoroughly scan the intended drilling zone. This step is crucial to avoid puncturing hidden electrical lines, water pipes, or structural steel, which can lead to costly repairs, electrical shocks, or water damage.
Installing on Solid Concrete Walls
Mounting a hat rack organizer on a solid concrete wall provides maximum stability and load capacity, but it requires patience and the right technique to drill through the dense material.
Step 1: Mark and Align Hold the hat rack organizer against the concrete wall at your desired height. Place a spirit level on top of the rack to ensure it is perfectly horizontal. Once aligned, use a pencil to mark the exact locations of the mounting holes directly onto the wall. Set the rack aside.
Step 2: Drill the Pilot Holes Equip your power drill with a carbide-tipped masonry drill bit that matches the diameter specified by your wall anchor packaging. If your drill has a hammer function, switch it on. Hold the drill perfectly perpendicular to the wall, place the tip of the bit on your pencil mark, and apply steady, firm pressure. Drill to a depth slightly deeper than the length of the anchor. You can wrap a piece of masking tape around the drill bit as a depth guide to avoid drilling too deep.
Step 3: Clean and Insert Anchors Once the holes are drilled, use a hand pump, a vacuum, or a small brush to clean out the concrete dust from inside the holes. Leaving dust in the hole can prevent the anchor from seating properly or gripping the concrete. Insert your plastic or metal masonry expansion anchors into the holes. If they do not slide in easily, gently tap them with a mallet or hammer until they are completely flush with the plaster surface.
Step 4: Secure the Organizer Position the hat rack organizer back over the holes. Insert the mounting screws through the rack’s brackets and into the installed anchors. Use a manual screwdriver or a power drill on a low-torque setting to tighten the screws. Stop tightening as soon as the screw head is snug against the bracket to avoid stripping the plastic anchor or cracking the organizer’s frame.
Warning and Stop Condition If you are drilling into concrete and the drill bit suddenly stops advancing despite applying pressure, you have likely hit metal rebar (reinforcing steel). Do not attempt to force the drill through, as this can destroy your masonry bit and damage the wall’s structural reinforcement. Stop drilling immediately, pull the bit out, and relocate your mounting holes at least 2 to 3 centimeters away from the original spot.
Installing on Hollow Block Walls
Installing a hat rack organizer on a concrete hollow block (CHB) wall requires a careful approach because the wall’s strength varies depending on where your drill bit lands.
Step 1: Mark and Drill with Care Align the organizer using a spirit level and mark the mounting holes with a pencil. When drilling into hollow blocks, use a masonry bit. If the wall is older, brittle, or has a thick layer of soft plaster, turn off the drill’s hammer function. Using standard rotary drilling prevents the surrounding masonry from cracking, shattering, or blowing out on the backside of the block’s thin outer shell.
Step 2: Assess the Drilled Hole As you drill, pay close attention to the resistance. If the drill bit maintains steady resistance throughout the entire depth, you have hit a solid concrete web or a column. In this case, you can use standard plastic masonry expansion anchors. If the drill bit suddenly plunges forward into an empty space after passing through the outer wall of the block, you have hit a hollow void. For these hollow sections, standard expansion plugs will not hold; instead, you must use specialized hollow-block anchors, such as sleeve anchors or toggle bolts, which expand or open up inside the cavity to grip the backside of the block wall.
Step 3: Insert the Anchor and Mount Clean the dust from the hole. If you are using a toggle bolt, feed the bolt through the hat rack’s mounting bracket first, thread the spring-loaded toggle wing onto the bolt, squeeze the wings closed, and push them completely through the drilled hole into the void. You will hear the wings spring open inside. Pull back slightly on the bolt to create tension, then tighten the bolt until the bracket is firmly secured against the wall. Ensure there is no wobble or play in the bracket.
Safety Limit Avoid overloading hollow block walls with excessively heavy, fully loaded organizers. Because the outer shell of a hollow block can be thin and brittle, distribute the weight of your hat rack organizer across multiple anchor points. Always verify the weight ratings on your anchor packaging to ensure they can safely support the combined weight of the organizer and your hat collection.
Installing on Drywall or Gypsum Partitions
Drywall partitions are easy to drill into, but they lack the inherent strength of masonry. To prevent your hat rack organizer from tearing out of the wall, you must secure it to the underlying framing studs or use specialized heavy-duty anchors.
Step 1: Locate the Studs Before drilling, slide a stud finder horizontally across the drywall surface to locate the wooden or metal framing studs behind the gypsum board. Mark the center of each stud with a pencil. Whenever possible, plan your installation so that at least one of the main mounting brackets of your hat rack aligns directly with a stud.
Step 2: Mounting Directly into Studs If you successfully align your mounting holes with structural studs, you do not need wall anchors. Drill a small pilot hole through the drywall and into the stud using a standard wood or metal drill bit. Align the hat rack organizer and drive heavy-duty wood screws (for wooden studs) or self-tapping sheet metal screws (for metal studs) directly through the brackets and into the studs. This provides the strongest possible hold.
Step 3: Mounting in Open Drywall Cavities If your desired mounting location does not align with any studs, you must use heavy-duty drywall anchors. Avoid cheap, standard plastic expansion plugs, as they can easily pull out of soft drywall when subjected to downward pull. Instead, use self-drilling threaded drywall anchors, toggle bolts, or strap toggles. For toggle bolts, drill a hole large enough for the folded toggle wings to pass through, insert the assembly, and tighten the bolt until the metal wing grips the backside of the drywall securely.
Warning Never hang a heavy, fully loaded hat rack organizer on drywall using only friction-based plastic plugs. Drywall itself has very low shear strength, and the weight of multiple hats can cause the anchors to slowly sag, wallow out the holes, and eventually tear free from the wall. Always ensure that the combined weight rating of your selected anchors exceeds the total weight of the organizer and all the hats you plan to store.
Testing the Mount and Maintaining Stability
Once your hat rack organizer is mounted, taking a few minutes to verify its stability and establish a routine care plan will ensure it remains secure for years to come.
The Pull Test Before placing any hats on the rack, perform a gentle but firm pull test. Grip the organizer near the mounting brackets and apply light downward and outward pressure in multiple directions. Watch the wall surface around the brackets closely. There should be absolutely no movement, cracking of the plaster, or sliding of the anchors. If you notice any wobbling, stop immediately and tighten the hardware or re-evaluate your choice of anchors.
Gradual Loading Do not load the organizer to its maximum capacity immediately. Start by hanging a few lightweight caps, and gradually add your heavier hats over the course of a couple of days. This step allows you to monitor how the wall and hardware handle the load under normal daily use.
Periodic Maintenance In tropical climates with high humidity, such as the Philippines, building materials naturally expand and contract. This environmental shifting can cause screws and anchors to gradually loosen over time. Make it a habit to check the mounting screws every few months. Use a manual screwdriver to gently tighten any screws that have backed out slightly, ensuring the rack remains flush against the wall.
Care Instructions To keep your hat rack organizer looking its best and to protect your walls, wipe the rack and the surrounding wall area with a dry or slightly damp microfiber cloth to prevent dust buildup. Avoid using harsh chemical cleaners or excessive water, which can seep into the mounting holes and degrade the drywall or masonry anchors. Always refer to the manufacturer’s care label for specific cleaning instructions based on the rack’s material, whether it is finished wood, powder-coated metal, or plastic.
Frequently Asked Questions (FAQ)
Can I use adhesive strips instead of drilling for a hat rack organizer?
Heavy-duty adhesive strips are suitable only for very lightweight, empty racks, single-hook organizers, or individual hat clips mounted on smooth, non-porous surfaces like finished wood or glass. Painted drywall and textured masonry do not provide a reliable bond for adhesives, and the weight of a fully loaded organizer will likely cause the adhesive to fail. Furthermore, removing strong adhesives can peel off paint, tear drywall paper, or damage your wall’s finish. For any multi-hook hat rack organizer designed to hold a full load of hats, mechanical drilling with the correct wall anchors is the only reliable and safe installation method.
What should I do if my wall anchor spins or won't grip?
A spinning wall anchor indicates that the drilled hole is too large, or that the anchor has stripped the surrounding wall material. To resolve this without compromising your wall’s integrity, carefully pull the failed anchor out of the wall using a pair of needle-nose pliers. Fill the damaged hole with a high-quality wall repair compound or a suitable masonry filler, and allow it to cure completely according to the manufacturer’s instructions. Once cured, you can re-drill a new pilot hole slightly offset (at least 2 to 3 centimeters) from the original location, ensuring you use the correct drill bit size that matches your replacement anchor perfectly.
Community discussion
Share your experience or ask a question. Comments are reviewed before publication.