
Installing a wall-mounted stand hanger is an excellent way to maximize floor space, organize daily essentials, and keep your entryway or bedroom tidy. Achieving a secure, level, and durable mount requires more than just driving screws into the wall. You must carefully assess your wall type, select the correct structural anchors, measure with precision, and execute the physical mounting steps with care.
A successful installation ensures that your stand hanger can easily support the weight of heavy bags, wet umbrellas, and thick coats without sagging or damaging your wall. By following a systematic approach, you can complete this home improvement project safely and achieve a professional-grade result that lasts for years.
Preparation and Essential Tools for Installation
Before drilling any holes, you must gather the correct equipment and prepare your workspace. Having the right tools on hand prevents damage to your walls and ensures the installation process goes smoothly. For most wall types, you will need a reliable multi-scanner or stud finder, a spirit level, a measuring tape, a pencil, a power drill, and safety goggles to protect your eyes from falling dust.
Products mentioned in this guide
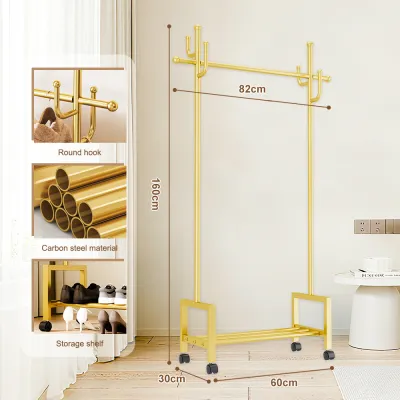
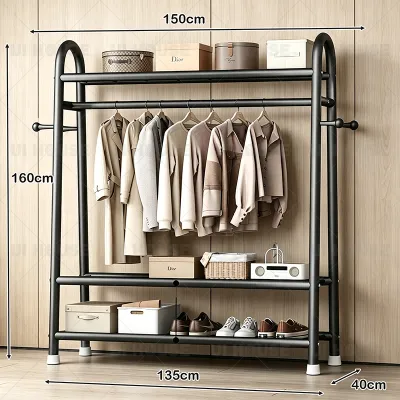
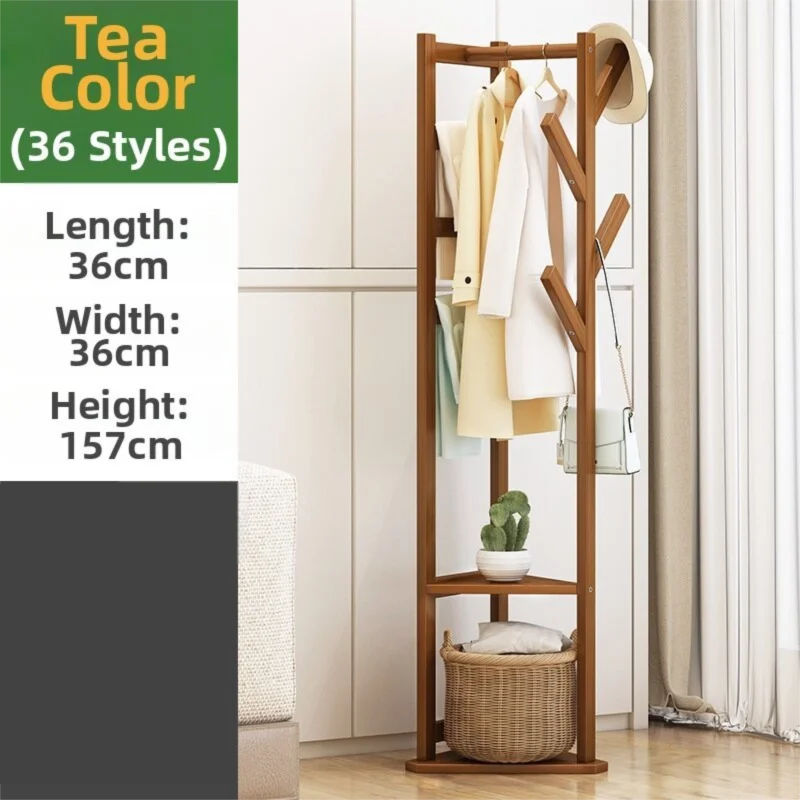
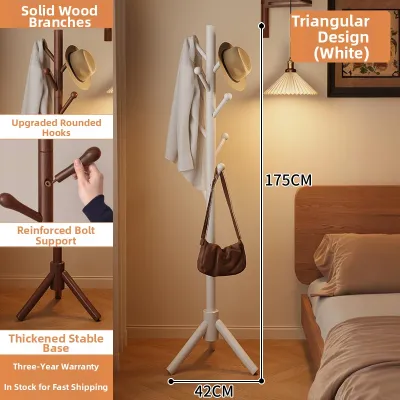
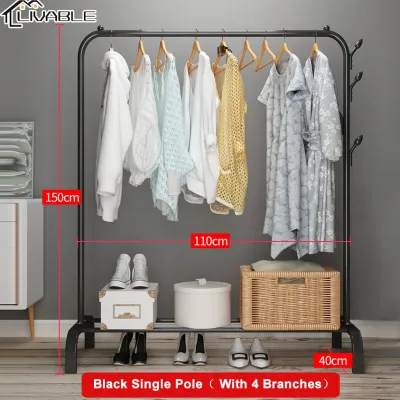

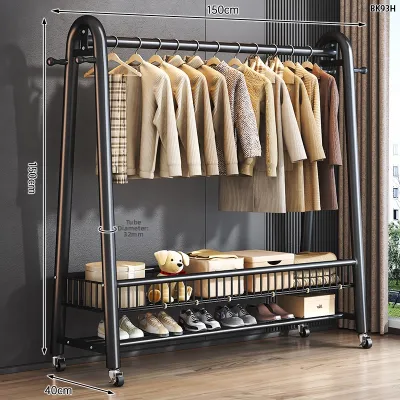
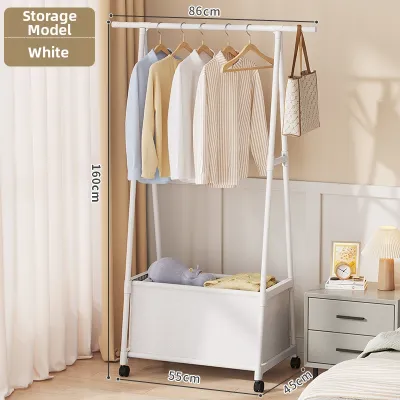
Prices are valid at publication and may change. Please refer to the product page for the latest price.
Selecting the correct drill bits is crucial for a clean installation. If you are mounting the stand hanger onto a concrete or masonry wall, you must use a carbide-tipped masonry drill bit. For wooden walls or studs, a standard wood twist bit is appropriate, while drywall installations require a sharp brad-point bit to make clean cuts through the paper backing.
Your first physical step is to assess the chosen wall space. Use a multi-scanner to sweep the area for hidden hazards such as live electrical wiring, metal studs, or copper and PVC plumbing pipes. In many homes, utility lines run directly behind the plaster or drywall, and puncturing them can lead to costly repairs or severe safety hazards.
Once the wall area is cleared of hazards, unbox your stand hanger and review the manufacturer’s installation manual. Verify that all listed hardware, brackets, and decorative caps are present in the package. Check the manual for the specified maximum weight capacity, as this rating dictates the type of anchors you must use and limits the load you can safely hang.
Finally, measure the finished dimensions of the stand hanger itself. Compare these measurements against your available wall space to ensure the hanger will not block door swings, window frames, light switches, or high-traffic walkways. Proper spatial planning at this stage prevents frustrating alignment issues later on.
Choosing the Right Hardware for Your Wall-Mounted Stand Hanger
The hardware included in the product packaging is often generic and may not suit your specific wall material. To ensure your stand hanger remains firmly anchored, you must match your fasteners to the structural composition of your wall. Using the wrong hardware can lead to sudden structural failure, pulling chunks of plaster or drywall down along with your belongings.

Concrete or Masonry Walls Many residential properties in the Philippines feature solid concrete, hollow block, or plastered brick walls. For these solid surfaces, standard plastic plugs are often insufficient for heavy-duty hanging. Instead, opt for heavy-duty nylon wall plugs, concrete screws, or steel sleeve expansion anchors. These fasteners expand outward against the interior of the drilled hole, creating a high-friction grip that resists intense downward shearing forces.
Drywall or Hollow Walls If you are mounting the hanger on a hollow drywall partition, you cannot rely on friction plugs. Drywall lacks the structural density to hold heavy loads under leverage. You must use specialized toggle bolts (butterfly anchors) or metal molly bolts, which spread the load across a wider surface area behind the drywall board. For the most secure mount, use a stud finder to locate the vertical wood or metal studs behind the drywall and drive your screws directly into these structural members.
Wood Studs or Solid Wood Panels Mounting directly into solid wood panels or structural timber studs provides the highest possible load capacity. For this wall type, you do not need wall anchors. Instead, use heavy-duty, coarse-thread wood screws. Ensure the screws are long enough to penetrate at least 38 millimeters into the structural wood frame to guarantee a permanent, unyielding hold.
Environmental Considerations Living in a tropical climate with high relative humidity, such as in the Philippines, introduces the risk of rapid metal corrosion. Standard steel screws can rust quickly when exposed to moisture, weakening the metal and staining your walls or garments. To prevent this, invest a small amount—often just ₱100 to ₱300—to upgrade to rust-resistant, galvanized, or marine-grade stainless steel (SUS 304 or 316) mounting hardware.
Step-by-Step Installation Process
With your tools prepared and the correct hardware selected, you can begin the physical installation. Take your time during each stage, as rushing can lead to misaligned brackets or weakened mounting points.
Measuring, Marking, and Leveling
Begin by determining the ideal mounting height for your stand hanger. For general adult use, the primary hanging hooks are typically positioned between 150 and 170 centimeters from the floor. This height keeps long garments, umbrellas, and bags from dragging on the ground while remaining easy to reach.
If your stand hanger uses a separate mounting bracket, remove it from the main body. If the manufacturer provided a paper template, tape it securely to the wall at your chosen height. If no template is provided, hold the mounting bracket directly against the wall and use a sharp pencil to mark the exact center of each screw hole.
Before marking, place a spirit level flat against the top of the bracket or template. Adjust the angle until the level’s bubble sits perfectly centered between the two indicator lines. Even a tiny misalignment of two millimeters can cause the stand hanger to look visibly crooked once fully assembled, and it will distribute weight unevenly across the mounting brackets.
Drilling and Inserting Anchors
Double-check that your drill bit matches the exact outer diameter of your selected wall anchors. If the anchor package specifies an 8mm drill bit, do not use a 10mm or a 6mm bit. An oversized hole will cause the anchor to spin and pull out, while an undersized hole will damage the anchor during insertion.
Set your drill depth by wrapping a piece of painter’s tape around the drill bit at a distance equal to the length of the anchor plus an extra 5 millimeters. Hold the drill perfectly perpendicular to the wall surface to prevent the hole from becoming oval-shaped. If drilling into concrete, use the hammer function on your drill and apply firm, steady pressure; for drywall, use the standard rotary setting to avoid tearing the gypsum core.
Once the holes are drilled, use a hand pump, a narrow vacuum nozzle, or a straw to blow out all concrete dust and drywall debris from the interior of the holes. Leftover dust acts as a lubricant, reducing the holding power of your wall anchors by up to 50 percent. After cleaning, gently tap the wall anchors into the holes with a rubber mallet until they sit perfectly flush with the wall surface.
If you encounter unexpected resistance while drilling, such as the drill bit suddenly stopping or bouncing, stop drilling immediately. This resistance often indicates you have hit a steel reinforcing bar (rebar) in concrete, a metal stud, or a protective plate covering an electrical line. Do not force the drill through; instead, shift your mounting location slightly to clear the obstruction.
Securing the Brackets and Attaching the Hanger
Position your mounting brackets over the inserted wall anchors, aligning the screw holes carefully. Insert your rust-resistant screws through the bracket holes and into the anchors. Turn the screws clockwise using a manual screwdriver or a power drill set to a low clutch setting.
Tighten the screws until the bracket is pressed firmly and flatly against the wall surface. Avoid over-tightening the screws, especially when using plastic anchors or working with drywall. Applying excessive torque can strip the plastic threads inside the anchor or crack the surrounding plaster, severely compromising the structural integrity of the mount.
Once the brackets are securely fastened, slide or hook the main body of the stand hanger onto the brackets. Depending on the product design, you may need to tighten small set screws on the underside of the hanger, insert locking pins, or snap decorative caps into place. Ensure all locking mechanisms are fully engaged according to the manufacturer’s instructions.
Load Testing and Safety Verification
Before hanging your belongings, you must verify that the installation is safe and capable of supporting its intended load. Skipping this step can lead to a sudden collapse, potentially damaging your wall, the hanger, or expensive items like laptops and designer bags stored in hung backpacks.
Start your safety check by applying gentle, manual downward pressure on the stand hanger. Place your hands on the main bar or hooks and press down gradually. Listen closely for any creaking sounds, and feel for any shifting, wobbling, or play in the brackets.
If the initial manual test is successful, begin adding weight incrementally. Start with a single light jacket, then add a bag, and gradually build up to the typical daily load. Throughout this process, visually inspect the wall surface surrounding the brackets. Look for hairline cracks in the paint, drywall paper puckering, or brackets flexing downward under the weight.
Place your spirit level back on top of the loaded stand hanger. The bubble must remain centered. If the hanger tilts downward under load, it indicates that the wall anchors are beginning to sag or pull out of the wall, which requires immediate attention.
Establish a strict safety threshold during this test: if you observe any movement, hear persistent creaking, or notice the brackets pulling away from the wall even slightly, remove all weight immediately. Do not leave items on a compromised hanger. Uninstall the unit, inspect the anchors, and either upgrade to stronger fasteners or relocate the hanger to a more structurally sound wall section.
Long-Term Maintenance and Weight Management
Maintaining the structural integrity of your wall-mounted stand hanger requires ongoing care and mindful usage. Even the most secure installation can weaken over time if subjected to improper weight distribution or neglected maintenance.
To prevent localized stress on individual anchors, always distribute the weight of your items evenly across the entire length of the stand hanger. Avoid hanging multiple heavy bags on a single end hook, as this creates a lever effect that multiplies the pulling force on that specific wall anchor. Spread coats, hats, and bags across all available hooks.
In humid tropical environments, structural materials like wood studs and plaster can expand and contract slightly with seasonal weather changes. This movement, combined with the daily vibration of hanging and removing items, can cause mounting screws to loosen over time. Make it a habit to check the tightness of your mounting screws every six months, gently tightening any that have backed out.
Finally, always keep your daily operational load well below the manufacturer’s stated maximum weight capacity. If your stand hanger is rated for a maximum of 15 kilograms, aim to keep your typical daily load under 10 kilograms. Maintaining this safety margin protects your walls from fatigue and ensures the hanger remains a safe, reliable fixture in your home.
Frequently Asked Questions (FAQ)
Can I install a stand hanger on tiled walls without cracking the tiles?
Yes, you can drill through tiled walls safely by using a specialized diamond-tipped or carbide-tipped glass and tile drill bit. Place a piece of masking tape over the marked spot to prevent the drill bit from slipping and scratching the tile’s glazed surface. Start drilling at a very low speed and ensure your drill’s hammer function is turned off, as the high-frequency vibration of a hammer drill will instantly shatter ceramic or porcelain tiles. Once the bit has fully penetrated the tile layer and reached the concrete behind it, switch to a standard masonry bit and engage the hammer function to finish the hole.
What should I do if the drill hole becomes too large for the wall anchor?
If a drill hole crumbles or becomes too wide for your anchor, do not attempt to wrap the anchor in tape or cardboard, as these makeshift shims will fail under load. Instead, the safest solution is to step up to a larger anchor size and use a matching, thicker screw. If you cannot use larger hardware, fill the oversized hole completely with a heavy-duty epoxy anchor gel or a high-strength wall repair compound. Let the patching material cure completely according to the manufacturer’s instructions, and then carefully re-drill the hole using the correct drill bit size.
Community discussion
Share your experience or ask a question. Comments are reviewed before publication.