
Installing a wall mounted umbrella holder requires matching your mounting hardware to the specific wall material of your entryway. In tropical climates where sudden downpours and high humidity are common, a securely mounted holder keeps wet umbrellas organized and off the floor, preventing water damage to your tiles or wooden finishes. A loose or poorly installed holder can easily pull out of the wall under the weight of multiple wet umbrellas, leading to wall damage and potential safety hazards in your foyer.
By taking the time to evaluate your wall structure and use the correct tools, you can ensure a stable, long-lasting installation. Whether your home features solid concrete, hollow blocks, drywall, or tiled surfaces, this guide provides the practical steps needed to complete the project with confidence.
Pre-Installation Checks and Tool Preparation
Before you begin drilling, it is essential to assess the available space in your entryway. Measure the area near your main door to ensure the umbrella holder does not obstruct the door’s swing path, clearance, or the natural flow of daily foot traffic. You want a spot that is easily accessible immediately upon entering the home, allowing you to store wet umbrellas before they drip water onto your floors.
Products mentioned in this guide
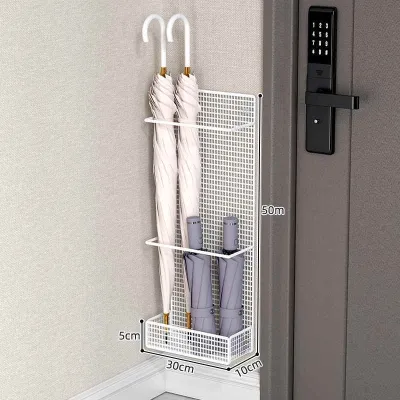
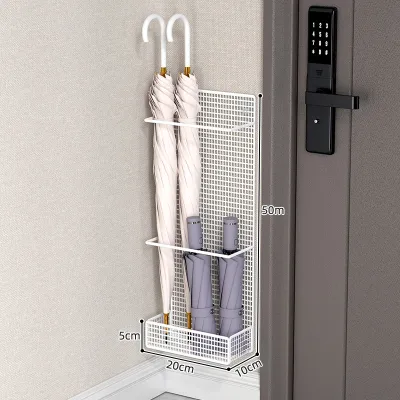
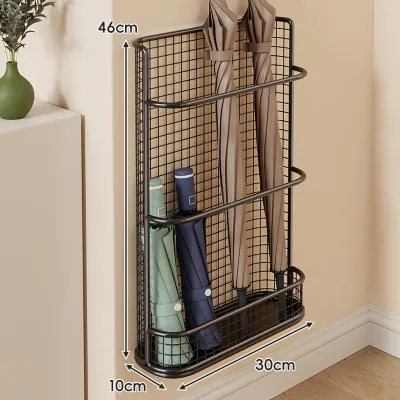
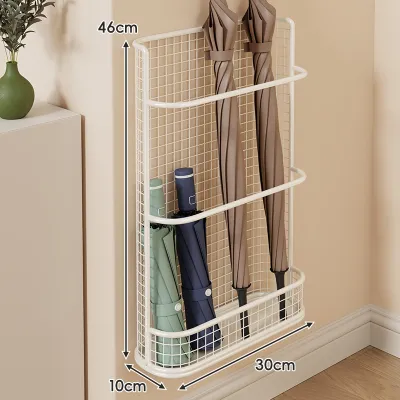
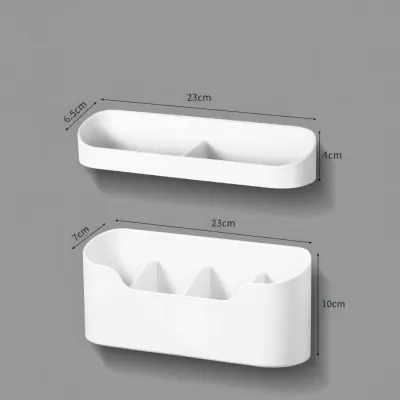
Prices are valid at publication and may change. Please refer to the product page for the latest price.
Consider the height of the installation carefully. The holder should be positioned high enough to accommodate long golf umbrellas without their tips dragging on the floor, yet low enough that compact folding umbrellas remain within easy reach. If your holder features a built-in drip tray, ensure there is enough clearance around it to slide the tray out easily for regular cleaning.
Next, identify the specific wall material where you plan to mount the holder. In many homes, exterior-facing walls and main entryways are constructed from solid concrete or plaster-covered concrete hollow blocks. Interior partition walls, however, might be made of drywall or light fiber cement boards. You can often determine the wall type by tapping on it; a solid, dull thud indicates concrete, while a hollow, resonant sound suggests drywall or hollow blocks.
Always verify the product manual or packaging for specific weight limits, finished dimensions, and required hardware. Do not rely on generic assumptions about how much weight the holder can support, as the combined weight of several large, wet umbrellas can be surprisingly heavy. Checking the manufacturer’s guidelines ensures you select anchors and screws that are fully compatible with both the product and your wall type.
Finally, gather all the essential tools before starting the installation process. You will need a reliable power drill—preferably one with a hammer function if you are drilling into concrete—along with the correct drill bits for your wall material. Additionally, keep a spirit level, a measuring tape, a pencil for marking, and a manual screwdriver nearby to ensure precise alignment and secure fastening.
Step-by-Step Installation on Concrete and Masonry Walls
Solid concrete and masonry walls offer excellent load-bearing capacity, making them ideal for supporting heavy storage fixtures. To begin the installation, position the mounting bracket or the backplate of the umbrella holder against the wall at your chosen height. Place a spirit level on top of the bracket to ensure it is perfectly horizontal, as even a slight tilt can cause umbrellas to lean awkwardly or slide out.

Once the bracket is level, use a pencil to mark the exact center of each screw hole onto the wall surface. Double-check these markings by stepping back to visually confirm the placement before you start drilling. Accurate marking at this stage prevents the need to drill corrective holes later, which can weaken the masonry.
Select a masonry drill bit that matches the exact diameter of the wall plugs or anchors provided with your umbrella holder. If the product instructions specify a particular drill bit size, adhere to that specification strictly. Using a bit that is too large will result in a loose anchor that spins, while a bit that is too small will make it impossible to insert the plug without damaging it.
Set your power drill to the hammer drill setting, which combines rotary drilling with rapid hammering impacts to penetrate tough concrete. Hold the drill perfectly perpendicular to the wall surface to ensure the hole is straight. Apply steady, forward pressure and drill to a depth that is slightly longer than the length of the wall plug, allowing any residual dust to sit at the back of the hole without blocking the anchor.
After drilling, clean the concrete dust out of the holes using a hand pump or a vacuum cleaner. Removing this dust is a critical step, as loose debris can prevent the wall plug from expanding fully and gripping the concrete securely. Once the holes are clean, insert the plastic wall plugs, tapping them gently with a hammer until they sit completely flush with the plaster or concrete surface.
Align the mounting bracket over the inserted wall plugs. Insert the screws through the bracket holes and tighten them using a manual screwdriver rather than an impact driver. Tightening by hand gives you better control, preventing you from stripping the plastic threads of the wall plug. Continue tightening until the bracket is flush and completely stable against the wall, with no visible gaps or movement.
Step-by-Step Installation on Drywall and Hollow Block Walls
Drywall and hollow concrete blocks require specialized fastening methods because they lack the uniform density of solid concrete. When mounting an umbrella holder on drywall, your primary objective should be to secure the mounting screws directly into the wooden or metal studs behind the wall. Use a stud finder to locate these structural supports and mark their centerlines clearly with a pencil.
If a stud aligns with your desired mounting location, you can screw the bracket directly into the stud using standard wood or self-tapping screws. This method bypasses the need for wall anchors entirely and provides the most secure hold possible on drywall. However, if the studs do not align with your preferred layout, you must use specialized hollow wall anchors.
For drywall installations without stud support, select heavy-duty hollow wall anchors, such as toggle bolts or threaded drywall anchors, that are rated for the weight of the holder and its contents. Avoid using standard plastic expansion plugs in drywall, as they can easily pull through the soft gypsum board under the downward pull of heavy umbrellas. Drill the appropriate pilot holes, insert the hollow wall anchors, and tighten them until they grip the backside of the drywall firmly.
If you are mounting on hollow concrete blocks, which are common in residential construction, standard wall plugs may expand into empty air cavities and fail to hold. Instead, use sleeve anchors or toggle bolts designed specifically for hollow masonry. These fasteners expand wider than the drilled hole, anchoring themselves securely against the inner web of the concrete block.
Adjust your drilling technique when working with hollow blocks to prevent damaging the wall structure. Use a standard rotary drill setting rather than the hammer function, as the aggressive hammering action can easily shatter the thin outer shell of a hollow block, leaving a large, unusable hole. Drill slowly and allow the bit to cut through the material gently.
If at any point during the drilling process the wall material crumbles excessively, or if your anchors fail to grip and spin freely, stop the installation immediately. This indicates that the wall material may be too weak or deteriorated to support the load. In such cases, you should consult a professional builder or handyman to assess the wall’s integrity and recommend alternative mounting solutions.
Mounting the Holder and Final Verification
With the mounting bracket or backplate securely anchored to the wall, you can now proceed to attach the main body of the umbrella holder. Depending on the specific design of your product, this may involve sliding the holder onto integrated hooks, snapping it into place, or securing it with small retaining screws. Refer to the manufacturer’s assembly diagram to ensure all components are correctly aligned.
Once the main body is attached, check all fasteners one last time to ensure everything is tight. Gently wiggle the holder to check for any rattling, shifting, or loose play. The entire assembly should feel like a solid, integrated extension of the wall, with no movement at the mounting points.
Perform a gradual load test to verify the stability and safety of your installation. Begin by placing a single, lightweight folding umbrella into the holder and observing how the mount reacts. Gradually add heavier items, such as large golf umbrellas or walking sticks, until you reach the typical capacity you expect to store daily.
During this load test, closely observe the wall surface around the bracket and the bracket itself. Look for any signs of pulling away, cracking plaster, or bending metal. If you notice any of these warning signs, remove the umbrellas immediately to prevent wall damage, and re-examine your choice of anchors or wall compatibility.
Finally, verify that umbrellas can be inserted and removed smoothly without causing the holder to shake or twist. If your model includes a removable drip tray, ensure it sits flat at the bottom of the holder and can be easily slid out for draining. The tray should be simple to access and clean, preventing stagnant water from accumulating and causing odors or rust over time.
Troubleshooting Common Installation Issues
Even with careful preparation, you may encounter challenges during the installation process. A common issue is a stripped screw or a spinning wall anchor that refuses to tighten. If an anchor spins freely in its hole, it cannot provide the friction needed to hold weight; remove the loose anchor and replace it with a slightly larger size, or fill the hole with a structural wall filler, allow it to cure completely, and redrill.
If you discover that the mounting bracket is tilted after you have finished drilling, do not attempt to force the screws in at an angle to compensate. Instead, remove the bracket, re-evaluate your markings using a spirit level, and drill a new, correctly aligned hole. If the new hole is too close to the old one, you may need to shift the entire bracket slightly up or down to ensure the new drill site is structurally sound.
Excessive dusting or cracking of the wall surface during drilling is a clear warning sign of weak plaster or deteriorating masonry. If the wall material crumbles easily or cracks begin to spread outward from the drill site, stop drilling immediately. Continuing to drill into compromised material will result in a failed mount that could fall and damage your entryway.
In cases of severe wall crumbling or cracking, you must address the underlying structural issue before proceeding. Patch the damaged area with high-strength repair mortar or drywall compound, and allow it to cure fully. If the wall remains unstable, consult a professional handyman to reinforce the mounting area or select a freestanding umbrella stand instead.
Frequently Asked Questions (FAQ)
Can I install an umbrella holder on a tiled wall?
Yes, you can install an umbrella holder on a tiled wall, but it requires specialized tools and extreme care to prevent cracking the tiles. Always use a dedicated glass or tile drill bit, which is designed to cut through hard glaze without slipping. Apply a piece of masking tape over your marked drilling point before you begin. This tape provides traction, preventing the drill bit from wandering and scratching the surrounding tile surface.
Ensure your power drill is set to the standard rotary mode; never use the hammer drill function on ceramic or porcelain tiles, as the rapid impacts will shatter the tile. Drill slowly and apply gentle, consistent pressure. Once the drill bit passes completely through the tile and reaches the underlying concrete or backer board, you can switch to a standard masonry bit to finish the hole. Avoid drilling too close to the edges or grout lines of the tiles, as these areas are highly prone to chipping.
How much weight can a typical wall mounted umbrella holder support?
The weight capacity of a wall mounted umbrella holder is not universal; it depends heavily on the manufacturer’s specifications, the wall material, and the quality of the anchors used. Always check the product packaging or instruction manual for the exact load rating. A holder mounted on solid concrete with high-quality masonry anchors will naturally support significantly more weight than the same holder installed on drywall using basic plastic plugs.
Adjust your usage expectations based on your wall type. If you must mount the holder on drywall without stud support, limit the number of heavy, wet golf umbrellas stored in it to prevent putting excessive stress on the hollow wall anchors. Regularly inspect the mount over time, especially after heavy rainy seasons, to ensure the constant moisture and weight have not loosened the fasteners or compromised the wall material.
Community discussion
Share your experience or ask a question. Comments are reviewed before publication.