
Mounting an umbrella holder stand on a wall is an excellent way to save floor space and keep your entryway organized during heavy tropical downpours. In regions with high humidity and frequent rain, such as the Philippines, a secure wall mount prevents wet umbrellas from cluttering the floor. However, a successful installation depends entirely on matching your mounting hardware to the specific wall material of your home. Whether you are drilling into solid concrete, hollow drywall, or wooden panels, using the correct anchors and techniques ensures your holder remains firmly attached under the weight of multiple umbrellas.
Before making any permanent changes to your wall, it is essential to understand that a wall-mounted umbrella holder stand must withstand both static weight and dynamic force. Every time someone inserts or pulls out an umbrella, additional stress is placed on the wall anchors. A weak mount can easily pull loose, damaging your wall plaster or drywall and causing the stand to fall. By taking the time to assess your wall type, prepare the right tools, and follow a systematic installation process, you can create a durable storage solution that keeps your entryway clean and dry.
Pre-Installation Checks and Tool Preparation
Before you begin drilling, take a few minutes to evaluate your installation site and verify the specifications of your umbrella holder stand. Start by measuring the finished dimensions of the holder and comparing them to your available wall space. Ensure that the mounted stand will not obstruct doorway access, block light switches, or interfere with the swing of your front door. It is also crucial to check the manufacturer’s specified load capacity to ensure the holder can safely support the number of umbrellas you plan to store.
Products mentioned in this guide
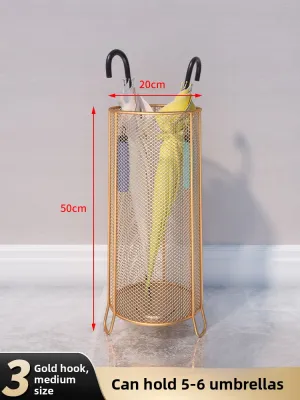
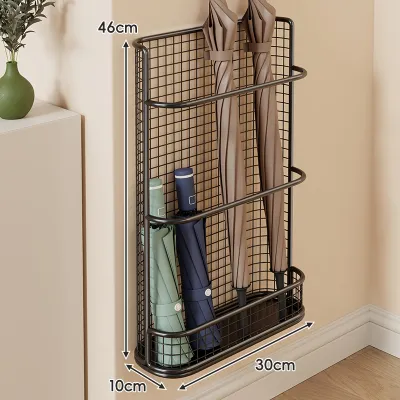
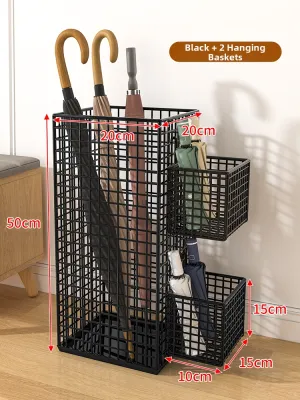
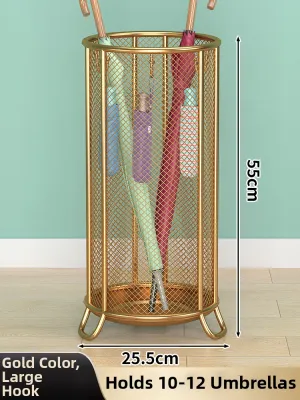
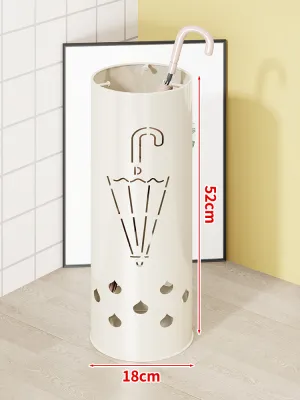
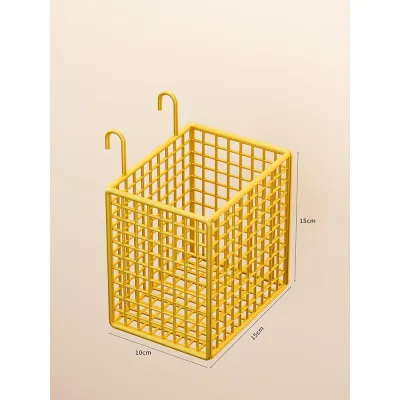
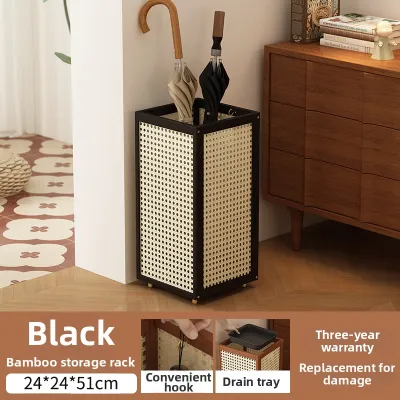
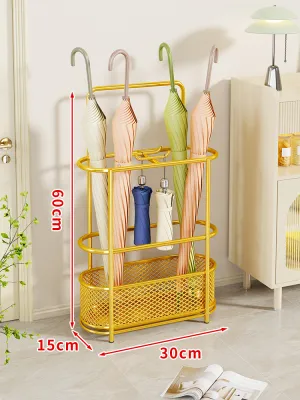
Prices are valid at publication and may change. Please refer to the product page for the latest price.
Next, inspect the wall surface for any signs of damage, moisture, or unevenness. In tropical climates, walls near entryways can sometimes harbor hidden moisture, which weakens plaster and drywall over time. Use a high-quality multi-scanner or stud finder to check for hidden utilities, such as electrical wiring or plumbing lines, running behind the wall. Accidentally drilling into a live wire or a water pipe can cause severe safety hazards and expensive water damage.
You should also inspect the finish and material of your umbrella holder stand before mounting it. Since the stand will frequently come into contact with wet umbrellas, check that metal components have a rust-resistant powder coating and that wooden parts are treated with a water-resistant sealant. If the product lacks a protective finish, consider applying a clear water-resistant spray to prevent premature corrosion or warping in high-humidity environments.
Finally, gather all the necessary tools for the job. You will generally need a power drill, a spirit level, a tape measure, a pencil, and safety glasses. Depending on your wall type, you must also select the appropriate drill bits and wall anchors. If you encounter an unfamiliar wall material, if the wall is heavily crumbling, or if the manufacturer’s instructions conflict with your wall type, stop the installation and consult a qualified professional.
Step-by-Step Installation Guide by Wall Type
Installing a wall-mounted umbrella holder stand requires a tailored approach for each common residential wall surface. While the drilling depth and anchor types vary, the initial preparation remains the same across all materials. Always begin by holding the mounting bracket of the stand against the wall at your desired height, using a spirit level to ensure it is perfectly straight. Mark the exact center of each screw hole onto the wall using a sharp pencil before setting the holder aside.

Installing on Concrete or Masonry Walls
Concrete, brick, and solid masonry walls are highly durable and provide an exceptionally strong foundation for wall-mounted storage. However, because these materials are extremely hard, they require specialized tools and expansion anchors to create a secure, load-bearing mount.
To begin, equip a power drill—preferably a hammer drill—with a masonry drill bit that matches the diameter of your expansion anchors. Set the drill to hammer mode, place the tip of the bit on your pencil marks, and drill straight into the wall. Keep the drill perfectly perpendicular to the wall surface to prevent the hole from becoming enlarged or angled. Drill slightly deeper than the length of the anchor sleeve to ensure it can sit fully flush.
Once the holes are drilled, clear out all concrete dust and debris from inside the holes. You can use a hand blower, a vacuum cleaner, or a small brush to clean them thoroughly. Leftover dust can prevent the expansion sleeve from gripping the concrete properly, which significantly reduces its load capacity.
Next, insert the plastic or metal expansion sleeves into the clean holes. If they do not slide in easily, tap them gently with a hammer until they are completely flush with the wall surface. Align the mounting holes of your umbrella holder stand with the inserted sleeves, insert the mounting screws, and tighten them with a screwdriver. Tighten until snug, but avoid applying excessive force, which can crack plastic sleeves or strip the masonry threads.
Installing on Drywall or Hollow Walls
Drywall and hollow plasterboard walls are common in modern interior partitions, but they lack the structural density of concrete. Standard plastic wall plugs should never be used in drywall for an umbrella holder stand, as the dynamic weight of inserting and removing umbrellas will quickly pull them out of the wall.
The most secure method for mounting on drywall is to fasten the holder directly into the wooden or metal studs behind the wallboard. Use a stud finder to locate the studs near your desired installation spot. If a stud aligns with your mounting marks, you can screw directly into the wood using standard wood screws, bypassing the need for hollow-wall anchors entirely.
If no studs are available at your preferred mounting location, you must use heavy-duty hollow-wall anchors, such as toggle bolts or threaded drywall anchors. These anchors are designed to expand or deploy wings behind the drywall sheet, distributing the weight over a larger surface area to prevent the plasterboard from tearing.
Drill a pilot hole matching the exact diameter specified by your chosen anchor manufacturer. For toggle bolts, fold the metal wings flat and push them through the pilot hole until you hear them spring open behind the drywall. Pull back gently on the bolt to ensure the wings are flat against the inner wall surface. Slide the umbrella holder bracket over the screw, insert it into the anchor, and tighten it firmly until the bracket sits snug against the wall. If the total weight of your umbrellas exceeds the safe load limit of your drywall, do not proceed; instead, consider using a freestanding floor model to protect your walls.
Installing on Wood Walls or Panels
Solid wood walls, plywood backing, and thick wooden paneling are excellent surfaces for mounting hardware. They offer reliable holding power without the need for specialized expansion anchors, provided you take steps to prevent the wood from splitting.
Before driving any screws, always drill pilot holes at your marked locations. Use a wood drill bit that is slightly smaller than the inner shank diameter of your mounting screws. Drilling pilot holes relieves the internal tension in the wood fibers, ensuring the wood does not split or crack as the screw threads bite into the material.
Select high-quality wood screws of an appropriate length. The screws must be long enough to penetrate deeply into the solid wood backing to provide maximum grip, but they must not be so long that they pierce through the opposite side of the wall or paneling.
Verify the structural integrity and thickness of the wood before mounting. Thin decorative wood veneer or hollow-core wood panels may not have enough thickness to hold heavy screws under load. If the wood backing is thin, ensure your screws penetrate through the panel and bite into the structural wall studs behind it. Drive the screws in smoothly until the holder is secure, taking care not to over-tighten and strip the wood threads.
Securing the Umbrella Holder and Final Verification
Once your anchors are in place and the screws are partially driven, it is time to perform the final alignment and security checks. Place a spirit level across the top or side of the umbrella holder stand. Adjust the bracket slightly until the bubble in the level is perfectly centered, then tighten all the mounting screws completely. Tighten the screws in an alternating pattern to ensure the mounting plate is pulled evenly against the wall surface.
After tightening, perform a manual load test to verify the stability of the installation. Grasp the holder firmly and apply moderate downward and lateral pressure. The holder should feel solid and show no signs of shifting, wobbling, or creaking. Inspect the wall surface around the mounting plate to ensure there are no hairline cracks, crumbling plaster, or bulging drywall.
Finally, position the drip tray at the bottom of the holder. In tropical environments, a functional drip tray is essential to catch water from wet umbrellas and prevent moisture from pooling on your floors. Standing water can quickly ruin wooden floorboards, warp laminate, or cause mold growth along your baseboards. Ensure the drip tray is easily accessible so you can slide it out, empty the collected water, and wipe it clean regularly.
Troubleshooting Common Installation Issues
Even with careful preparation, you may encounter issues during or after the installation process. If a screw spins freely without tightening, the hole has likely become stripped or the anchor has failed to deploy. To fix this in drywall or wood, remove the screw and upgrade to a larger anchor size or a thicker screw. For concrete walls, you can fill the stripped hole with a specialized wall repair compound or epoxy anchor adhesive before reinserting the sleeve.
If your wall surface is slightly uneven, the umbrella holder stand may tilt or wobble when you tighten the screws. To correct a tilted holder, loosen the screws slightly and insert thin, non-compressible plastic or metal shims behind the mounting base until the unit is level. Once aligned, tighten the screws back down over the shims to lock the holder in place.
Always establish a strict stop-use condition for your wall-mounted storage. If you notice the surrounding wall material beginning to crumble, crack, or bulge over time, remove the umbrellas immediately and stop using the holder. This indicates that the wall structure is failing to support the load. You will need to relocate the holder to a stronger wall section, upgrade to more robust anchors, or consult a professional builder to repair the damaged wall.
Frequently Asked Questions (FAQ)
Can I install an umbrella holder on a tiled wall?
Yes, you can install an umbrella holder stand on a tiled wall, but you must use specialized drilling techniques to avoid cracking or shattering the tile. Never use a standard masonry bit or hammer action on ceramic or porcelain tiles. Instead, use a specialized glass or tile drill bit, such as a diamond-tipped or carbide-tipped spade bit, and run your drill in standard rotary mode.
To prevent the drill bit from slipping on the slick tile surface, apply a piece of masking tape over your marked drill spot. The tape provides traction and helps keep the bit centered. Drill slowly and apply gentle, consistent pressure, occasionally dipping the bit in water to keep it cool and prevent thermal cracking. Once the bit passes completely through the tile layer, identify the substrate behind it—such as concrete or drywall—and switch to the appropriate drill bit and anchor for that specific material.
What is the ideal height for mounting an umbrella holder?
The ideal mounting height depends on the types of umbrellas you use most frequently and the layout of your entryway. For long, classic walking umbrellas, the top bracket of the holder should be mounted high enough to keep the shafts upright and prevent them from leaning outward. If you primarily use compact, folding umbrellas, look for a holder that features lower hooks or a dedicated secondary compartment.
When positioning the holder, ensure the bottom drip tray sits close enough to the floor to catch water effectively, but leave a small gap of about 5 to 10 centimeters. This clearance allows you to easily sweep, mop, or vacuum the floor underneath without having to unmount the holder.
Additionally, avoid placing the holder in high-traffic corridors or narrow entryways where protruding umbrella handles could catch on clothing or become a bumping hazard. Position the stand in a recessed corner or directly behind the entry door to keep the pathway clear while keeping your umbrellas within easy reach.
Community discussion
Share your experience or ask a question. Comments are reviewed before publication.