
Installing an umbrella wall mount is a practical way to keep your entryway organized and prevent wet umbrellas from dripping on your floors. In tropical climates where sudden downpours are common, a dedicated spot for wet gear is essential for maintaining a clean, safe home. A properly installed mount keeps your umbrellas organized, allows them to dry efficiently, and prevents slip hazards on slick tile or wooden floors.
To achieve a secure, long-lasting installation without damaging your walls, you must match your mounting hardware to the specific structure of your wall. A weak installation can easily pull out under the weight of multiple heavy, water-logged umbrellas, leaving unsightly holes in your plaster or drywall. By taking the time to assess your wall type, gather the correct tools, and follow a systematic mounting process, you can ensure your umbrella holder remains firmly in place.
Assess Your Wall Type and Mount Specifications
Before drilling, identify the material of the wall where you plan to install the umbrella mount. Entryways are typically concrete, hollow blocks, drywall, or plaster. Each material behaves differently under load and requires specific fasteners. For instance, a screw driven directly into drywall without an anchor will quickly pull out, while attempting to drive a standard wood screw into concrete will only damage your tools and the wall surface.
Products mentioned in this guide
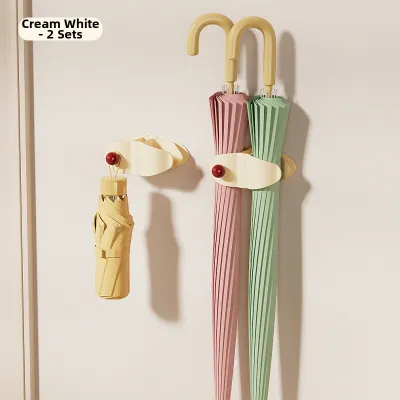
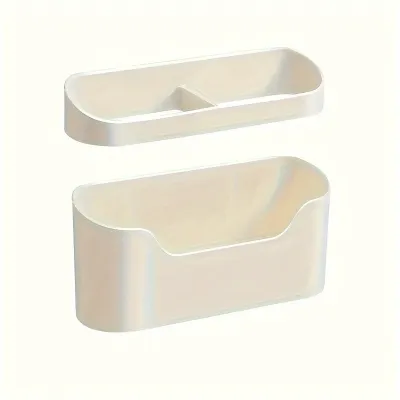
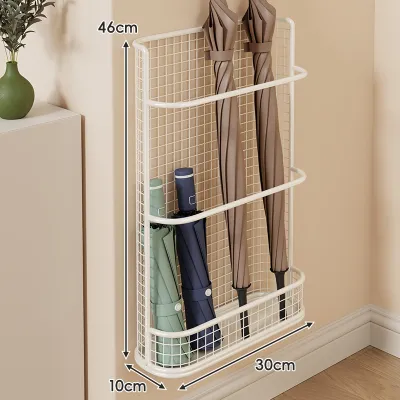
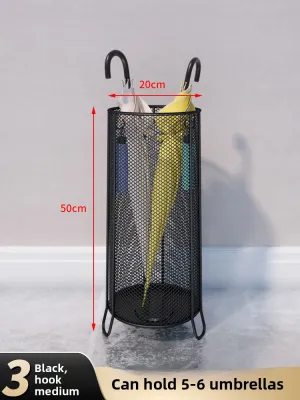
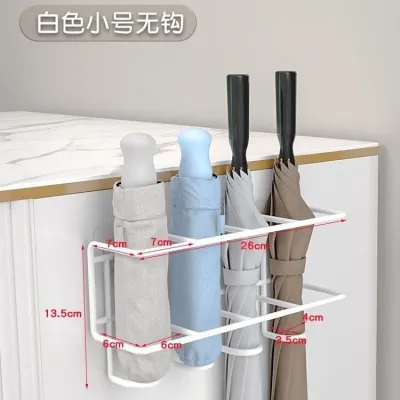
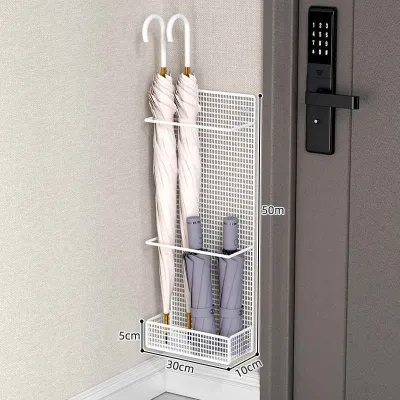
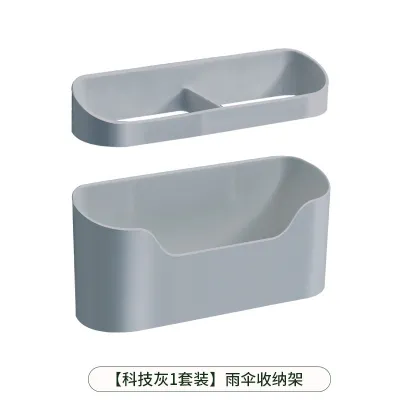
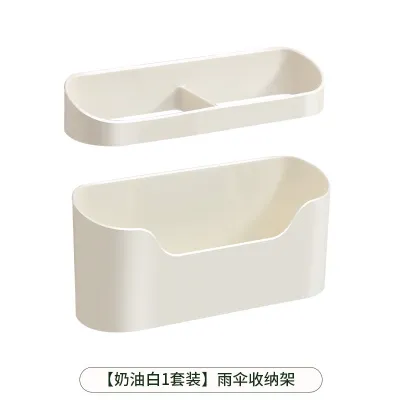
Prices are valid at publication and may change. Please refer to the product page for the latest price.
Next, consult the manufacturer’s specifications for your umbrella wall mount to determine its maximum weight capacity. Keep in mind that the total load includes not just the dry weight of the bracket, but also the added weight of absorbed water when umbrellas are wet. A large golf umbrella saturated with rainwater can weigh significantly more than a compact folding model, placing extra shear stress on the mounting screws.
Evaluate the physical condition of the wall before proceeding. Look for signs of moisture damage, crumbling plaster, or hollow spots that might compromise the structural integrity of the mounting area. If you notice soft spots in drywall or degrading mortar in brickwork, stop the installation immediately. Mounting a heavy organizer on a compromised wall will inevitably lead to failure, potentially pulling down a section of the wall material.
Gather the Necessary Tools and Hardware
Having the correct tools on hand before you begin prevents mid-project delays and ensures a clean, professional finish. For most wall types, you will need a reliable power drill, a tape measure, a pencil, and a spirit level to ensure the bracket sits perfectly straight. If you are mounting onto a drywall surface, a stud finder is highly recommended to help you locate the solid wooden framing behind the wall board for the strongest possible hold.

Your choice of drill bits and wall anchors must match your wall assessment. For concrete or masonry walls, you will need a carbide-tipped masonry drill bit and plastic expansion anchors, often referred to as tox plugs. For drywall installations where you cannot align the mount with a wall stud, heavy-duty toggle bolts or threaded drywall anchors are necessary to distribute the weight across the back of the wall board.
Safety should always be a priority. When drilling into concrete, brick, or drywall, fine dust particles are released into the air, which can irritate your eyes and lungs. Wear safety glasses to protect your eyes from flying debris, and use a dust mask to avoid inhaling fine masonry or gypsum dust. Working in a well-ventilated area or having an assistant hold a vacuum nozzle near the drill bit can also help keep the workspace clean.
Step-by-Step Installation Process
Installing your umbrella wall mount requires a methodical approach to ensure the bracket is level, secure, and positioned at the ideal height. Following a step-by-step sequence prevents common mistakes, such as drilling misaligned holes or mounting the holder too close to the floor. By preparing the surface carefully and securing the hardware systematically, you will achieve a clean installation that looks professional and functions perfectly.
Marking, Leveling, and Drilling
Begin by determining the ideal height for your umbrella wall mount. Hold your longest umbrella against the wall to gauge how much clearance is needed at the bottom for a drip tray or floor mat. The mount should be high enough that long umbrellas hang completely straight without touching the floor, yet low enough that shorter, compact umbrellas remain easily reachable. Once you have determined the height, hold the mounting bracket against the wall at this position.
Place a spirit level on top of the bracket to ensure it is perfectly horizontal. Even a slight tilt can cause umbrellas to hang awkwardly or slide to one side, putting uneven pressure on the mounting screws. Once the bubble in the level is centered, use a pencil to mark the exact center of each mounting hole onto the wall surface. Double-check your marks by measuring their distance from the floor to ensure they are uniform.
Select a drill bit that matches the diameter specified by your wall anchors. If you are drilling into concrete or brick, set your power drill to hammer mode and apply steady, forward pressure. Drill each hole slightly deeper than the length of the anchor to ensure it can sit fully flush with the wall. After drilling, clear out any remaining dust and debris from the holes using a hand blower or a vacuum cleaner, as leftover dust can prevent the anchors from gripping the wall properly.
Securing the Mount to the Wall
Gently push the wall anchors into the drilled holes. They should fit snugly; if you can push them in too easily with your fingers, the hole may be too large, which will compromise the anchor’s grip. If the anchors are tight, tap them gently with a hammer until they sit completely flush with the wall surface. Avoid forcing them in with heavy blows, as this can bend or crack plastic anchors, preventing the screws from threading correctly.
Align the mounting bracket over the installed anchors, making sure the screw holes line up perfectly. Insert the screws through the bracket and into the anchors by hand for the first few turns to avoid cross-threading. Use a manual screwdriver or a power drill on a low torque setting to tighten the screws. Tighten them gradually and evenly, moving from one screw to another rather than tightening one completely before starting the next.
Be careful not to over-tighten the screws, especially when working with drywall or plastic brackets. Over-tightening can strip the threads inside plastic anchors, crack the mounting bracket, or crush the drywall behind the mount, weakening the entire installation. Once the bracket is firmly secured, attach any secondary components included with your mount, such as removable drip trays, hanging hooks, or retaining straps, according to the manufacturer’s instructions.
Testing and Safety Verification
Before placing your entire umbrella collection into the new mount, you must verify the stability of the installation. Start by performing a gradual weight test. Place a single, lightweight umbrella into the holder and observe how the bracket reacts. If there is no movement, gradually add heavier items, such as large golf umbrellas or wet walking sticks, until you reach the typical daily load of your household.
While loading the mount, listen closely for any creaking sounds and watch the wall surface around the bracket for any signs of shifting or cracking. Gently wiggle the bracket with your hand to check for play or looseness. If the mount moves even slightly, or if you notice the drywall flexing or plaster crumbling around the screw heads, the anchors are not holding securely.
Verify that the drip catchment system is functioning as intended. If your mount features an integrated drip tray, ensure it is positioned directly beneath the hanging umbrellas to catch falling water droplets. Proper water containment is crucial, as stray water can seep into baseboards, damage wooden flooring, or create slippery spots on tiled entryways.
If the mount fails the weight test or shows any signs of pulling away from the wall, do not continue using it. Remove the umbrellas immediately to prevent sudden failure that could tear a larger hole in your wall. Uninstall the bracket, inspect the anchors to see if they have stripped or pulled loose, and re-evaluate your installation method. You may need to use larger anchors, switch to toggle bolts, or relocate the mount to a position where you can secure it directly into a wall stud.
Maintenance and Long-Term Care
To keep your umbrella wall mount secure and looking its best, perform routine maintenance checks at least once every few months. The physical vibrations from nearby doors opening and closing can gradually loosen wall anchors and screws over time. Gently wiggle the bracket periodically to ensure it remains tight against the wall, and use a manual screwdriver to snug up any screws that have started to back out.
Managing moisture is the most critical aspect of maintaining your umbrella mount and protecting your walls. Never allow standing water to remain in the drip tray for extended periods, as stagnant water can become a breeding ground for mosquitoes and mold. Empty and dry the drip tray after every rainy day. If water splashes onto the wall behind the mount, wipe it dry immediately with a soft microfiber cloth to prevent paint peeling, plaster softening, or water stains.
Clean the mounting bracket regularly according to its material care instructions. For plastic or powder-coated metal mounts, a simple wipe-down with a damp cloth and mild dish soap is usually sufficient to remove dust and dirt. Avoid using harsh chemical cleaners, bleach, or abrasive scrubbing pads, as these can strip away protective coatings, leaving metal mounts vulnerable to rust and corrosion in humid tropical environments.
Frequently Asked Questions (FAQ)
Can I install an umbrella wall mount on tiles?
Yes, you can install an umbrella wall mount on tiled walls, but you must use specialized tools to avoid cracking the tiles. Use a diamond-tipped or carbide-tipped tile drill bit, and never use the hammer setting on your drill while penetrating the tile layer. Apply a piece of masking tape over the marked spot before drilling to prevent the bit from slipping. Drill at a slow, steady speed, and periodically drip water onto the drill bit to keep it cool. Once you pass through the tile, switch to a standard masonry bit to finish the hole.
What should I do if the wall anchor spins or won't grip?
If a wall anchor spins freely, the hole was drilled too large or the wall material has crumbled inside. Gently pull the spinning anchor out using needle-nose pliers. You can replace it with a slightly larger anchor that fits the enlarged hole tightly, or use a heavy-duty toggle bolt if you are working on drywall. Alternatively, fill the loose hole with a high-quality wall repair compound or epoxy, let it cure completely according to the manufacturer’s instructions, and then drill a fresh, correctly sized hole in the patched area.
How high should I mount the umbrella holder?
The ideal mounting height depends on your umbrellas, but a general guideline is to position the top bracket between 70 and 90 centimeters from the floor or drip tray. This height allows standard walking umbrellas to hang freely without touching the ground while keeping the handles at an accessible level. If your mount includes hooks for compact, folding umbrellas, ensure there is enough vertical clearance below the hooks so these smaller umbrellas do not drag on the floor. Always measure your longest umbrella before drilling to ensure perfect clearance.
Community discussion
Share your experience or ask a question. Comments are reviewed before publication.