
Finding the perfect slim type storage cabinet for a tight kitchen, a narrow hallway, or a compact dining area requires more than just an eye for style. A successful installation hinges on precise spatial planning. To measure your space correctly, you must capture the exact three-dimensional footprint of your target area, account for subtle architectural protrusions, map out functional clearances for doors and drawers, and verify that the packaged unit can physically navigate your home’s entryways. Taking these steps prevents the common frustration of buying a beautiful piece of furniture only to find it blocks a vital walkway or sits awkwardly against an uneven wall.
Failing to measure accurately often results in costly return shipping fees, which can easily exceed ₱1,000, or leaves you with a cabinet that sits unused in a hallway. By dedicating a few minutes to systematic measurement, you ensure that your new furniture integrates seamlessly into your daily routine. This guide details the exact steps and considerations needed to prepare your home for a slim storage solution.
Tools You Need for Accurate Measurements
Before pulling out any furniture catalogs, gather the proper tools to ensure your measurements are precise. Relying on a school ruler, a sewing tape, or simply “eyeballing” the space is a recipe for misalignment. A professional-grade setup ensures you capture the true dimensions of your room.
Products mentioned in this guide
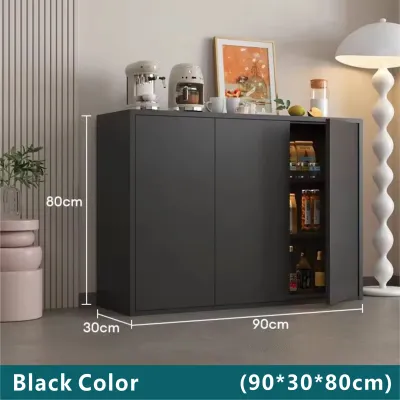
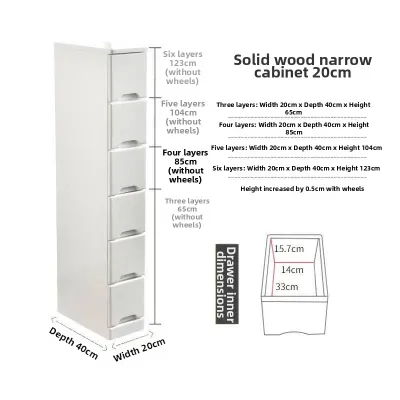
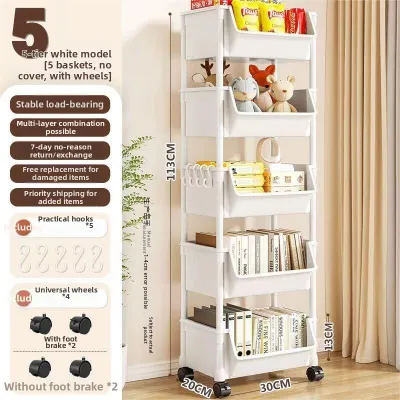
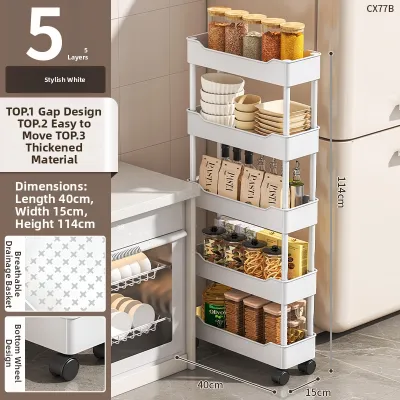
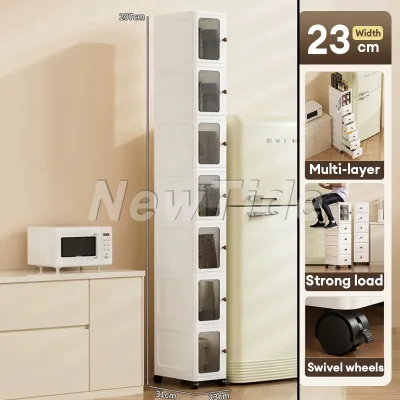
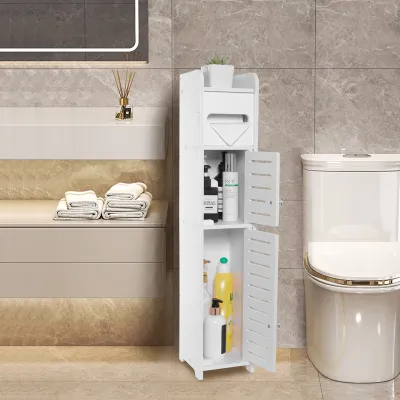
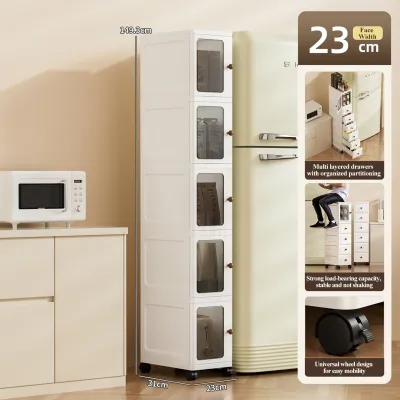
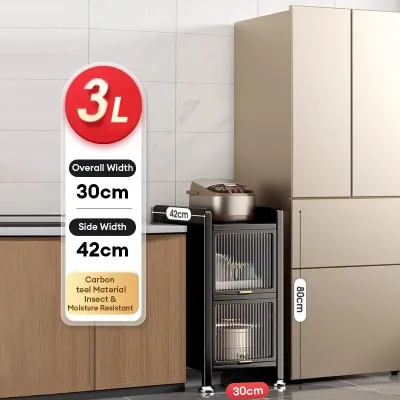
Prices are valid at publication and may change. Please refer to the product page for the latest price.
- Metal Tape Measure: Use a heavy-duty metal tape measure that is at least 5 meters (16 feet) long. Metal tapes remain rigid when extended over long distances, preventing the sagging that causes inaccurate readings.
- Spirit Level: A standard 60-centimeter spirit level is essential for checking whether your floors slope or your walls lean. Even a minor slope can cause a tall, slim cabinet to tilt dangerously.
- Flashlight: Keep a small flashlight handy to inspect dark corners, deep alcoves, or the spaces behind existing appliances where shadows might obscure your tape measure's markings.
- Pencil and Notepad: Write down every measurement immediately. Do not rely on memory or digital notes that might tempt you to round numbers up or down.
Using these tools systematically eliminates guesswork. Standard room dimensions provided in housing floor plans are often rough estimates that do not account for post-construction plastering, tiling, or settling. Taking your own physical measurements is the only way to guarantee a perfect fit.
Step-by-Step Guide to Measuring Your Available Space
Measuring for a slim type storage cabinet requires a multi-step approach. You must look beyond the empty floor space and evaluate the entire vertical plane where the cabinet will stand.

Capturing Baseline Width, Height, and Depth
Begin by measuring the raw width of the designated area. Walls are rarely perfectly plumb, and floors are seldom perfectly level, especially in older homes or structures subjected to tropical settling. To capture the true width, measure at three distinct points: near the floor, at the midpoint (around waist height), and near the ceiling or the top of where the cabinet will sit. Record all three figures and use the smallest measurement as your maximum allowable cabinet width.
Next, determine the available height. Measure from the floor to the ceiling, or to the underside of any overhanging structures like bulkheads, beams, or wall-mounted air conditioning units. Just like the width, take this measurement at three points: the left side, the center, and the right side of the space. Record the smallest value. If you plan to buy a tall cabinet, choosing a unit that matches your absolute maximum height leaves zero room for assembly or upright positioning.
Finally, measure the depth from the back wall outward. Decide how far you want the cabinet to protrude into the room. For a slim type storage cabinet, a typical depth ranges from 25 to 40 centimeters. Ensure this projected depth does not overlap with door frames, window casings, or the natural flow of foot traffic. If the cabinet will sit next to a doorway, the depth must be shallow enough to keep the door frame completely clear.
Accounting for Obstacles and Architectural Features
Architectural details can easily disrupt your installation plans if they are not factored into your initial measurements. Baseboards or skirting boards are the most common culprits. Because they project from the bottom of the wall, they prevent flat-backed cabinets from sitting flush. Measure the height and thickness of your baseboards; you will need to compare these to the cabinet’s bottom cutout (plinth recess) or factor this gap into your total depth calculations.
Look for wall outlets, light switches, and internet jacks. A slim cabinet that covers a vital double outlet can render your small kitchen appliances unusable. Measure the distance from the floor and the nearest corner to the edges of these outlets. If a switch or outlet falls within the cabinet’s footprint, verify if the cabinet backing can be safely cut, or if you need to select a shorter or narrower model to keep these fixtures accessible.
Do not overlook window sills, low-hanging moldings, and wall-mounted fixtures like water heaters or exhaust vents. In humid tropical environments, proper air circulation is vital to prevent mold growth behind heavy furniture. If your walls experience condensation during the rainy season, plan to leave a safety gap of 1 to 2 centimeters between the back of the cabinet and the wall to encourage airflow.
Checking Clearances for Doors, Drawers, and Walkways
A cabinet might fit perfectly when its doors and drawers are closed, but it can quickly become an obstacle when you try to use it. You must calculate the operational footprint of the furniture to maintain a functional room layout.
First, map out the swing radius of the cabinet’s doors. If the cabinet features traditional hinged doors, measure the width of each door panel. Extend your tape measure from the front face of your proposed cabinet location to visualize how far the doors will swing outward. Ensure they do not collide with dining tables, chairs, kitchen counters, or adjacent room doors.
Second, account for drawer and pull-out shelf extension. Pull-out pantries and deep drawers often extend to nearly the full depth of the cabinet itself. If your slim cabinet has a depth of 30 centimeters, a fully extended drawer might require an additional 25 to 28 centimeters of clearance in front of the unit. Draw a line on your floor using masking tape to represent the fully extended drawer to ensure you can stand comfortably in front of it while retrieving items.
Third, preserve comfortable walkways. In high-traffic zones like kitchens, dining rooms, and narrow hallways, maintaining ergonomic clearance is crucial. Standard interior design guidelines recommend a minimum walkway width of 90 centimeters (36 inches) for single-person passage. In tighter spaces, you can reduce this to 75 centimeters, but anything less will create a frustrating bottleneck that disrupts the flow of your home.
Verifying Delivery and Assembly Pathways
One of the most common delivery day disasters is purchasing a cabinet that fits its designated spot but cannot physically reach the room. You must measure the entire transit route from the delivery vehicle to the final installation site.
Start at your property’s entrance. Measure the width and height of the main door frame, as well as any security screen doors. If you live in a multi-story condominium or apartment building, measure the elevator door opening, the interior cabin dimensions (width, depth, and height), and the diagonal clearance from the bottom corner of the cabin to the opposite top corner. For walk-up apartments, measure the width of the stairwells and the clearance at tight landing turns.
Next, measure interior doorways and narrow hallways along the path. Pay close attention to low-hanging light fixtures, wall sconces, or handrails that narrow the usable passage. If your hallway features a sharp 90-degree turn, you must ensure the length of the cabinet package can successfully pivot around the corner.
Always compare these pathway measurements against the shipping box dimensions provided by the manufacturer, rather than the final assembled dimensions of the cabinet. If the cabinet arrives fully assembled, its structural frame must fit through every doorway. If it is a flat-pack unit, verify that the longest individual panels can clear your stairwells and ceilings during transport and assembly.
Final Pre-Purchase Checklist
Before entering your payment details or heading to the checkout counter, run through this quick checklist to confirm that your space is fully prepared for your new slim type storage cabinet:
- Verify Minimum Dimensions: Confirm that the cabinet's external width, height, and depth are smaller than the absolute minimum measurements recorded for your wall space.
- Check Baseboard Compatibility: Ensure the cabinet either has a baseboard cutout that matches your home's skirting boards or that you have factored the wall gap into your depth clearance.
- Map Operational Clearances: Double-check that doors and drawers can open completely without striking walls, appliances, or blocking primary walkways.
- Confirm Utility Access: Ensure no light switches, electrical outlets, or ventilation grates are blocked in a way that compromises safety or convenience.
- Assess Delivery Pathways: Verify that the packaged box dimensions can easily clear your main entrance, elevator, stairwells, and interior doors.
- Evaluate Floor Stability and Anchoring: Confirm the floor is level using your spirit level. Because tall, slim cabinets have a narrow base, they are prone to tipping when loaded with heavy dinnerware. Plan to anchor the unit securely to the wall, checking the manufacturer's instructions for the appropriate wall anchors based on your wall material (concrete, drywall, or brick).
Community discussion
Share your experience or ask a question. Comments are reviewed before publication.