
Hanging a kitchen wall cabinet securely requires careful planning, precise leveling, and selecting the correct anchoring system for your specific wall type. Whether your kitchen features modern drywall over metal studs or traditional concrete hollow blocks common in many Philippine homes, a successful installation prevents costly damage and ensures your storage remains stable under heavy loads of dinnerware and pantry items. By taking the time to map out your wall, verify your hardware, and use temporary supports, you can achieve a professional, flush finish that stands up to daily use and high tropical humidity.
Preparation and Safety Checks Before Installation
Before lifting any tools, you must identify the structural composition of your kitchen wall. In the Philippines, residential walls are frequently constructed from concrete hollow blocks finished with plaster, though modern condominium developments often utilize drywall partitions. For drywall, you must locate the underlying wood or metal studs using a reliable stud finder, as drywall alone cannot support the weight of a loaded cabinet. For concrete or masonry walls, you will need heavy-duty wall plugs or concrete expansion bolts rather than standard wood screws to ensure a permanent hold.
In tropical climates, high relative humidity can affect wood and composite materials over time. Before installation, inspect the cabinet’s joints, backing material, and protective finish. Ensure the back panel is securely fastened to the main frame, as this panel bears the tension when screwed to the wall. If the cabinet is made of particleboard or medium-density fiberboard (MDF), verify that all edges are sealed to prevent moisture absorption, which can cause the material to swell and weaken the mounting points.
Products mentioned in this guide
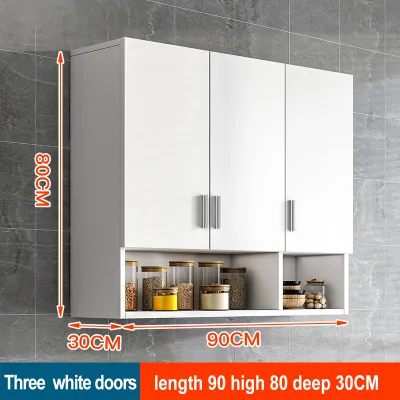
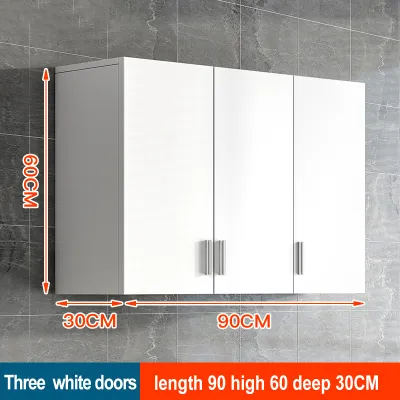
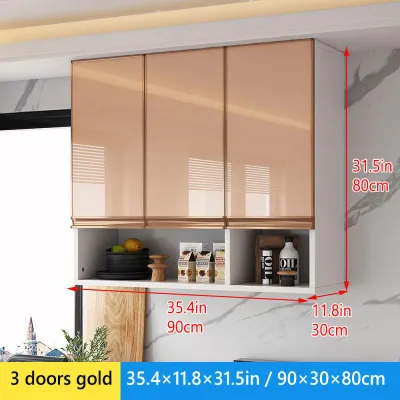
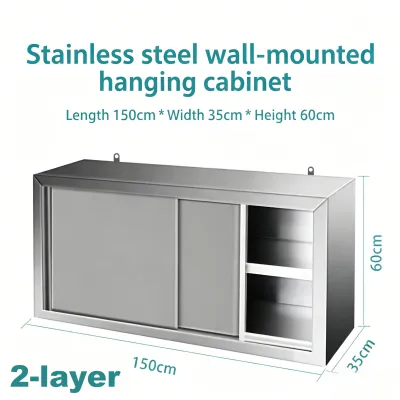
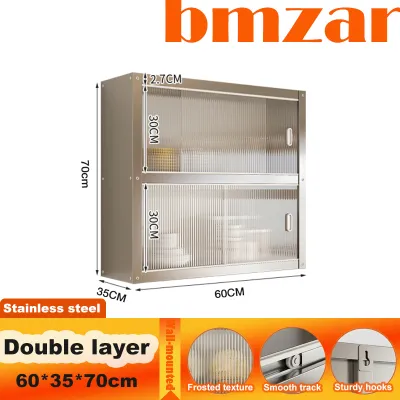
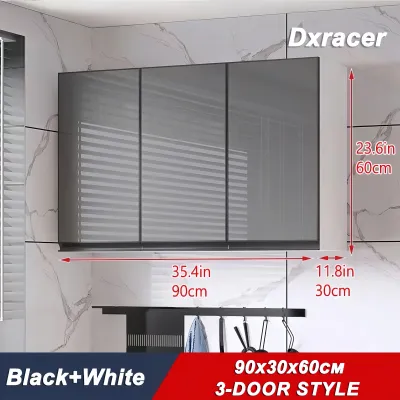
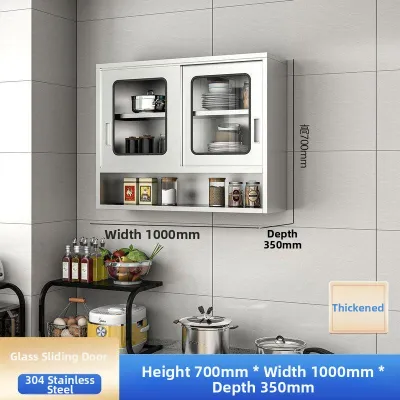
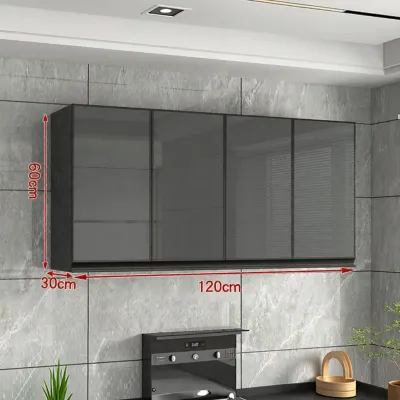
Prices are valid at publication and may change. Please refer to the product page for the latest price.
Next, review the cabinet manufacturer’s specifications. Check the documentation for the dry weight of the cabinet and its maximum load capacity. Note any specific hardware requirements, such as the recommended screw gauge and length. Never substitute lightweight drywall screws for structural cabinet screws, as drywall screws are brittle and can shear under tension.
Gather all essential tools before starting. You will need a high-quality spirit level (at least 24 inches long for accuracy), a power drill with bits matching your wall type (masonry bits for concrete, twist drills for wood or metal studs), a pencil, a measuring tape, and appropriate fasteners. Additionally, prepare a temporary support mechanism. A straight, wooden ledger board screwed temporarily into the wall below the cabinet line acts as an invaluable extra pair of hands, holding the heavy cabinet in place while you secure it.
Finally, assess the installation zone. Ensure there is adequate clearance for cabinet doors to swing open without hitting light fixtures, range hoods, or adjacent walls. Use a pipe and cable detector to check for hidden electrical conduits or plumbing lines. In concrete walls, utility conduits are often embedded directly in the plaster or block voids, making careful scanning essential to avoid dangerous and expensive drilling accidents. High humidity can also cause wood to expand slightly, so verify that the cabinet material is rated for kitchen environments and check for any pre-existing wall dampness before mounting.
Step-by-Step Process for Mounting the Cabinet
Begin by marking the desired height of the cabinet bottom on the wall. Standard kitchen layouts usually place the bottom of wall cabinets between 54 and 56 inches from the finished floor, which leaves a comfortable 18-inch clearance above a standard 36-inch-high countertop. Adjust this measurement based on your household’s ergonomics and the height of any countertop appliances you plan to use.

Using your spirit level, draw a precise horizontal reference line across the wall at this marked height. This line represents the bottom edge of your cabinet. If you are installing multiple cabinets, extend this line across the entire run. Draw vertical reference lines to mark the outer edges of each cabinet unit, ensuring they are precisely plumb.
To make the installation manageable and safe, install a temporary ledger board. Align the top edge of a straight wooden board exactly with your horizontal reference line. Secure this ledger board to the wall studs or concrete wall using temporary screws. This board will support the full weight of the cabinet, allowing you to focus on alignment and fastening without struggling to hold the unit up.
When hanging a series of multiple wall cabinets, it is best to mount them one by one, starting from an inside corner or the end of the run. As you place each subsequent cabinet onto the ledger board, use cabinet clamps to hold the face frames of the adjacent units tightly together. Check that the front faces are completely flush and aligned. Drill pilot holes through the side of one face frame into the next, and secure them using cabinet-to-cabinet connecting screws. This ties the individual units into a single, rigid structure, distributing the weight more evenly and eliminating unsightly gaps between the cabinets.
If your cabinet uses a hanging rail or bracket system, align the bracket with your reference lines and mark the mounting hole locations on the wall. For traditional cabinets that screw directly through a solid back rail, lift the cabinet onto the ledger board and mark the drill points through the cabinet’s pre-drilled mounting holes. Slide the cabinet off the ledger board to drill the pilot holes. For concrete walls, drill holes using a masonry bit, insert the plastic wall plugs or expansion shields, and tap them flush with the plaster. For drywall, drill pilot holes directly into the center of the located studs.
Lift the cabinet back onto the temporary ledger board and slide it into position. Drive the structural cabinet screws through the cabinet’s mounting rail into the studs or wall plugs. Do not tighten the screws completely yet. Keep them slightly loose so you can make minor adjustments. Place your level against the front, bottom, and sides of the cabinet to verify it is precisely level and plumb. Once you confirm the alignment is correct, tighten all fasteners securely, starting from the top corners. Finally, unscrew and remove the temporary ledger board, and patch the small holes left behind.
Verifying Stability and Final Adjustments
Once the cabinet is mounted, perform a thorough physical inspection. Place your level inside the cabinet on the bottom shelf and against the side panels to confirm it has not shifted during the final tightening. If you are hanging multiple cabinets side-by-side, check that the face frames are completely flush with one another. You can clamp adjacent cabinet face frames together and secure them with cabinet-to-cabinet screws to ensure a seamless, unified look.
Next, install the cabinet doors and drawers. Test their operation by opening and closing them several times. If the doors sag, rub against each other, or do not close flush, use a screwdriver to adjust the 3-way adjustable hinges. Most modern cabinet hinges allow you to adjust the door height, lateral position, and depth by turning specific adjustment screws on the hinge arm.
Verify the structural integrity of the installation by applying gentle downward pressure on the bottom shelf. Check the back panel of the cabinet; there should be no visible gaps, bowing, or flexing away from the wall surface. If you notice any movement or if the fasteners seem to pull loose, do not load the cabinet with items.
It is crucial to recognize when to stop and seek professional assistance. If your wall structure feels crumbly or compromised when drilling, if you cannot locate solid studs in a drywall setup, or if the cabinet remains unstable after tightening the screws, halt the installation immediately. Attempting to load an improperly secured cabinet can lead to catastrophic failure, causing severe injury or extensive damage to your kitchen.
Frequently Asked Questions (FAQ)
Can I hang a wall cabinet on drywall without finding studs?
Hanging a kitchen wall cabinet directly on drywall without securing it to studs is highly discouraged and carries a significant risk of structural failure. Standard drywall is not designed to bear the heavy, dynamic loads of cabinets filled with plates, glassware, and pantry goods. If you absolutely cannot locate studs, you must use heavy-duty toggle bolts or specialized hollow-wall anchors, but these must be used strictly within their manufacturer-stated weight limits. Even with specialized anchors, the total weight capacity is drastically reduced compared to a stud-mounted installation. If the anticipated load of your cabinet exceeds the safe capacity of hollow-wall anchors, consult a professional carpenter or contractor to reinforce the wall framing before proceeding.
How do I determine the correct height for kitchen wall cabinets?
The ideal height for kitchen wall cabinets depends on several factors, including your countertop height, ceiling clearance, and the height of the primary users. Typically, wall cabinets are installed so that the bottom edge sits 18 inches above the countertop. This clearance provides ample space for common countertop appliances like rice cookers, blenders, and coffee makers while keeping the upper shelves within comfortable reach. If your household members are taller or shorter than average, you can adjust this clearance between 15 and 20 inches. Before drilling, it is highly recommended to mock up the cabinet dimensions on the wall using painter’s tape or a cardboard cutout to physically test your reach and ensure your sightlines remain unobstructed.
What should I do if the wall is uneven and leaves gaps behind the cabinet?
Few walls are completely flat, especially in older homes or plaster-finished concrete structures. Before mounting your cabinet, hold a long level or a straight edge against the wall to identify any high spots or bows. If you mount a cabinet tightly against an uneven wall, the cabinet box can twist out of square, causing the doors to misalign and the joints to weaken. To prevent this, place wooden or composite shims behind the cabinet’s mounting rail at the screw locations to fill any gaps before tightening the fasteners. Once the cabinet is secure and plumb, you can cover any minor cosmetic gaps along the sides or bottom using paintable acrylic caulk or matching scribe molding for a clean, professional finish.
Community discussion
Share your experience or ask a question. Comments are reviewed before publication.