
To securely install a wall-mounted bag rack stand organizer, you must match your mounting hardware and drilling technique to the specific wall material of your home—whether it is solid concrete, hollow masonry blocks, drywall, or wood paneling. A secure installation prevents sagging, wall damage, and falling hazards, ensuring your bags remain organized and accessible. By identifying your wall type, selecting the correct anchors, and pre-drilling precise pilot holes, you can achieve a professional-grade mount that withstands daily use.
Preparation and Tool Checklist Before You Drill
Before making any holes in your wall, take time to inspect your bag rack stand organizer and gather the necessary equipment. Examine the organizer’s backplate, mounting hole spacing, and any included hardware. Many imported organizers come with standard plastic wall plugs that may not suit the specific wall types found in your home, so you must be prepared to source alternative anchors if necessary.
Identifying your wall type is the next critical step. In many homes, especially in tropical climates like the Philippines, interior walls are often constructed from solid concrete, hollow concrete blocks, or plaster-coated masonry. Other rooms or modern partitions might use gypsum board (drywall) or wood paneling. You can perform a simple tapping test: a solid, dull thud indicates concrete or masonry, a hollow ring suggests drywall or thin wood paneling, and a firm, localized thud indicates a wooden stud behind a hollow wall.
Products mentioned in this guide
![[On Hand] Shira Bag Rack Stand White/Brown/Wood Bamboo Coat Rack Stand With 8 Hooks Coat Rack Bag Organizer](https://img.lazcdn.com/g/p/aa83a46c80aa97cfc361b1e59600c3a2.jpg_400x400q80.jpg_.webp)
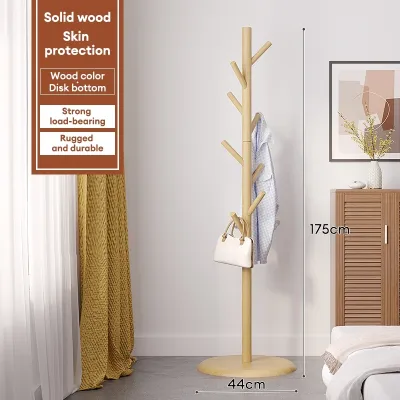
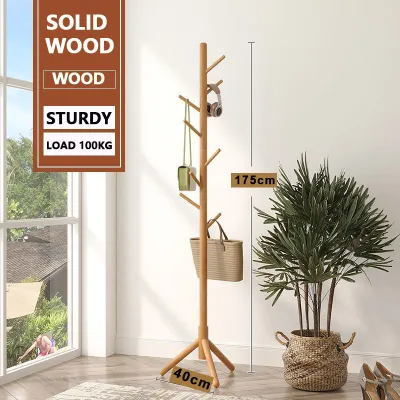
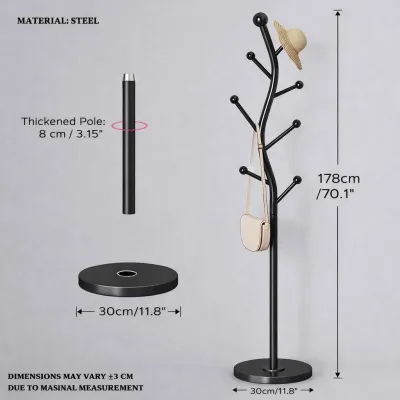
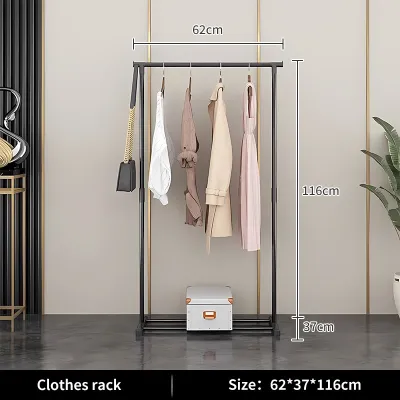
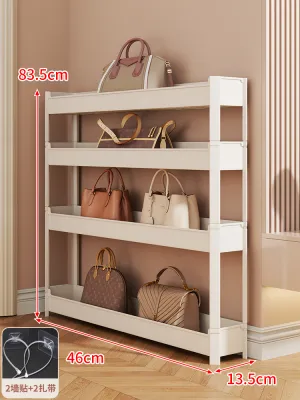
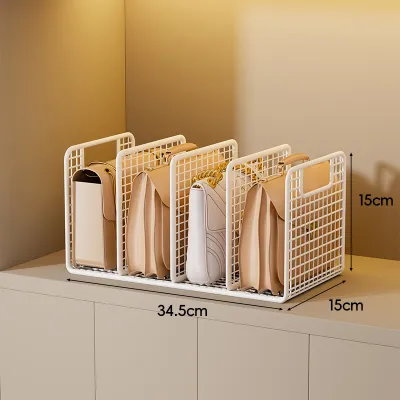
Prices are valid at publication and may change. Please refer to the product page for the latest price.
Safety and utility checks are essential before drilling. Always check for hidden utility lines, such as electrical wiring or water pipes, which frequently run behind walls. Using a multi-detector or stud finder with a live-wire warning can prevent dangerous and costly drilling accidents.
Assemble your tools before starting the project. A complete installation kit typically includes:
- A variable-speed power drill (with hammer function for concrete)
- Appropriate drill bits (masonry bits for concrete, wood bits for timber, or spade bits for drywall)
- A reliable spirit level to ensure the organizer sits perfectly horizontal
- A pencil for marking drill points
- A manual screwdriver to tighten screws without stripping them
- Safety glasses and a dust mask to protect yourself from airborne debris
How to Mount on Concrete or Masonry Walls
Concrete and masonry walls offer exceptional load-bearing capacity but require specific tools and techniques to penetrate safely. Because these walls are dense and abrasive, standard drill bits will quickly overheat and dull. You must use a dedicated masonry drill bit tipped with tungsten carbide, paired with a power drill set to hammer mode.

Start by holding your bag rack stand organizer against the wall at your desired height. Place your spirit level on top of the organizer to ensure it is perfectly straight, then use a pencil to mark the exact center of each mounting hole. Double-check the distance between your pencil marks against the actual mounting holes on the organizer to confirm they align perfectly.
When drilling into solid concrete, hold the drill completely perpendicular to the wall. Apply firm, steady pressure, letting the hammer action of the drill do the work. If you encounter hollow concrete blocks, which are common in local residential construction, be prepared for the drill to suddenly slip forward as it penetrates the outer shell. To prevent blowout or excessive crumbling inside the hollow cavity, reduce your drilling speed and pressure as you feel the bit break through the outer layer.
Once the holes are drilled to the depth recommended by your anchor manufacturer, clear out any concrete dust using a hand pump, vacuum, or a small brush. Leftover dust can prevent wall plugs from seating properly or gripping the sides of the hole.
Insert your plastic or nylon wall plugs into the clean holes. They should fit snugly; if they resist, tap them gently with a hammer until they sit completely flush with the plaster surface. If an anchor sticks out, it will prevent the organizer’s backplate from sitting flat against the wall, leading to instability.
Align the organizer with the installed wall plugs and insert the screws. Use a manual screwdriver to tighten them slowly and evenly. Avoid using an impact driver or over-tightening with a power drill, as excessive torque can easily strip the plastic threads of the wall plug or crack the surrounding plaster.
How to Mount on Drywall or Gypsum Board
Drywall and gypsum board partitions are lightweight and easy to drill, but they lack the inherent structural strength of concrete. Mounting a heavy bag rack stand organizer directly onto unsupported drywall using standard plastic expansion plugs is a recipe for failure, as the weight of multiple bags can easily pull the anchors straight through the soft gypsum core.
The most secure method for mounting on drywall is to anchor the organizer directly into the underlying structural framing, such as wooden studs or metal channels. Use a stud finder to locate these supports behind the gypsum board. Once located, mark the edges of the studs and aim to drive your mounting screws directly into the center of these structural members.
If the spacing of your organizer’s mounting holes does not align with the positions of your wall studs, you must use specialized hollow-wall anchors. Toggle bolts, threaded drywall anchors, or steel molly bolts are designed to expand or unfold behind the drywall sheet, distributing the weight over a much larger surface area.
To install a toggle bolt, drill a hole large enough for the folded metal wings of the bolt to pass through. Thread the bolt through the organizer’s mounting hole first, then screw on the spring-loaded wings. Compress the wings, push them completely through the drilled hole until you hear them snap open behind the drywall, and then pull back slightly on the screw to create tension while you tighten it.
Recognize the physical limits of your drywall. If you cannot locate structural framing and must rely solely on hollow-wall anchors, avoid overloading the bag rack with heavy backpacks, wet gear, or dense items. Standard plastic expansion anchors should never be trusted to hold significant weight in unsupported drywall.
How to Mount on Wood Paneling or Wooden Studs
Wood paneling and wooden studs provide an excellent, reliable substrate for mounting organizers, provided you understand the thickness and quality of the wood. Solid timber walls can support substantial weight, whereas thin decorative plywood veneers or medium-density fiberboard (MDF) panels require deeper anchoring into the structural studs hidden behind them.
Determine the nature of your wood surface before drilling. If you are dealing with thin wood paneling, do not rely on the panel itself to hold the weight of a fully loaded bag rack. Instead, use a stud finder or tap the wall to locate the solid timber studs behind the paneling, and plan your mounting points to align with these structural supports.
Pre-drilling pilot holes is a critical step when working with wood. Driving a screw directly into timber without a pilot hole creates immense internal pressure, which can easily split the wood along its grain or splinter decorative veneers. Select a wood drill bit that is slightly smaller than the inner shank diameter of your wood screw, excluding the threads.
Drill your pilot holes straight into the marked locations. This ensures the screw guides smoothly into the wood without wandering or binding.
Drive high-quality wood screws directly through the organizer’s mounting holes and into the pre-drilled pilot holes. Because wood fibers grip screw threads tightly, you do not need to use plastic wall plugs or anchors when mounting directly into solid timber or structural studs. Tighten the screws until the head is flush with the organizer’s backplate, ensuring a firm, wobble-free connection.
Final Stability Checks and Safe Loading Practices
Once your bag rack stand organizer is fully mounted, perform a series of safety and stability checks before hanging your belongings. Do not immediately load the rack to its maximum capacity; instead, conduct a gradual stress test to verify the integrity of your installation.
Apply light, downward pressure with your hands on different parts of the organizer. Watch the wall surface around the mounting points closely for any signs of flexing, cracking plaster, or pulling away. If you notice any movement or hear cracking sounds, stop immediately and inspect the anchors behind the rack.
Consult the manufacturer’s product manual or packaging to identify the recommended maximum weight capacity and load distribution guidelines. Keep in mind that these weight ratings assume a perfect installation into solid structural materials. If you mounted your organizer on drywall using hollow-wall anchors, your safe loading limit will be significantly lower than if it were mounted on solid concrete or wooden studs.
Distribute the weight of your bags evenly across the organizer. Avoid hanging all your heaviest bags on a single hook or on one side of the rack, as uneven loading can create leverage that pries the anchors out of the wall over time. Place heavier items closer to the main mounting brackets or studs to minimize strain.
Establish a routine maintenance schedule to check the stability of your wall-mounted organizer. Over time, daily vibrations, humidity changes, and the repeated action of hanging and removing bags can cause screws to loosen slightly. Every few months, check the mounting screws and gently tighten any that have backed out, ensuring your storage setup remains safe and secure for years to come.
Frequently Asked Questions (FAQ)
Can I install a bag rack stand organizer without using a power drill?
Installing a secure, load-bearing bag rack stand organizer without a power drill is highly challenging and generally not recommended for heavy loads. While heavy-duty adhesive mounting strips or liquid nails are often marketed as drill-free alternatives, they are only suitable for very lightweight organizers holding minimal weight on smooth, non-porous surfaces like ceramic tiles or sealed glass.
Manual screwdrivers are insufficient for creating new pilot holes in dense materials like concrete, masonry, or even thick timber. Attempting to force screws into these surfaces without pre-drilling will likely strip the screw heads, split the wood, or damage your wall. For a safe, long-lasting installation that can support the weight of multiple bags, using a power drill with the correct drill bits is essential.
What should I do if the wall anchor spins or fails to grip?
If a wall anchor spins freely inside the hole or fails to grip, the hole has likely been drilled too large, or the surrounding wall material has crumbled. Do not attempt to force the screw into a spinning anchor, as this will not provide a secure hold and the organizer will eventually pull out of the wall.
Carefully remove the failing anchor using a pair of needle-nose pliers, taking care not to enlarge the hole further or damage the surrounding wall surface. Once removed, you can resolve the issue by upgrading to a larger anchor size that fits tightly in the existing hole, or by switching to a different anchor type, such as a heavy-duty toggle bolt or a self-drilling drywall anchor, which can bridge the compromised area and grip the wall securely.
Community discussion
Share your experience or ask a question. Comments are reviewed before publication.