
Installing a wall-mounted cap organizer rack is a practical way to declutter your living space, preserve the shape of your headwear, and turn your cap collection into a stylish wall display. Achieving a secure, level, and long-lasting mount requires matching your installation method to your specific wall material and using the correct hardware. By taking the time to measure accurately, select the right anchors, and drill precise pilot holes, you can ensure your rack remains firmly anchored to the wall without causing unsightly damage or risking a sudden collapse.
Assess Your Wall Type and Rack Specifications
A successful installation begins with understanding what lies behind your paint or wallpaper. Wall-mounted cap storage offers an excellent way to free up closet space and keep your favorite hats within arm’s reach, but a rack is only as reliable as the wall holding it up. If you mount a heavy rack using the wrong hardware, the weight of the caps and the daily pulling force of grabbing a hat can easily tear the rack from the wall, leaving behind large holes and damaged plaster.
In many homes, especially in tropical regions where concrete and masonry construction are standard to withstand severe weather, you will likely encounter solid concrete or hollow block walls. Other homes may feature interior partition walls made of drywall or fiber cement boards mounted on wood or light metal studs. Identifying your wall type is crucial because concrete requires a hammer drill and masonry plugs, whereas drywall demands specialized hollow-wall anchors or direct mounting into solid wood studs.
Products mentioned in this guide
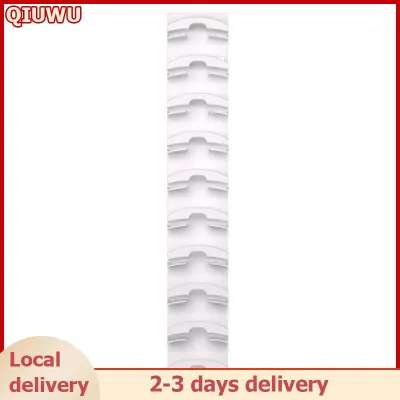
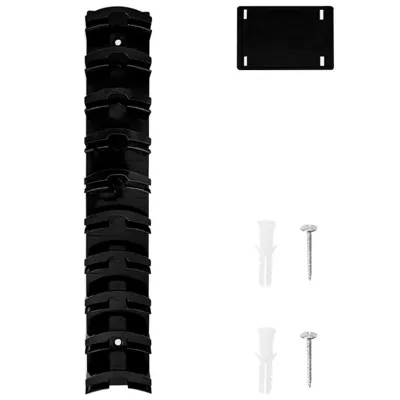
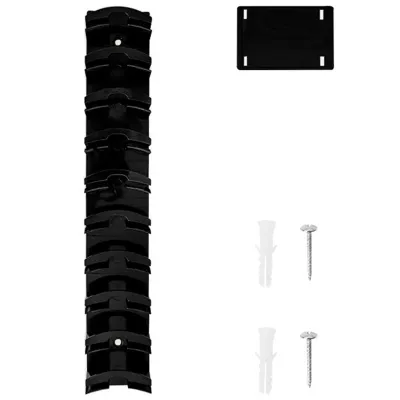

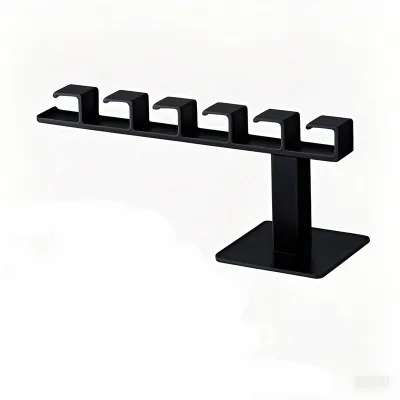
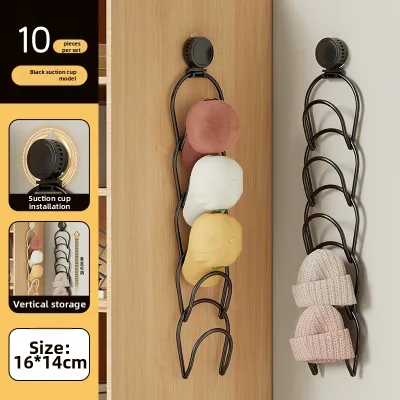

Prices are valid at publication and may change. Please refer to the product page for the latest price.
If you are working with a drywall partition, locating the wooden studs behind the wall is the safest way to secure your rack. You can use a magnetic or electronic stud finder to locate these studs, or gently tap the wall and listen for a solid, dull thud rather than a hollow, echoing sound. Mounting directly into a stud provides maximum holding power and eliminates the need for heavy-duty hollow-wall anchors.
Before drilling any holes, consult the manufacturer’s instruction manual to verify the rack’s physical specifications. Pay close attention to the recommended screw sizes, the required anchor types, and the maximum weight capacity of the specific model you purchased. Additionally, measure your available wall space carefully, taking into account the physical depth of your caps when they are hung, and ensure the rack will not obstruct nearby doors, window frames, or light switches.
Gather the Necessary Tools and Hardware
Having the correct tools on hand before you begin prevents unnecessary interruptions and ensures a cleaner, more precise installation. For most wall-mounted racks, you will need a standard tape measure, a pencil for marking, a spirit level to ensure the rack sits perfectly straight, a power drill with matching drill bits, and a manual screwdriver. Using a manual screwdriver for the final tightening steps gives you better control and prevents you from stripping the wall anchors or cracking the rack’s mounting brackets.

Matching your wall anchors to your specific wall type is the most critical step in this preparation phase. For hollow drywall, standard plastic expansion plugs are highly prone to pulling out under load; instead, opt for toggle bolts, snap toggles, or self-drilling threaded drywall anchors. For solid concrete or brick walls, you will need high-quality plastic masonry wall plugs or concrete screws, along with a carbide-tipped masonry drill bit that matches the plug’s diameter.
It is important to note that the basic screws and plastic anchors included in the product packaging are often generic and may not suit your specific wall structure. If you live in a high-humidity environment, standard steel screws can rust over time, which weakens the installation and can stain your walls or caps. Investing a few pesos (₱) at a local hardware store for zinc-plated, stainless steel, or brass hardware, along with specialized anchors suited to your wall type, is a smart way to guarantee a lifetime of stability.
Step-by-Step Installation Process
Mounting your cap organizer rack requires a methodical approach where patience and precision take priority over speed. Taking your time during the marking, drilling, and securing phases will prevent crooked lines, loose fittings, and unnecessary holes in your wall.
Mark and Drill the Pilot Holes
Begin by holding the cap organizer rack against the wall at your desired height and positioning a spirit level on top of it. Adjust the rack until the bubble in the level is perfectly centered, then use a pencil to mark the exact locations of the mounting holes onto the wall surface. Double-check your marks by measuring the distance between them and comparing it to the distance between the mounting brackets on the rack itself to ensure they align perfectly.
Once you are confident in your markings, select a drill bit that matches the exact diameter of your wall anchors as specified by the manufacturer or the anchor packaging. If you are drilling into concrete, set your power drill to hammer mode and hold the tool completely perpendicular to the wall to prevent the hole from widening or angling. Drill to a depth slightly deeper than the length of the anchor, then pull the drill bit out while it is still spinning to clear away loose dust and debris from the hole.
Insert Anchors and Mount the Rack
With the pilot holes prepared, gently tap your wall anchors into the holes using a hammer until they sit completely flush with the wall surface. If you are mounting directly into a wooden stud, you do not need anchors; you can simply drill a small pilot hole to prevent the wood from splitting and drive the screws directly through the rack bracket. For concrete walls, ensure the plastic masonry plugs fit tightly in the holes and do not spin when you attempt to insert the screws.
Next, align the mounting brackets of the cap organizer rack with the installed wall anchors or pre-drilled stud holes. Insert the screws through the brackets and tighten them using a manual screwdriver, turning them clockwise until they are snug and the rack is held firmly against the wall. Avoid using an impact driver or over-tightening the screws with a power drill, as excessive force can easily strip the plastic anchors, crack wooden brackets, or bend metal frames.
Once the main frame is securely attached, you can assemble any secondary components included with your specific model. This may involve sliding individual cap clips onto a horizontal rail, hanging hooks, or snapping decorative screw covers into place to conceal the hardware. Ensure all secondary parts are locked into their designated positions according to the product instructions before attempting to hang any headwear.
Verify Stability and Test the Weight Capacity
Before you begin loading your newly installed rack with your entire cap collection, it is essential to verify the structural integrity of the installation. Start with a thorough visual inspection, checking that the rack sits completely flush against the wall surface with no visible gaps, tilting, or uneven spacing. Gently grasp the frame of the rack and give it a light tug to ensure there is no wobbling, shifting, or loose movement within the wall anchors.
To safely test the weight capacity, begin by hanging just one or two lightweight caps on the rack and observing how the structure responds. Gradually add more caps over the course of a few minutes, monitoring the wall brackets for any signs of pulling away, cracking, or flexing. Never exceed the manufacturer’s stated maximum weight limit, and remember that the actual holding capacity may be lower if you mounted the rack into hollow drywall without studs.
In tropical climates with high humidity, walls and wooden studs can expand and contract, which may cause mounting hardware to loosen slightly over time. Make it a habit to perform a quick maintenance check every few months by gently wiggling the rack and tightening any screws that may have backed out. This simple routine check prevents sudden failures and ensures your cap display remains safe and secure for years to come.
Common Installation Mistakes to Avoid
One of the most frequent mistakes homeowners make is ignoring the manufacturer’s weight limits or using the rack to store items it was not designed to hold. While a cap organizer rack is perfect for lightweight baseball caps, snapbacks, and visors, overloading it with heavy winter beanies, wet hats, bags, or motorcycle helmets can quickly overload the anchors. This excessive weight puts constant downward stress on the wall, leading to sagging brackets and eventual structural failure.
Another critical error is using the wrong type of anchor for your specific wall material, such as attempting to use standard plastic expansion plugs in hollow drywall. Standard plugs rely on the compression of solid concrete or brick to stay in place; in a hollow wall, they will simply spin, loosen, and pull straight out under the slightest load. Always match the anchor technology to the wall substrate, and never skip using anchors entirely when mounting into drywall or plaster.
Finally, always prioritize safety by checking for hidden hazards behind the wall before you begin drilling. If your drill bit suddenly hits an unexpected hard obstruction, stops progressing, or drops into an unexpected hollow space, stop drilling immediately to avoid puncturing hidden water pipes or electrical conduits. If you are unsure of what lies behind your wall, or if you feel uncomfortable using power tools, it is always best to pause the project and consult a qualified local professional to complete the installation safely.
Frequently Asked Questions (FAQ)
Can I install a cap organizer rack on drywall without studs?
Yes, you can install a cap organizer rack on drywall without securing it to studs, but you must use heavy-duty hollow-wall anchors designed specifically for this purpose. Standard plastic plugs will not hold; instead, use toggle bolts, snap toggles, or self-drilling threaded drywall anchors that grip the back of the drywall panel to distribute the weight. Keep in mind that mounting a rack on hollow drywall significantly reduces its overall weight capacity compared to mounting it directly into solid wood studs or concrete walls, so you should avoid overloading the rack with heavy items.
How do I remove the rack without damaging the wall?
To remove the rack with minimal damage, start by unscrewing the mounting screws counterclockwise while supporting the weight of the rack to prevent it from scratching the wall. Once the rack is removed, you can extract plastic wall anchors by gently pulling them out with needle-nose pliers, or by placing a screwdriver inside the anchor and tapping it slightly to push it behind the drywall if it is a toggle-style anchor. Fill the remaining holes with a high-quality spackle or wall filler using a putty knife, let it dry completely, sand the surface smooth with fine-grit sandpaper, and apply a matching coat of paint to restore your wall to its original condition.
Community discussion
Share your experience or ask a question. Comments are reviewed before publication.