
Mounting a wall-mounted hat rack, locally known as a lagayan ng sombrero, is an excellent way to organize your headwear collection while keeping your living space tidy. Whether you collect structured baseball caps, wide-brimmed straw hats, or traditional native headwear, storing them on a wall prevents them from losing their shape. However, a sagging or falling rack can cause unsightly damage to your walls and ruin your favorite hats. Securing this fixture properly requires understanding the physical demands of your wall material and using the correct mounting techniques.
In the Philippines, residential walls vary significantly from solid concrete hollow blocks to modern gypsum drywall partitions and traditional wood paneling. Each material behaves differently under load and reacts uniquely to the country’s high tropical humidity. This comprehensive guide details how to identify your wall type, select the correct tools, and execute a flawless installation that remains secure for years.
Gather the Right Tools and Hardware for Your Wall
Before making any marks on your wall, assembling the correct tools is essential for a smooth installation. Using makeshift tools or incorrect hardware often results in loose mounts, stripped screws, or cracked plaster. A standard installation kit should include a reliable power drill, a spirit level to ensure perfect alignment, a pencil for marking, a tape measure, and a screwdriver that matches your mounting screws. Additionally, wearing safety goggles is highly recommended to protect your eyes from falling masonry dust or wood splinters.
Products mentioned in this guide
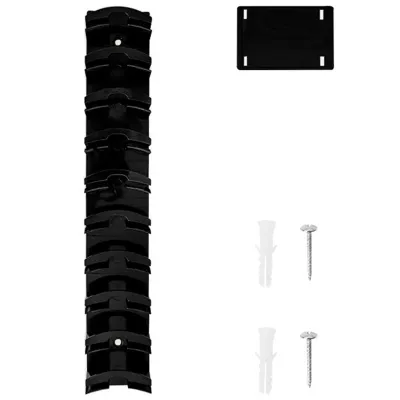
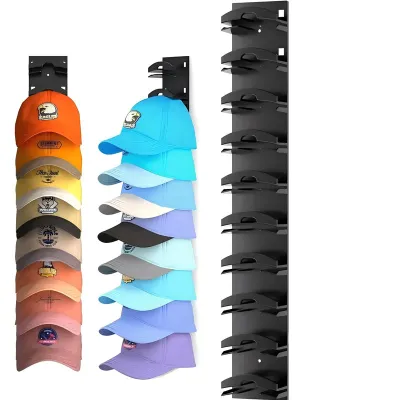
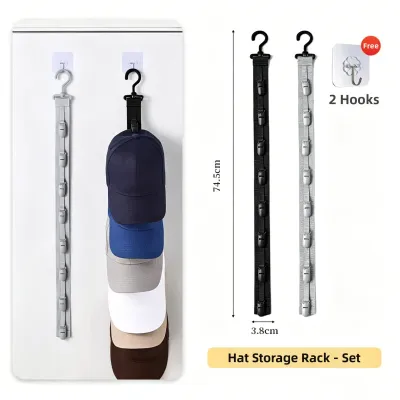
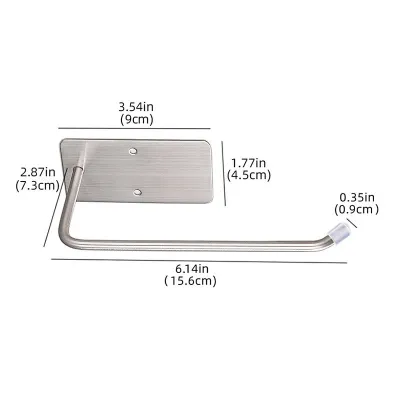
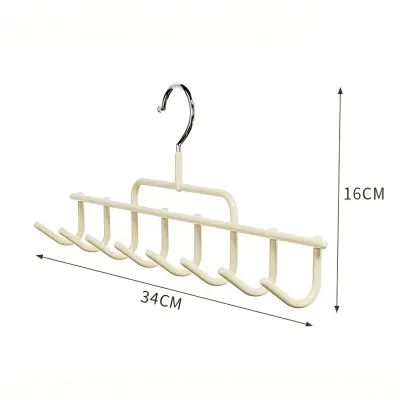
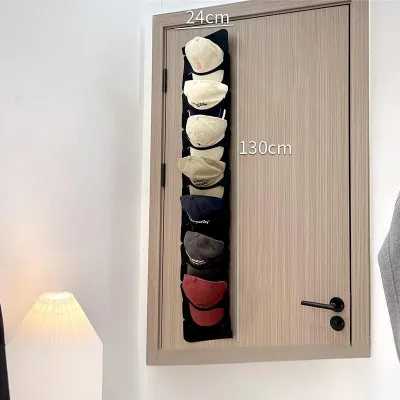
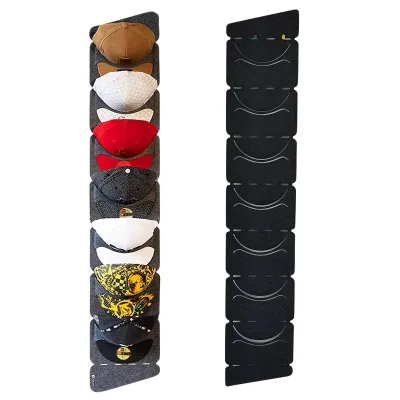
Prices are valid at publication and may change. Please refer to the product page for the latest price.
The choice of drill bits and fasteners must correspond directly to your wall material. For instance, attempting to drill into concrete with a standard wood bit will quickly dull the tool without making progress, while using a masonry bit on wood can splinter the fibers. Similarly, using standard plastic expansion plugs in hollow drywall is a recipe for failure; these plugs require solid surrounding material to compress against, and without it, they will simply pull out under the weight of the rack.
Safety must always be your first priority before any drilling begins. Always use a stud finder with a live-wire detection feature to scan the target area for hidden electrical conduits or water pipes. In many Philippine homes, electrical wiring is run through PVC pipes embedded directly within concrete walls or tucked behind drywall partitions. Striking one of these lines can cause severe electrical hazards or costly plumbing leaks, making a preliminary scan an indispensable safety step.
Identify Your Wall Type Before Drilling
Accurately identifying your wall material is the foundation of a successful mounting project. Misjudging the wall type can lead to purchasing the wrong hardware, damaging your drill bits, or causing structural damage to the wall surface. Fortunately, you can determine what lies beneath your wall paint using a few simple sensory tests and observation methods.

Concrete and masonry walls are incredibly common in Philippine residential construction, particularly for exterior walls and main structural partitions. These walls feel completely solid when tapped, produce no hollow echo, and are virtually impossible to pierce with a standard hand nail. They are typically constructed from concrete hollow blocks finished with a layer of cement plaster and paint, requiring robust drilling tools to penetrate.
Drywall or gypsum board partitions are increasingly popular in modern condominiums and recently renovated interior spaces. When you tap on a drywall surface, it produces a distinct hollow sound, and the material feels slightly warm and soft to the touch compared to cold concrete. Drywall panels are mounted onto a framework of metal or wooden studs, meaning the space between these studs is completely hollow and unable to support heavy loads without specialized anchors.
Wood walls, plywood panels, or timber cladding are often found in older homes, rustic interior designs, or as decorative accent walls. Wood surfaces feature visible grain patterns under close inspection and feel solid yet slightly resilient when tapped. Unlike concrete, wood easily accepts a small test nail or screw, allowing for direct fastening without the absolute necessity of plastic wall anchors, provided the material is thick enough to grip the screw threads.
If you are still uncertain about your wall type, perform a simple test in an inconspicuous spot, such as behind where the hat rack itself will sit. Gently tap a thin finishing nail into the wall; if it bends immediately, you are dealing with concrete. If it penetrates easily with a hollow feel, it is drywall, and if it enters with firm resistance while producing tiny wood shavings, you have a wood wall.
Step-by-Step Guide: Mounting on Concrete or Masonry Walls
Installing your lagayan ng sombrero on a concrete or masonry wall provides the most secure hold possible, but it requires patience and the correct technique. Because concrete is dense and unforgiving, precise measurements and proper dust management are crucial to achieving a flush, level finish.
Before starting, check the applied product’s label and the treated item’s manufacturer instructions for any specific weight limits or mounting requirements. If the instructions conflict with your hardware or if the item is unidentified, stop and consult the manufacturer or a qualified professional.
Begin by positioning your hat rack against the concrete wall at your desired height. Place a spirit level along the top of the rack to ensure it is perfectly horizontal, as even a minor tilt will be highly noticeable once hats are hung. Once leveled, use a sharp pencil to mark the exact locations of the mounting holes directly onto the wall surface.
Next, equip your power drill with a carbide-tipped masonry drill bit that matches the diameter of your plastic wall plugs. Switch your drill to its hammer or impact function, which combines rotary drilling with a rapid pulsing action to pulverize the concrete. Hold the drill perfectly perpendicular to the wall, apply firm and steady forward pressure, and drill to a depth slightly deeper than the length of the wall plug.
After drilling, it is vital to clean the accumulated concrete dust out of the holes. Leftover dust acts as a dry lubricant, preventing the plastic plug from gripping the concrete walls effectively and potentially causing the rack to slip over time. Use a hand pump, a vacuum cleaner, or a can of compressed air to thoroughly clear the debris from each drilled hole.
Insert your plastic wall plugs into the clean holes. They should fit snugly and require a gentle tap with a hammer to sit completely flush with the plaster surface. If a plug sticks out, do not force it; remove it, clear any remaining debris, or drill slightly deeper to accommodate the plug’s length.
Align the mounting brackets of your hat rack with the installed wall plugs. Insert the mounting screws through the brackets and drive them into the plugs using a manual screwdriver or a drill on a low clutch setting. Tighten the screws until they are snug and hold the rack firmly against the wall, taking care not to over-tighten, which can strip the plastic threads inside the plug.
If you encounter a sudden hard resistance while drilling and make no forward progress, you have likely hit steel rebar embedded in the concrete. Do not attempt to force the drill through the metal, as this can damage your bit and weaken the structural reinforcement. Instead, stop drilling, patch the shallow hole, and shift your mounting position slightly upward, downward, or sideways to clear the obstruction.
Step-by-Step Guide: Mounting on Drywall or Gypsum Boards
Drywall requires a completely different approach because the gypsum core is brittle and lacks the structural integrity to hold screws on its own. To prevent your lagayan ng sombrero from tearing out of the wall, you must anchor it directly to the wall studs or use specialized hollow-wall fasteners.
Whenever possible, mounting your rack directly into the wooden or metal studs behind the drywall offers the strongest support. Use a stud finder to locate the edges and center of the studs along your desired mounting area. If the mounting holes on your hat rack align with these studs, you can drive wood screws directly through the drywall and into the studs without using anchors.
If the studs do not align with your preferred placement, you must use heavy-duty drywall anchors. Threaded drywall anchors (often called self-drilling or zip-it anchors) work exceptionally well for light to medium loads, while toggle bolts or molly bolts are preferred for heavier racks. Avoid using standard plastic expansion plugs, as they cannot expand properly in the hollow space behind drywall and will quickly pull free.
To install threaded anchors, mark your mounting holes using a spirit level as a guide. If using toggle bolts, drill a pilot hole matching the diameter of the folded toggle wing as specified on the hardware packaging. For threaded anchors, you can often screw them directly into the drywall using a manual screwdriver until they are flush with the surface.
If using toggle bolts, feed the screw through the hat rack’s mounting bracket first, then thread the metal spring-wing toggle onto the screw. Fold the wings flat and push them completely through the pre-drilled pilot hole in the drywall. Once behind the drywall, you will hear the wings spring open; pull back gently on the screw to create tension, then tighten the screw with a screwdriver until the rack is held firmly against the wall.
Always check the manufacturer’s instructions on your anchor packaging to verify their weight capacity. Ensure that the combined weight of your hat rack and the maximum number of hats you plan to hang does not exceed this limit. Be gentle during the final tightening phase to avoid crushing or cracking the soft gypsum core surrounding the anchor.
Step-by-Step Guide: Mounting on Wood Walls or Panels
Mounting on solid wood walls, thick plywood, or timber panels is highly straightforward, but it still requires precision to avoid splitting the wood or damaging the surface finish. Wood expands and contracts naturally with changes in indoor humidity, making proper fastening techniques essential for a long-lasting hold.
First, position your hat rack on the wood surface, check its alignment with a spirit level, and mark the mounting holes with a pencil. Before driving any screws, you must drill pilot holes. Skipping this step often splits the wood fibers, especially when working near the edges of a panel or when dealing with seasoned tropical hardwoods.
Select a drill bit that is slightly smaller than the inner shank of your wood screws (excluding the threads). Drill straight into the marked spots to the depth of the screw’s length. This removes a small amount of wood material, creating a clear path for the screw while still allowing the sharp threads to bite deeply into the surrounding wood fibers.
If your hat rack features countersunk mounting holes, you can use a countersink bit to create a shallow, beveled recess at the top of each pilot hole. This allows the head of the wood screw to sit completely flush with or slightly below the surface of the rack, preventing any snags on your hats when placing or removing them.
Align the rack with the pilot holes and drive high-quality wood screws directly into the wood. Ensure the screws are long enough to penetrate deep into the solid structural wood behind any thin decorative veneer. Tighten the screws until they are snug, but avoid over-spinning the drill, which can strip the wood fibers inside the hole and ruin the grip.
Verify the Installation and Maintain Your Hat Rack
Once your lagayan ng sombrero is fully mounted, taking a few minutes to verify its stability and establish a basic maintenance routine will keep your walls intact and your hats in pristine condition. A secure installation should feel like an extension of the wall itself, with absolutely no wobbling or shifting.
Perform a gentle load test by placing your hands on the rack and applying a light downward and outward pressure. Watch the wall surface closely around the mounting points; there should be no flexing, cracking, or pulling away of the brackets. If you notice any movement, stop immediately and tighten the screws, or check if the anchors have seated correctly.
When organizing your hats, practice sensible weight distribution to minimize structural stress. Place heavier items, such as structured leather caps, heavy helmets, or wide-brimmed straw hats, on the hooks closest to the primary mounting screws. Lighter items, like fabric baseball caps or visors, can be placed on the outer hooks or extended arms. Always stay well within the manufacturer’s recommended weight capacity for the rack.
The tropical climate in the Philippines brings significant seasonal shifts in humidity, which can cause wood to swell and contract, and concrete to retain moisture. Over time, these natural shifts can slowly loosen screws or cause metal components to corrode. Periodically inspect your hat rack—ideally during your regular home cleaning—to ensure the screws remain tight and the wall surrounding the anchors shows no signs of degradation or moisture damage.
Frequently Asked Questions (FAQ)
Can I use adhesive strips instead of drilling for my lagayan ng sombrero?
Heavy-duty adhesive strips can work for very lightweight, single-hook racks on smooth, non-porous surfaces. However, they are not recommended for multi-hook racks, heavy hats, or textured/painted walls that might peel under stress. The high humidity in tropical climates can weaken adhesive bonds over time, causing the rack to fall. Additionally, strong adhesives can damage paint or drywall paper upon removal, requiring wall repair.
How do I fix a stripped or enlarged hole in my wall?
For wood, fill the hole with wood glue and wooden dowels or toothpicks, let it dry completely, and re-drill a fresh pilot hole. For drywall or concrete, use a larger anchor, or fill the hole with a suitable wall repair compound, let it cure fully, and re-drill.
What is the ideal height to mount a wall-mounted hat rack?
Standard height is typically around 1.5 to 1.7 meters from the floor, allowing easy reach for most adults while keeping long-brimmed hats from touching the ground. Adjust based on the primary users’ height and the specific hat styles.
Community discussion
Share your experience or ask a question. Comments are reviewed before publication.