
Finding the right narrow storage cabinet for a Philippine condo involves balancing tight square footage with strict building rules against drilling. In high-density developments across Metro Manila and other urban hubs, maximizing vertical space without risking your security deposit is a primary design challenge. Property management offices often enforce strict guidelines regarding wall alterations, making traditional drilled shelving impractical for renters and even some unit owners. The most effective solutions rely on non-invasive mounting methods—specifically heavy-duty adhesives, magnetic backings, and tension-based frames. These systems allow you to utilize overlooked gaps beside refrigerators, behind bathroom doors, or along narrow hallways. By matching the mounting mechanism to your specific wall surface and keeping weight limits in mind, you can add functional storage without structural alterations.
Core Selection Criteria for Condo Spaces
Condo living requires a highly strategic approach to furniture placement. Before purchasing any slim cabinet, you must measure the exact footprint of your target area. This means looking beyond simple width and height. You must also account for the door swing path of both the cabinet and any adjacent appliances or room doors. A cabinet that fits perfectly into a corner is of little use if its doors cannot open fully or if it blocks the path of a nearby refrigerator door. Ensure there is enough clearance for comfortable physical access, especially in high-traffic zones like the kitchen or entryway.
The composition of your condo’s walls dictates which mounting systems are viable. Many modern developments feature painted drywall partitions, while structural perimeter walls are typically solid concrete finished with plaster and paint. Wet areas like kitchens and bathrooms often feature ceramic tiles or glass panels. Each of these materials interacts differently with adhesives and tension systems. For instance, heavy-duty adhesives bond exceptionally well to smooth glass and glazed tiles but can easily tear the paper backing of drywall or peel away loose paint from concrete. Understanding your wall type prevents both installation failure and costly surface damage.
Products mentioned in this guide
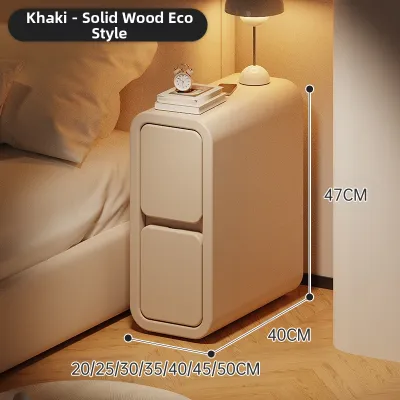
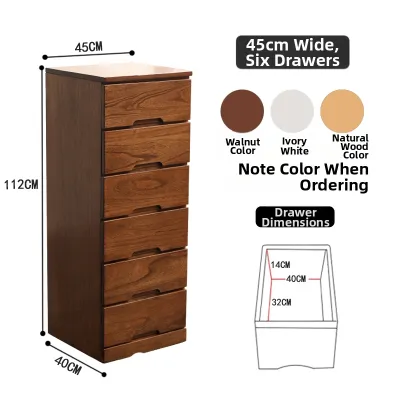
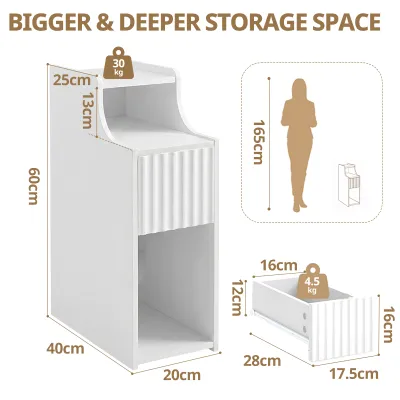
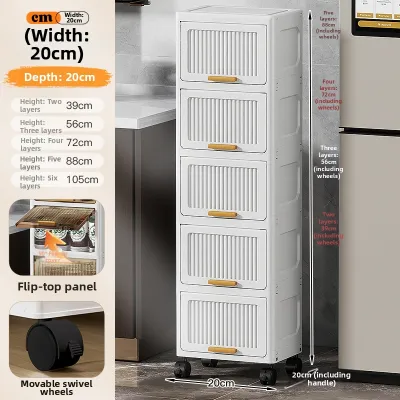
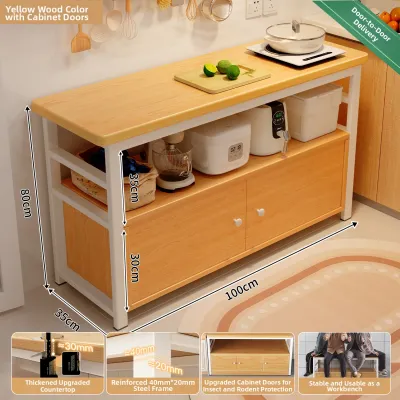
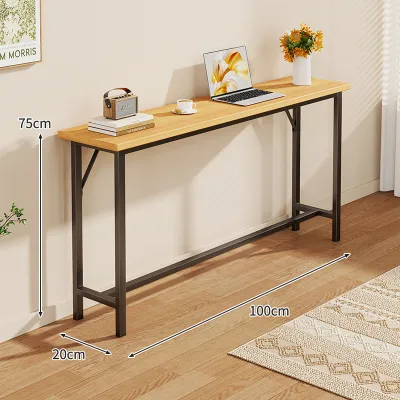
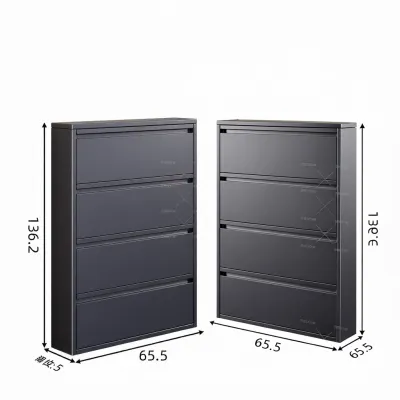
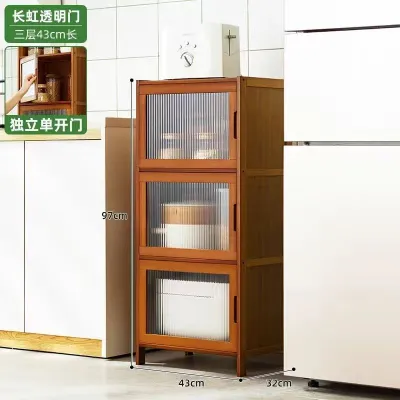
Prices are valid at publication and may change. Please refer to the product page for the latest price.
Weight distribution is another critical factor when dealing with no-drill furniture. Unlike traditional cabinets anchored with screws into wall studs, non-permanent options rely entirely on surface friction, chemical bonding, or magnetic attraction. You must carefully evaluate what you intend to store. Lightweight items like toiletries, spices, or cleaning cloths are ideal for these systems. Heavy items such as glass jars, canned goods, or large detergent bottles require a more robust, floor-supported slim cabinet that uses wall mounts solely for lateral stability rather than primary load-bearing support. Overloading a suspended unit is a safety hazard that can lead to sudden structural failure.
Top No-Drill Mounting Types and Their Best Uses
No-drill cabinets generally fall into three categories: adhesive-mounted, magnetic, and tension-based. Each system has distinct load capacities, surface requirements, and ideal placements within a tropical condo environment. Understanding these differences helps prevent accidental falls and surface damage.

Adhesive-Mounted Cabinets
Adhesive-mounted cabinets utilize specialized double-sided tapes or liquid adhesives to bond directly to a vertical surface. This method is highly effective for lightweight plastic or thin metal organizers in bathrooms and kitchens. The key to a successful bond is a completely non-porous, smooth surface. Glazed ceramic tiles, tempered glass, and polished metal sheets provide the ideal contact area for the adhesive to cure properly.
You should avoid applying adhesive mounts to textured plaster, wallpaper, or matte-painted walls. The uneven texture of these surfaces prevents full contact, which significantly reduces the load-bearing capacity. Furthermore, the weight of the cabinet can pull the paint layer right off the wall, leading to unsightly damage and potential repair charges from your landlord. If you must use adhesives on a painted wall, ensure the paint is fully cured, clean, and free of any chalky residue.
Before placing any items inside an adhesive-mounted cabinet, always check the manufacturer’s instructions for the required curing time. Many high-strength adhesives require 24 to 72 hours to cure completely before they can support their rated weight. Loading the cabinet too early is a primary cause of adhesive failure. Additionally, verify the maximum weight rating specified by the manufacturer and plan to stay well under that limit to account for environmental factors like humidity.
When it comes time to move out, removing these cabinets requires patience to protect your rental deposit. Applying gentle heat from a hair dryer can soften the adhesive backing, allowing you to slowly peel it away using a plastic scraper or dental floss. Any remaining residue can usually be cleaned with a mild adhesive remover or isopropyl alcohol, provided the surface material is compatible with those solvents.
Magnetic Storage Solutions
Magnetic storage units are incredibly convenient for kitchens and laundry areas because they require zero installation time. These cabinets or shelves feature strong magnetic backplates that cling directly to steel surfaces. The most common placement is the side of a refrigerator or the flank of a washing machine, turning otherwise wasted vertical space into an organized pantry or utility station.
Before purchasing a magnetic cabinet, verify that your target appliance surface is actually magnetic. Some modern stainless steel finishes have low iron content and will not hold magnets securely. You can easily test this with a simple kitchen magnet. If the test magnet slides off or feels weak, a magnetic cabinet will not stay in place. Additionally, ensure the appliance surface is clean and dry before mounting to maximize friction.
Consider the weight of the empty cabinet itself in relation to the magnetic pull. High-quality magnetic organizers often use neodymium magnets to ensure a strong grip, but they still have strict weight limits. Overloading a magnetic shelf can cause it to slide down the side of your appliance, potentially scratching the finish. To prevent scratches, look for units with protective rubber or silicone coatings over the magnets, or apply thin felt pads to the contact points.
Tension-Rod and Over-the-Door Units
Tension-rod and over-the-door systems utilize mechanical pressure and gravity rather than chemical bonds or magnetism. Over-the-door units hang from the top edge of standard interior doors, making them excellent for bathrooms, bedrooms, and utility closets. Tension systems, on the other hand, wedge between the floor and ceiling or between two solid walls, providing a stable vertical pole that supports adjustable shelves or baskets.
When planning for an over-the-door cabinet, measure the thickness of your door and the clearance gap at the top of the frame. If the gap is too tight, the hanging brackets may prevent the door from closing properly or scrape against the door frame. Additionally, consider the weight capacity of your door hinges. Standard condo doors with lightweight hinges can sag over time if subjected to heavy, constant loads from a fully packed hanging organizer.
Tension-rod systems must be adjusted carefully to ensure they have adequate grip. In the Philippines, high relative humidity can cause certain materials, such as wood or plasterboard ceilings, to expand or soften slightly. This environmental shift can reduce the tension of the rod over time. Regularly check the tightness of your tension systems and adjust them as needed to prevent the unit from slipping or tipping over. Ensure the rubber feet on both ends of the rod are clean and intact to prevent slipping.
Sizing and Space Planning for Narrow Gaps
Maximizing a small condo layout requires precise measurements of the narrow gaps where these cabinets are meant to go. Do not rely on visual estimates. Use a metal measuring tape to record the width, depth, and height of the gap at three different points: near the floor, in the middle, and near the top. Walls in high-rise buildings are not always perfectly plumb, and a gap that measures 20 centimeters at the bottom might narrow to 18 centimeters near the top.
You must also account for structural and utility obstructions that reduce the usable depth of a gap. Baseboards along the floor can prevent a slim cabinet from sliding completely flush against the wall, leaving an awkward tilt or gap. Electrical outlets, light switches, internet ports, and water valves must remain accessible and should not be blocked by semi-permanent storage. Additionally, appliances like refrigerators and washing machines require a few centimeters of ventilation clearance on all sides to prevent overheating; squeezing a cabinet too tightly against them can impair their performance.
When comparing slim-profile depths, think realistically about what you need to store. A super-narrow cabinet of 10 to 15 centimeters is excellent for spice jars, canned goods, cleaning sprays, or toilet paper rolls. However, if you need to store folded bath towels, small kitchen appliances, or storage boxes, you will need a depth of at least 25 to 30 centimeters. Choosing a cabinet that is too shallow for your items will lead to cluttered, overflowing shelves that defeat the purpose of organized storage.
Pre-Installation Checks and Safety Limits
Proper preparation is the most critical step in ensuring your no-drill cabinet remains securely mounted. For adhesive systems, the target surface must be completely free of dust, grease, moisture, and soap scum. Clean the area thoroughly with isopropyl alcohol and allow it to dry completely before applying the adhesive. Avoid using household glass cleaners or multi-surface sprays, as they often leave behind a thin residue that prevents a strong chemical bond.
Always respect the safety and load limits specified by the manufacturer. No-drill storage is not designed for heavy, fragile, or hazardous items. Avoid storing glass bottles, heavy ceramic dishes, or expensive electronics on high, non-permanent shelves. If an adhesive or magnetic mount fails, falling glass or heavy objects can cause personal injury or damage your flooring. Keep heavier items on the lowest shelves or floor-supported sections of the cabinet to maintain a low center of gravity.
It is vital to recognize when a no-drill solution is not suitable for your needs. If your walls have peeling paint, dampness from humidity, or highly textured wallpaper, adhesives will likely fail. If you cannot find a secure mounting surface or if you need to store heavy items like a collection of cast-iron cookware or large books, stop and consult a professional installer. In some cases, it may be safer to request permission from your condo administration to use standard drilled anchors, which can be patched and painted over when you eventually move out.
Frequently Asked Questions (FAQ)
How do I safely remove adhesive-mounted cabinets without damaging condo walls?
To remove adhesive-mounted cabinets safely, start by warming the adhesive with a hair dryer set to medium heat. Move the dryer back and forth over the bracket for a few minutes to soften the glue or tape. Once warmed, gently slide a piece of dental floss or a thin plastic putty knife behind the bracket, cutting through the softened adhesive. Avoid pulling the cabinet straight off the wall, as this can rip the paint or drywall. Clean up any remaining sticky residue with a small amount of rubbing alcohol or a specialized adhesive remover, then wipe the area clean with a damp cloth.
Can no-drill cabinets withstand high humidity in bathrooms?
Yes, but you must select materials and adhesives specifically rated for wet environments. Standard adhesives can degrade quickly when exposed to steam and direct water contact. Look for water-resistant double-sided tapes or silicone-based adhesives designed for bathroom use. For the cabinet itself, opt for rust-resistant materials such as high-grade plastics, powder-coated aluminum, or treated stainless steel. Ensure your bathroom has adequate ventilation, such as an exhaust fan, to help reduce moisture buildup and prolong the life of both the cabinet and its mounting system.
Community discussion
Share your experience or ask a question. Comments are reviewed before publication.