
Living in a compact urban home in the Philippines, such as a modern studio or a cozy one-bedroom condominium, requires a highly strategic approach to spatial design. When floor space is at a premium, traditional furniture can quickly make a room feel cramped, cluttered, and difficult to navigate. A standard bedside table for bedroom layouts often takes up valuable floor area, blocking wardrobe doors, preventing under-bed drawers from opening, or narrowing the walkway beside the bed. Fortunately, keeping your nightly essentials organized does not have to involve bulky wooden furniture or permanent damage to your walls. No-drill bedside storage solutions offer a practical, space-saving alternative that keeps your phone, reading glasses, and water bottle within arm’s reach while preserving both your floor space and your rental deposit.
Why Go Drill-Free in Small Bedrooms?
For many renters and condominium owners in major Philippine cities like Metro Manila, Cebu, and Davao, modifying walls is highly restricted. Property Management Offices (PMOs) typically enforce strict guidelines regarding drilling, with hefty penalties or the forfeiture of security deposits for unauthorized holes. When you move out of a rented unit, patching and repainting drill holes to match the original wall finish can be costly, often leading to deductions of several thousand pesos from your security deposit. Even for homeowners, drilling into structural concrete walls—which are standard in local condominium construction for soundproofing and safety—requires heavy-duty hammer drills, specialized masonry bits, and a significant cleanup effort. Going drill-free bypasses these administrative hurdles and physical challenges entirely, allowing you to set up your bedroom quickly, cleanly, and without noise complaints from neighbors.
Beyond administrative ease, drill-free bedside storage is an exceptional way to maximize vertical space in tight quarters. By elevating your storage off the floor, you create a visual openness that makes a small bedroom feel larger and less cluttered. This approach is particularly beneficial in micro-condos and studio apartments where the bed is often pushed against a corner or a window, leaving zero room for a traditional nightstand. Furthermore, no-drill solutions are highly adaptable; if you decide to rearrange your room layout or move to a new apartment, these lightweight organizers can be relocated in minutes without leaving a trace of damage behind.
Products mentioned in this guide
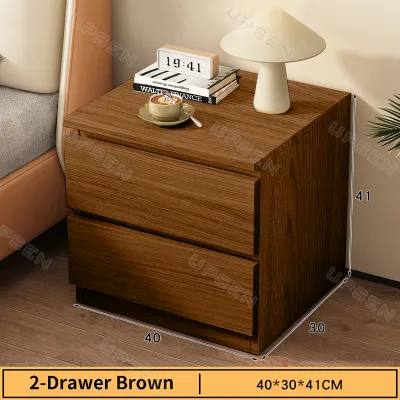
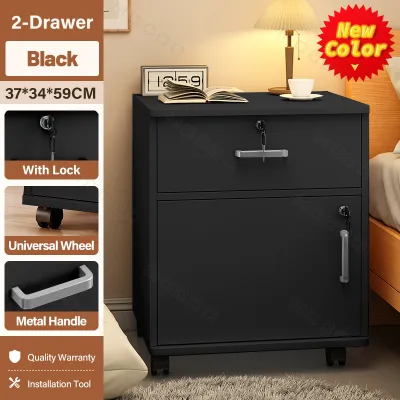
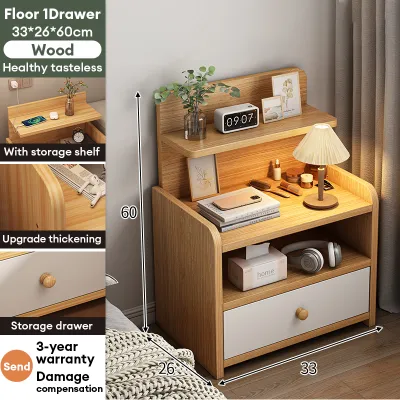
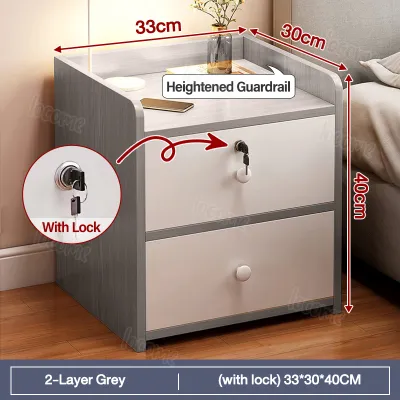
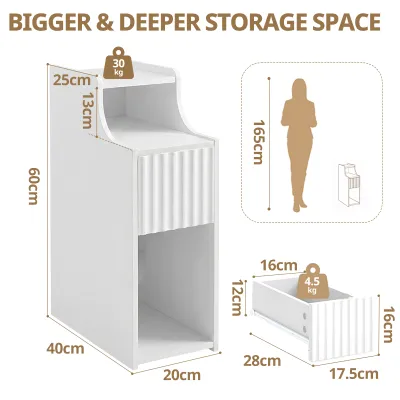
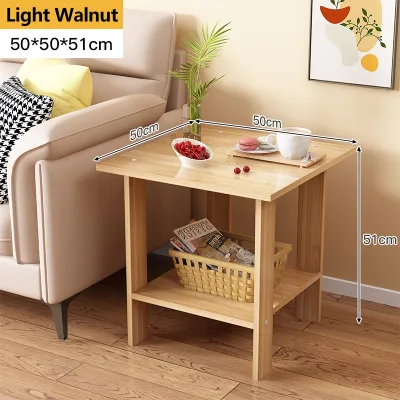
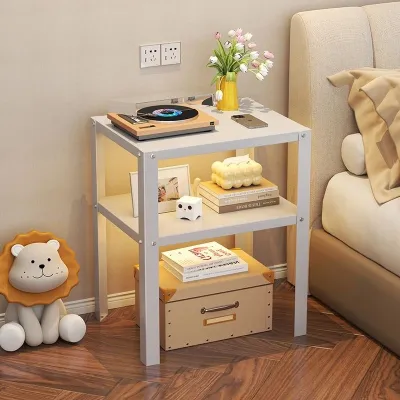
Prices are valid at publication and may change. Please refer to the product page for the latest price.
To address these diverse spatial challenges, several innovative categories of no-drill bedside storage have emerged. These range from sleek adhesive wall-mounted shelves and floating mini drawers that utilize vertical wall space, to clever clip-on caddies that clamp directly onto your bed frame. For those who need to support heavier items without touching the walls at all, ultra-slim floor-standing alternatives offer a highly stable, mobile solution. By understanding the unique benefits and limitations of each type, you can select the perfect option to keep your bedside organized and clutter-free.
Key Features to Check Before Buying a No-Drill Bedside Table for Bedroom
Before purchasing any drill-free storage solution, it is essential to evaluate several critical factors to ensure the product is safe, stable, and suited to your specific bedroom environment. Because these organizers do not rely on metal screws anchored deep into wall studs, their performance depends heavily on material quality, surface compatibility, and environmental conditions.

Weight Capacity and Load Limits Every no-drill organizer has a strict weight limit that must never be exceeded. While a traditional wooden nightstand can easily support heavy books, lamps, and water carafes, adhesive-mounted shelves are designed for much lighter loads. Always check the manufacturer’s specifications for the maximum weight capacity, which is typically listed in kilograms. For safety, plan to load the shelf to only about 50% to 70% of its rated capacity. If you intend to store heavier items like tablets, multiple hardbound books, or large thermal flasks, you should opt for clip-on frame organizers or ultra-slim floor-standing units rather than adhesive wall shelves.
It is also important to distinguish between static load and dynamic load. Static load refers to items resting completely still on the shelf, while dynamic load includes the force of placing an object down quickly, tapping your phone screen while it rests on the shelf, or accidentally bumping into the unit. Furthermore, the physics of leverage play a major role: a shelf that extends further from the wall experiences higher rotational force (torque) at the adhesive bond, meaning wider shelves have lower effective weight capacities than narrow, shallow ones.
Adhesive Compatibility and Wall Texture The success of any adhesive-mounted shelf depends entirely on the texture and finish of your bedroom walls. Adhesives require a smooth, clean, and non-porous surface to establish a complete chemical bond. Smooth ceramic tiles, glass, metal, and sealed, non-flaking painted walls are ideal surfaces. Conversely, textured plaster, bare concrete, brick, and wallpaper are highly incompatible with adhesives because they do not allow the mounting pad to make full contact. Additionally, matte or flat latex paints are porous and have a weaker internal bond than semi-gloss or glossy paints; heavy loads on matte paint can cause the paint layer itself to peel away from the plaster, bringing the shelf down with it.
Understanding the type of adhesive used is also crucial. Acrylic gel adhesives (often sold as nano tape) are highly elastic, water-resistant, and handle shear force exceptionally well, but they can stretch and sag under constant, heavy loads. Double-sided polyurethane foam tape is more rigid and provides a firm initial grip, but it can tear internally over time under stress, leaving half of the foam stuck to the wall and the other half on the fallen shelf.
Moisture and Heat Resistance The tropical climate of the Philippines introduces unique challenges for adhesive-mounted furniture. High relative humidity, which often exceeds 80% during the rainy season, can gradually soften water-based adhesives, causing them to lose their grip over time. Similarly, rooms that do not run air conditioning continuously can experience high daytime temperatures, which can cause plastic mounts to warp and adhesives to slide or shear. To prevent falling hazards, look for products that utilize waterproof acrylic gel adhesives or heavy-duty polyurethane tapes. Additionally, ensure the storage unit itself is made of moisture-resistant materials, such as powder-coated steel, ABS plastic, or treated bamboo, to prevent rust, mold, and warping.
Material selection is especially critical when dealing with moisture. Untreated medium-density fiberboard (MDF) or cheap particle board is highly susceptible to swelling, warping, and mold growth when exposed to high humidity or accidental water spills from a bedside glass. In contrast, high-density polyethylene (HDPE), ABS plastic, and powder-coated aluminum are ideal for tropical climates because they do not absorb moisture, are easy to wipe clean, and do not support fungal growth.
Dimensions and Clearance In a small bedroom, every centimeter of clearance matters. Before buying any bedside organizer, measure the available space between your mattress and the surrounding walls or furniture. A bedside storage unit should not protrude so far that it interferes with your bed linens, blocks your path when getting out of bed, or prevents nearby wardrobe doors from opening fully. For narrow walkways, look for ultra-slim profiles that extend no more than 10 to 15 centimeters from the wall or bed frame. Additionally, consider the height of the storage relative to your mattress; it should sit at a comfortable level where you can easily reach your items without straining or risking knocking them over in the dark.
Many homes in the Philippines utilize low-profile bed frames or simple wooden pallets. The vertical placement of your bedside storage must be carefully calibrated to match this height. If a wall-mounted shelf is installed too high, you will have to reach up awkwardly in the dark, increasing the risk of knocking items off; if it is installed too low, it can easily be hidden or swept clean by shifting blankets and bedsheets.
Top No-Drill Bedside Storage Solutions by Type
To help you find the right fit for your layout, drill-free bedside storage can be categorized into three primary types, each offering distinct advantages, structural requirements, and weight capacities.
Adhesive Wall-Mounted Shelves and Mini Drawers
Adhesive wall-mounted shelves and lightweight floating drawers are excellent for creating a clean, minimalist look. These compact shelves mount directly to the wall beside your bed, keeping your floor completely clear. They are ideal for holding lightweight, daily essentials such as your smartphone, reading glasses, a sleeping mask, and a small, lightweight reading lamp.
When selecting an adhesive shelf, prioritize designs that feature a raised lip or a deep tray profile to prevent items from accidentally sliding off the edge. It is crucial to verify the type of adhesive supplied with the product; high-quality acrylic gel pads or heavy-duty double-sided foam tapes are preferred for their strong shear resistance. Remember that these shelves must only be installed on smooth, sealed, and stable surfaces. Avoid installing them on wallpaper, damp walls, or flaky paint, as the adhesive will fail and likely damage the wall surface during the collapse.
If you choose an adhesive-mounted mini drawer, keep in mind that the action of pulling the drawer open introduces dynamic horizontal force. This pulling motion can stress the adhesive bond much more than a simple static shelf. To ensure longevity, always hold the outer frame of the drawer with one hand while gently pulling the drawer open with the other, minimizing the direct stress transferred to the wall adhesive.
Clip-On and Hook-On Bed Frame Organizers
If you want to avoid wall contact entirely, clip-on and hook-on organizers are an outstanding solution. These caddies attach directly to your bed frame, side rails, or headboard using adjustable clamps, tension screws, or hanging hooks. Because they do not touch the wall, they are completely safe to use on any wall finish, including delicate matte paint or wallpaper, making them highly popular among renters.
Before purchasing a clip-on shelf, perform a quick stability check by measuring the thickness of your bed frame’s side rail or headboard. Ensure that the organizer’s clamping mechanism can adjust to fit this specific thickness securely, whether you have a thick wooden frame or a thin metal slatted base. Additionally, look for models that feature protective felt or silicone pads on the contact points; these pads prevent the metal or plastic clamps from scratching your bed frame’s finish and provide extra grip to keep the shelf from sliding. Keep in mind that weight distribution is key with clip-on shelves, so place heavier items closer to the clamping point to maintain balance.
Material compatibility is also vital here. Metal bed frames, which often feature thin, tubular steel rails, require clamps with rubberized or textured silicone grips to prevent the shelf from rotating or sliding down the rail. Wooden headboards, on the other hand, benefit from soft felt linings that cushion the wood grain, preventing the clamping screws from leaving deep dents or stripping the varnish.
Ultra-Slim Floor-Standing Alternatives
For those who need to store heavier items like tablets, multiple books, or a large tumbler of water, ultra-slim floor-standing units are the safest and most reliable choice. While these are not mounted to the wall, they fulfill the “no-drill” and “small space” intent perfectly by utilizing minimal floor space without posing any falling risks or requiring wall modifications.
When shopping for a floor-standing alternative, look for narrow gap storage towers, slide-out carts, or slim nightstands with a footprint under 30 centimeters (12 inches) wide. Many of these designs feature a recessed base that can slide partially under low bed frames, allowing you to tuck the unit into tight corners or narrow gaps. Models equipped with low-profile casters or wheels are particularly convenient, as they can be easily rolled out of the way when you need to change your bed sheets or clean the floor. Because these units rest securely on the floor, they can safely support heavier weights that would easily cause adhesive wall shelves to fail.
Multi-functional designs are highly common in this category. A typical three-tier narrow rolling cart allows you to organize your items by frequency of use and weight: use the top tray for immediate bedside essentials like your phone and glasses, the middle tray for reading materials or a tablet, and the bottom tray for heavier items like a small humidifier, a tissue box, or a multi-port charging station.
Safe Installation and Maintenance in Humid Climates
Proper installation and regular maintenance are critical to ensuring your no-drill bedside storage remains secure, especially in the warm and humid climate of the Philippines. Following a precise setup routine can mean the difference between a reliable storage shelf and a sudden midnight collapse.
Surface Preparation To achieve a maximum adhesive bond, the target surface must be completely free of dust, skin oils, moisture, and household grime. Begin by wiping the wall area thoroughly with a clean microfiber cloth dampened with 70% isopropyl alcohol. Avoid using multi-purpose household cleaners or soapy water, as these products often leave behind a thin, invisible residue that prevents the adhesive from bonding properly. Once cleaned, allow the wall to air-dry completely for at least 15 to 20 minutes before applying the adhesive mount.
In air-conditioned bedrooms, be mindful of condensation. When you turn off your air conditioner, the rapid rise in room temperature can cause moisture to condense on the cool concrete walls, especially during humid mornings. This microscopic layer of water can ruin a fresh adhesive installation. To prevent this, always install your adhesive mounts during the dry, warm part of the day when the wall temperature is stable and completely dry.
Curing Time One of the most common mistakes when installing adhesive furniture is loading it too quickly. Pressure-sensitive adhesives require time to flow into the microscopic textures of the wall surface to establish a secure, long-term bond. After peeling off the protective backing, press the adhesive pad firmly against the wall for 30 to 60 seconds, ensuring you smooth out any air bubbles from the center outward. Once mounted, leave the shelf completely empty. Always wait for the manufacturer’s specified curing period—typically 24 to 72 hours—before placing any items on the shelf.
From a chemical perspective, pressure-sensitive adhesives do not dry; instead, they “wet out” the surface. This wetting process is gradual and relies on molecular contact over time. Placing immediate weight on a newly installed shelf prevents the adhesive from fully wetting the wall, resulting in a weak bond that will fail prematurely under standard daily use.
Routine Safety Checks High humidity levels during the Philippine monsoon season can gradually weaken adhesive bonds. To prevent accidental drops, establish a routine of inspecting your bedside storage every few months. Check the edges of the adhesive pad for any signs of peeling, curling, bubbling, or separation from the wall. Gently wiggle the shelf to ensure it remains firmly anchored and has not developed a downward tilt. If you notice any signs of wear or adhesive failure, remove all items immediately and replace the adhesive pad with a fresh, heavy-duty replacement.
If you observe a shelf beginning to sag or tilt, do not attempt to simply push it back into place or reinforce it with tape. A sagging shelf indicates that the internal cohesive bond of the adhesive has failed. The safest course of action is to completely dismantle the unit, clean the wall and the shelf bracket thoroughly to remove all old residue, and apply a brand-new adhesive pad.
Safe Removal When it is time to move out or rearrange your bedroom, removing strong adhesives requires a patient, careful approach to protect your wall paint. Always consult the product’s specific removal instructions first, as different adhesive formulations require different techniques. A highly effective, low-risk method involves using a hairdryer on a medium-heat setting to gently warm the adhesive pad for a few minutes; this softens the polymer chains and reduces their grip. Once the adhesive is warm and pliable, slide a piece of dental floss, fishing line, or thin wire behind the mount and use a gentle sawing motion to slice through the adhesive layer. Any remaining residue can be rolled off with your thumb or cleaned with a mild adhesive remover, followed by a quick wipe with soapy water. If the adhesive feels completely fused or if you are dealing with a highly fragile wall surface, stop and consult a professional handyman or your building’s maintenance staff to avoid costly wall damage.
Frequently Asked Questions (FAQ)
Can I use adhesive shelves on freshly painted walls?
No, you should avoid using strong adhesives on freshly painted walls. Even if the paint feels dry to the touch, it can take several weeks for the paint layers underneath to fully cure and bond to the plaster or drywall. Applying an adhesive shelf too early can trap moisture, prevent proper curing, and cause the paint to peel off under the weight of the shelf, leading to a sudden collapse. It is highly recommended to check your paint manufacturer’s curing timeline—which often ranges from three to four weeks—before installing adhesive mounts, or to use a bed-frame clip-on alternative in the meantime.
How do I remove adhesive storage without damaging paint?
To remove adhesive storage safely, always check the manufacturer’s specific removal instructions first. A reliable, general method is to use a hairdryer on a medium-heat setting to gently warm the adhesive backing, making it soft and pliable. Once warmed, slide a piece of dental floss, fishing line, or thin wire behind the mounting bracket and gently saw downward to slice through the adhesive core. This prevents you from pulling directly on the wall paint. Any leftover sticky residue can be rolled off with your thumb or cleaned with a mild adhesive remover, followed by a quick wipe with soapy water.
What is the safest way to test weight capacity?
The safest approach is to rely strictly on the manufacturer’s stated weight limit rather than guessing or testing the shelf to its absolute breaking point. When you first install the shelf, adopt a gradual testing method to verify the stability of the bond. Start by placing very light items, such as a single sleeping mask or an empty plastic tray, on the shelf. Monitor the adhesive bond closely over a few days to ensure there is no peeling or tilting before gradually adding your daily essentials, making sure to stay well under the maximum rated capacity.
Community discussion
Share your experience or ask a question. Comments are reviewed before publication.