
Condo living in the Philippines offers unparalleled convenience, but it often comes with strict leasing agreements or structural limitations that prohibit drilling into concrete walls. When space is at a premium, finding a functional bedside table for bedroom spaces that does not require screws, anchors, or heavy tools is essential for keeping your daily essentials organized. Fortunately, several innovative, drill-free alternatives exist to maximize limited floor space while keeping your security deposit entirely intact.
Selecting the right no-drill bedside table requires balancing your bed frame design, wall surface type, and daily storage needs. By understanding the structural limits of each option and preparing your space properly, you can enjoy a stable, stylish bedside setup that withstands the local climate. Whether you need a simple spot for your smartphone or a multi-tiered organizer for books and electronics, this guide will help you navigate the best drill-free solutions for your condo bedroom.
Identifying the Right No-Drill Bedside Table Type
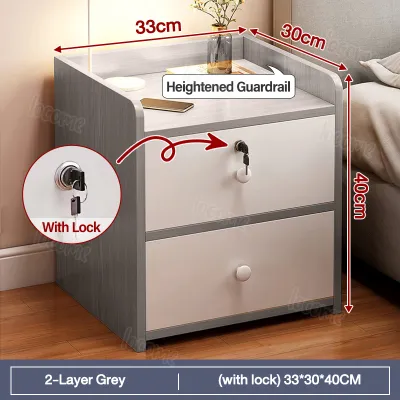
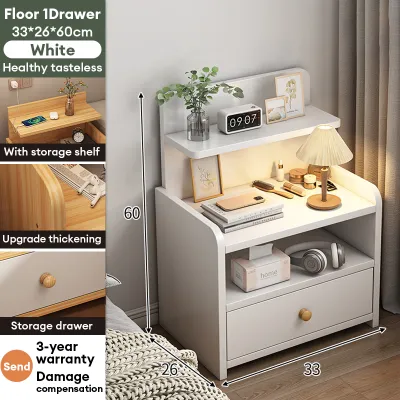
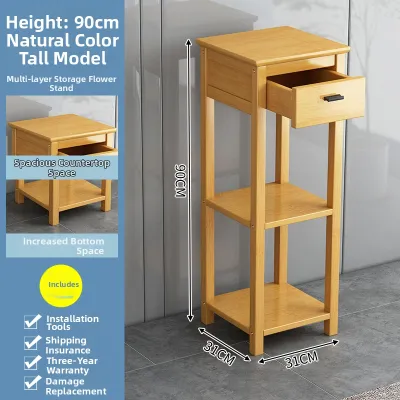
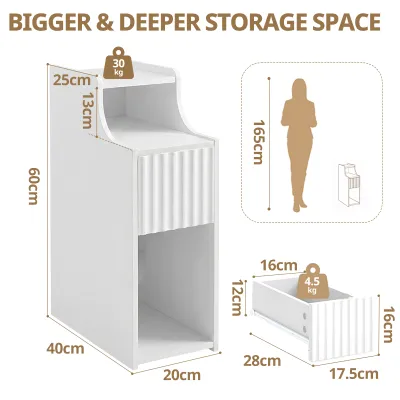
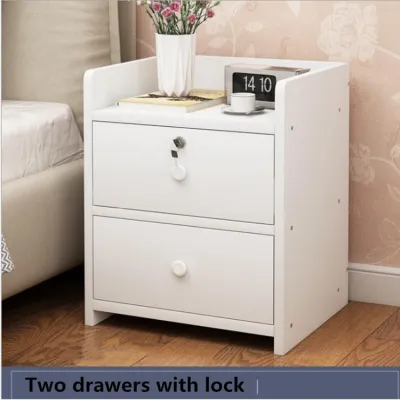
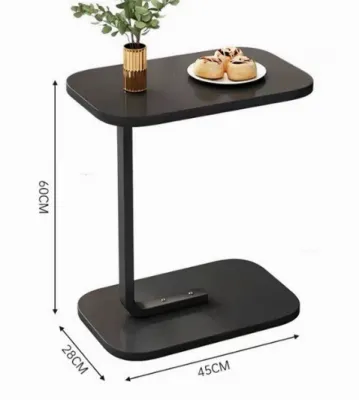
Freestanding slim tables and C-tables are among the most popular choices for tight condo bedrooms because they require absolutely no wall mounting. A C-table features a cantilevered frame with a flat base that slides directly under your bed frame, allowing the tabletop to hover over the mattress or sit flush against the side of the bed. This design minimizes the footprint in narrow walkways, making it ideal for studio units where space between the bed and the wall is extremely limited. Slim pedestal tables or narrow nightstands offer traditional storage drawers or shelves but are engineered with a very small footprint, often measuring less than 30 centimeters in width.
Products mentioned in this guide
Prices are valid at publication and may change. Please refer to the product page for the latest price.
Adhesive-mounted floating shelves rely on heavy-duty double-sided acrylic tapes or specialized adhesive brackets to bond directly to the wall. These shelves completely eliminate the need for floor support, creating a clean, minimalist look that makes your bedroom feel larger. Because they float above the floor, they leave valuable space underneath for laundry baskets, slippers, or small storage bins. However, their load capacity is strictly limited by the strength of the adhesive bond and the quality of the wall paint, making them best suited for lightweight items.
Clamp-on bed trays attach directly to the bed frame’s side rails or headboard using adjustable screw clamps. They function like a small, portable shelf that hovers right next to your mattress, keeping your phone, eyeglasses, and a glass of water within arm’s reach. These trays require no wall contact and zero floor space, making them highly portable and easy to adjust. They are particularly useful for loft beds, bunk beds, or platform beds where traditional nightstands cannot fit.
Tension-pole caddies utilize a spring-loaded or screw-tightened vertical pole that wedges securely between the floor and the ceiling. These caddies feature adjustable trays, baskets, or hooks that can be positioned at any height along the pole. This design takes full advantage of vertical space and is highly stable when installed correctly. Tension-pole systems are highly versatile and work well in corners or awkward gaps where standard furniture cannot fit, providing multiple tiers of storage without a single screw.
Matching Table Designs to Your Bed Frame and Space
Before purchasing any bedside table for bedroom use, precise measurements are critical to ensure a proper fit. For C-tables or slide-under frames, measure the vertical clearance between the floor and the bottom of your bed frame. If this gap is less than the height of the table’s base wheels or feet, the table will not slide underneath, forcing it to sit further away from the bed and block valuable walking space. Additionally, measure the height of your mattress from the floor; ideally, your bedside surface should sit level with or slightly above the top of your mattress for comfortable reach.

If you are opting for an adhesive floating shelf, measure the gap between the edge of the bed and the wall to ensure the shelf does not protrude into your sleeping area or obstruct your movement when getting in and out of bed. A shelf that is too wide can easily be bumped in the dark, which can loosen the adhesive bond over time or cause painful bruises. Aim for a shelf depth that accommodates your essential items while leaving at least 10 to 15 centimeters of clear clearance for movement.
Inspect your bed frame materials and edges carefully if you plan to use a clamp-on tray. These trays require a sturdy, exposed bed frame rail to grip securely. If your bed frame is wrapped in thick upholstery, padded fabrics, or has rounded edges, the clamps may not provide a flat, stable surface to bite into, leading to slippage or damage to the fabric. Similarly, if your bed frame uses a recessed design where the mattress sits deep inside a wooden lip, a clamp-on tray might sit at an awkward angle or fail to attach entirely.
Assess your daily storage needs against the limited surface area of drill-free alternatives. Take an inventory of what you actually need by your bedside. If you only need to support a smartphone, a pair of eyeglasses, and a remote control, a lightweight clamp-on tray or a small adhesive shelf is perfectly adequate. However, if you require space for a heavy table lamp, multiple books, a humidifier, or a large carafe of water, you will need the structural support of a freestanding slim table or a sturdy tension-pole caddy.
Verifying Weight Capacity and Structural Stability
Every no-drill bedside table comes with a specified weight limit that must be strictly respected to prevent damage to your belongings or your condo walls. For adhesive-mounted shelves, this limit is often surprisingly low, typically ranging from 1 to 3 kilograms. This capacity is highly dependent on the quality of the installation and the wall surface, so it is wise to treat the manufacturer’s limit as a maximum under perfect conditions and aim to load the shelf well below that threshold to ensure long-term reliability.
Clamp-on trays and tension-pole caddies often support slightly more weight, sometimes up to 5 or 10 kilograms, because they transfer the load directly to sturdy furniture frames or solid architectural structures like the floor and ceiling. Always check the product specifications before placing heavy electronics, ceramic mugs, or stacks of books on these surfaces. Overloading these units can cause the clamps to slip or the tension pole to lose its grip, resulting in a sudden collapse.
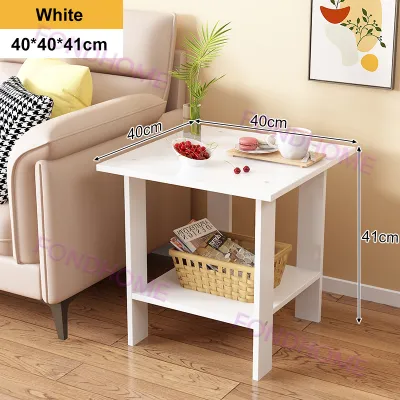
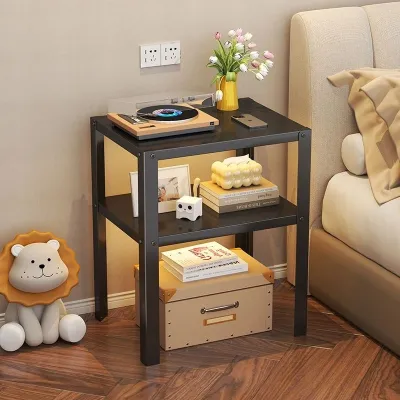
Narrow freestanding tables and C-tables have a high center of gravity due to their slim bases and elevated tabletops. If you place heavy items on the outer edge of a C-table, or if you pull on the top of a tall, narrow pedestal table, it can easily tip over. To maximize stability, always place heavier items, such as books or organizers, on the lowest shelves of a freestanding unit to lower its center of gravity, and avoid placing tall, top-heavy items like narrow vases or large water bottles on the very edge.
No-drill mounting systems rarely fail without warning, so it is important to recognize early signs of structural stress. For adhesive shelves, look for a widening gap between the back of the shelf and the wall, or a slight downward tilt of the shelf surface. If you notice the adhesive backing peeling away or showing air bubbles through a clear adhesive patch, remove all items immediately. For clamp-on models, regularly check if the clamp has started to slide down the bed rail or if the tightening screw has vibrated loose over time.
Safe Installation and Surface Preparation
The success of any adhesive-mounted bedside table depends entirely on the cleanliness of the wall surface. Dust, oils, and moisture common in humid tropical climates like the Philippines can severely compromise adhesive bonds. Start by wiping the target wall area with a clean microfiber cloth dampened with rubbing alcohol to remove oils and grime. Avoid using household glass cleaners or soapy water, as these can leave behind a thin residue that prevents the adhesive from bonding properly.
Allow the wall to dry completely for at least ten to fifteen minutes before applying any adhesive strips or brackets. One of the most common causes of adhesive shelf failure is placing weight on the shelf too quickly. Most heavy-duty adhesives require a specific curing period to reach their full bonding strength. After firmly pressing the adhesive bracket or strip against the prepared wall for the recommended duration (often thirty to sixty seconds), leave the bracket empty and do not attach the shelf body or place any items on it for at least 24 hours.
Freestanding slim tables, C-tables, and clamp-on trays can easily scratch painted walls, wooden bed frames, or tiled condo floors if they shift during daily use. To prevent this, apply self-adhesive felt pads or silicone anti-slip bumpers to any part of the furniture that makes contact with other surfaces. Place felt pads on the bottom of freestanding table legs to protect your flooring and make sliding the table quieter and smoother, and ensure clamp-on jaws are lined with rubber pads to grip the bed rail securely without scratching the finish.
Maintaining Stability and Preventing Wall Damage
High humidity levels, temperature fluctuations from air conditioning, and daily vibrations can gradually weaken adhesives and loosen mechanical clamps over time. Establish a routine to inspect your bedside table setup every few months. Gently wiggle the table or shelf to check for any play, looseness, or structural sagging. If you live in a particularly humid environment, pay close attention to adhesive mounts, as moisture can slowly degrade certain acrylic tapes over time.
When it is time to move out of your condo or rearrange your bedroom, removing adhesive mounts incorrectly can tear off drywall paper or peel away layers of wall paint, leading to costly security deposit deductions that can easily exceed ₱1,000 in paint repairs. To remove heavy-duty adhesive strips safely, use a handheld hair dryer on a medium-heat setting to warm up the adhesive backing. The heat will soften the adhesive polymer, making it pliable and much easier to release.
Once warmed, gently slide a piece of dental floss, thin fishing line, or a plastic putty knife behind the bracket, sawing slowly downward to cut through the softened adhesive. Wipe away any remaining sticky residue with a small amount of adhesive remover or rubbing alcohol, taking care not to scrub too hard and damage the paint. For tension-pole caddies and clamp-on trays, regularly check the tension to ensure they remain tightly wedged or clamped, especially if your condo has plasterboard or drop ceilings that might flex slightly over time.
Frequently Asked Questions (FAQ)
Can I use adhesive bedside tables on textured condo walls?
Adhesive-mounted bedside tables are generally not recommended for textured walls, such as those with stucco, orange peel, or rough plaster finishes. The uneven surface prevents the adhesive strip from making full contact, significantly reducing the bonding area and leading to premature failure. Additionally, applying adhesives to wallpaper or freshly painted walls carries a high risk of peeling the surface off entirely under the weight of the shelf. If your condo walls are textured, it is much safer to opt for a freestanding slim table, a C-table, a clamp-on bed tray, or a tension-pole caddy that does not rely on wall adhesion.
How do I prevent a freestanding slim table from tipping over?
To prevent a narrow, freestanding bedside table from tipping, always prioritize proper weight distribution. Place your heaviest items, such as books, storage boxes, or heavy accessories, on the bottom shelf or inside the lowest drawer to lower the unit’s overall center of gravity. If you need extra security without drilling into the wall, you can use heavy-duty adhesive furniture anchors or tension straps designed specifically for drill-free childproofing. These straps bond to the back of the furniture and the wall using high-strength adhesive pads, providing a reliable anchor that prevents forward tipping while remaining completely removable with heat when you decide to move.
Community discussion
Share your experience or ask a question. Comments are reviewed before publication.