
Condo living in the Philippines offers unparalleled convenience, but it often comes with the challenge of limited square footage and strict association rules. For renters and homeowners alike, drilling holes into concrete walls to mount shelves or security safes is frequently prohibited or risks forfeiting a security deposit. Fortunately, no-drill secret storage cabinets and hidden organizers provide an elegant way to secure valuables, minimize visual clutter, and maximize vertical space without leaving a single mark. By utilizing advanced adhesives, magnetic panels, and tension-based systems, you can seamlessly integrate hidden compartments into your existing layout.
In a tropical climate characterized by high humidity, choosing the right damage-free storage requires careful planning. Moisture in the air can compromise adhesive bonds, while concrete condo walls demand different mounting strategies than standard drywall. Understanding how to select, install, and maintain these hidden systems ensures your belongings remain secure and your walls stay pristine.
How to Choose No-Drill Hidden Storage for Your Condo
Before purchasing any secret storage cabinet or hidden organizer, you must evaluate the physical characteristics of your condo. The first step is identifying your wall materials. Most modern condominiums feature painted concrete walls, fiber cement boards, or drywall partitions. Smooth, non-porous surfaces like glass, polished metal, and glazed ceramic tiles are ideal for heavy-duty adhesives and suction mounts. Conversely, painted concrete and textured plaster present challenges, as the uneven surface reduces the contact area for adhesives, increasing the risk of a sudden fall.
Products mentioned in this guide
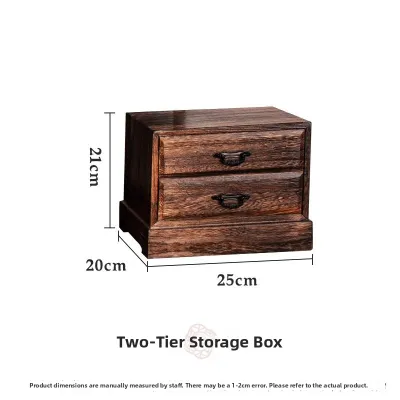
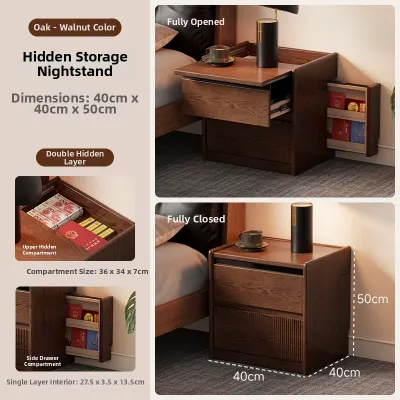
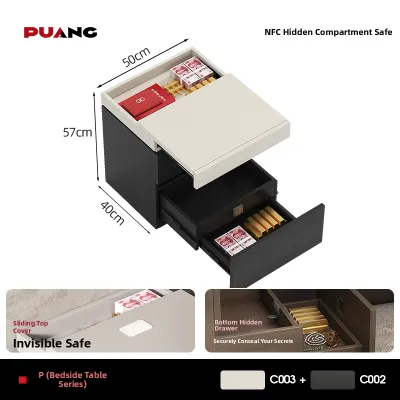
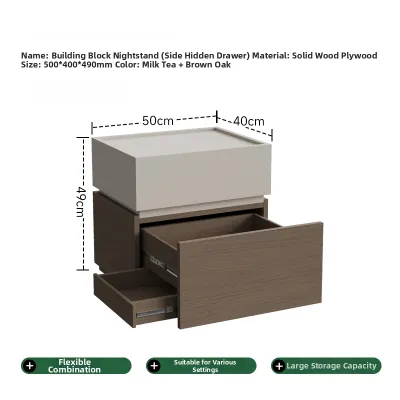
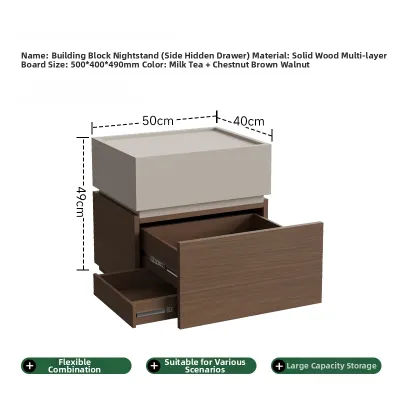
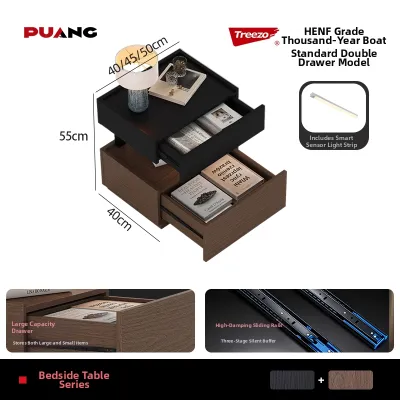
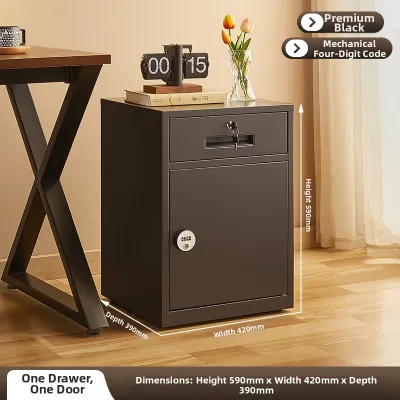
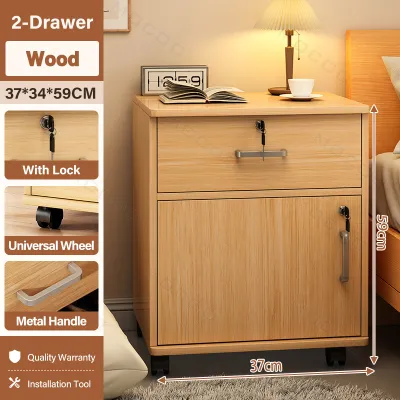
Prices are valid at publication and may change. Please refer to the product page for the latest price.
Weight capacity is another critical factor that requires strict adherence to manufacturer specifications. Every no-drill system has a maximum load limit that must never be exceeded. When planning your storage, consider not only the weight of the cabinet itself but also the cumulative weight of the items you intend to hide inside. For instance, storing heavy documents, metal tools, or multiple electronic devices requires a much more robust support system than storing lightweight jewelry, passports, or spare keys. Distributing the weight evenly across the mounting surface helps prevent localized stress points that could tear paint or pull down drywall.
Reviewing your condo lease agreement or property management guidelines is equally essential. Many property developers and landlords impose strict penalties for any wall alterations, including adhesive residues that require repainting. Some heavy-duty mounting tapes are designed for permanent bonding and can strip paint or damage plaster upon removal. Opting for removable, damage-free adhesive strips or mechanical tension systems ensures you can restore the unit to its original condition when moving out, safeguarding your security deposit.
Finally, consider the finished dimensions and available space in your condo. Measure the depth of alcoves, the clearance behind doors, and the space between wardrobes before selecting a hidden storage unit. Ensure that the installation of a secret cabinet does not obstruct pathways, block ventilation grates, or interfere with the swing of doors and windows.
Adhesive-Mounted Secret Compartments and Cabinets
Adhesive-mounted secret storage cabinets are highly effective for concealing lightweight to medium-weight items. These systems typically consist of shallow wall cabinets disguised as framed artwork, mirrors, or decorative key racks. The back of the cabinet is secured to the wall using specialized double-sided mounting tapes or adhesive strips.

When selecting an adhesive, it is important to distinguish between different types of bonding agents. Heavy-duty acrylic foam tapes are engineered for long-term hold and can conform to minor surface irregularities, making them suitable for painted walls. Suction-based mounts, on the other hand, rely on airtight seals and are strictly limited to completely smooth, non-porous surfaces like bathroom tiles or glass panels. For a hidden cabinet, acrylic foam tape is generally preferred due to its stability and resistance to temperature fluctuations.
Proper surface preparation is the single most important factor in ensuring a secure adhesive bond, especially in a humid climate. Dust, grease, and moisture create a barrier that prevents the adhesive from making direct contact with the wall. To prepare the surface, clean the area thoroughly with isopropyl alcohol and allow it to dry completely. Avoid using household glass cleaners or multi-purpose sprays, as they often leave behind a thin residue that compromises the bond.
Despite their convenience, adhesive mounts have clear limitations. They are not suitable for storing heavy, bulky, or high-value items that are accessed multiple times a day. The constant pulling force exerted when opening and closing a cabinet door can gradually fatigue the adhesive bond. If you plan to use an adhesive-mounted secret storage cabinet, limit its contents to lightweight essentials and ensure the cabinet door operates smoothly with minimal friction to reduce stress on the wall connection.
Magnetic and Tension-Based Hidden Organizers
For areas where adhesives are impractical or risky, magnetic and tension-based systems offer excellent alternative solutions for creating hidden storage. These methods rely on physical pressure or magnetic attraction, completely eliminating the risk of paint damage or sticky residue.
Tension rod systems are incredibly versatile and can be deployed in narrow alcoves, hallways, under-sink cabinets, or inside existing wardrobes. By extending a spring-loaded or telescoping rod between two solid, parallel surfaces, you create a stable bar capable of supporting hanging organizers, hidden shelves, or privacy curtains. For example, you can install a tension rod near the back of a deep closet and hang a slim, fabric organizer behind your clothes to store sensitive documents or valuables out of sight. When using tension systems, always verify that the opposing walls are structurally sound; hollow drywall partitions can flex under high pressure, causing the rod to slip.
Magnetic storage solutions are ideal for utilizing the unused metal surfaces in your condo. The sides of refrigerators, washing machines, or steel utility doors can host magnetic panels, spice racks, or slim key boxes. If your condo lacks exposed steel surfaces, you can install a hidden steel plate inside a wooden cabinet using non-damaging methods, creating a magnetic docking station for small metal containers or tools.
To ensure these systems remain secure, perform regular stability and pressure checks. Tension rods can gradually lose pressure over time due to temperature changes, humidity, or the settling of the building. Periodically test the tightness of the rod and inspect the rubber end caps for signs of wear or sliding. For magnetic organizers, ensure the magnet is strong enough to hold the weight of the items without sliding down the metal surface, especially on appliances that vibrate, such as washing machines or refrigerators.
Installation and Safety Checks for No-Drill Systems
Installing no-drill hidden storage requires a methodical approach to guarantee safety and longevity. Following a structured installation checklist helps prevent accidental damage to your condo walls and protects your stored items from unexpected falls.
First, clean the mounting area thoroughly with isopropyl alcohol and let it dry. Once dry, apply the adhesive strips or mounting tape to the back of the cabinet according to the manufacturer’s instructions. Press the cabinet firmly against the wall for at least thirty seconds to activate the pressure-sensitive adhesive.
Crucially, you must respect the adhesive curing time before placing any weight inside the cabinet. Most high-strength adhesives require 24 to 72 hours to achieve their full bonding strength. Loading the cabinet prematurely is the primary cause of adhesive failure. During this curing period, leave the cabinet empty and keep the door closed to minimize any leverage forces acting on the mount.
After the curing period is complete, perform a gradual weight test. Instead of immediately storing your valuables, load the cabinet with non-fragile items of similar weight, such as plastic containers or old magazines. Leave these test items in place for a few days while monitoring the cabinet for any signs of movement.
Regularly inspect the installation for warning signs of failure. Look for peeling edges on the adhesive tape, gaps forming between the cabinet and the wall, or a slight downward tilt of the unit. For tension rods, check if the rubber feet are slipping or if the surrounding drywall is bowing. If you notice any of these warning signs, immediately remove the stored items and reinstall or reposition the system to prevent a collapse.
Frequently Asked Questions (FAQ)
Can I use adhesive secret storage cabinets on textured walls?
Adhesive mounts are generally not recommended for textured walls, such as stucco, rough plaster, or textured wallpaper. The uneven surface prevents the adhesive tape from making full contact, significantly reducing its holding power and increasing the risk of failure. If your condo has textured walls, consider alternative no-drill options. Tension rod systems, over-the-door organizers, or freestanding furniture with built-in secret compartments are much safer choices that do not rely on surface smoothness for stability.
How do I remove no-drill storage without peeling the paint?
To remove adhesive-mounted storage safely, use a hairdryer on a medium setting to apply gentle heat to the edges of the adhesive tape. The heat softens the adhesive, making it more pliable. Next, take a piece of dental floss or fishing line, slide it behind the cabinet, and use a sawing motion to slice through the softened foam tape. Once the cabinet is removed, clean any remaining residue using a mild adhesive remover, warm soapy water, or isopropyl alcohol, taking care not to scrub too harshly and damage the paint finish.
Community discussion
Share your experience or ask a question. Comments are reviewed before publication.