
Selecting the best kitchen stainless cabinet configuration for a small Filipino kitchen requires balancing structural durability with spatial efficiency. In compact spaces—such as urban condominiums in Metro Manila or cozy provincial townhomes—the most effective configurations are single-wall layouts, tight galley setups, and space-optimized L-shaped arrangements. These layouts maximize storage and streamline your cooking workflow while resisting the high humidity, rust, and pest challenges common in tropical environments. By understanding your specific spatial constraints and choosing the right modular setup, you can transform a cramped cooking area into a highly functional, modern culinary workspace.
Assessing Your Kitchen Space and Clearance Needs
Before purchasing any cabinetry, you must conduct a thorough spatial assessment of your cooking area. Start by measuring the total floor area and the exact ceiling height. Use a steel tape measure to map out existing utilities, including plumbing lines, drain outlets, electrical sockets, and gas lines. In many Filipino households, space must also be reserved for an LPG (liquefied petroleum gas) cylinder, which requires proper ventilation and proximity to the stove. Noting these fixed elements early prevents costly relocation errors during installation.
Calculating walkway clearance is the next critical step to ensure your kitchen remains safe and comfortable to navigate. Standard ergonomic guidelines recommend maintaining a walkway width of at least 90 to 120 centimeters. This clearance allows you to move freely, bend down to access lower shelves, and carry hot cookware without safety hazards. If your kitchen is a high-traffic zone or shared by multiple family members, aiming for the upper end of this range is highly advisable to avoid physical bottlenecks.
Products mentioned in this guide
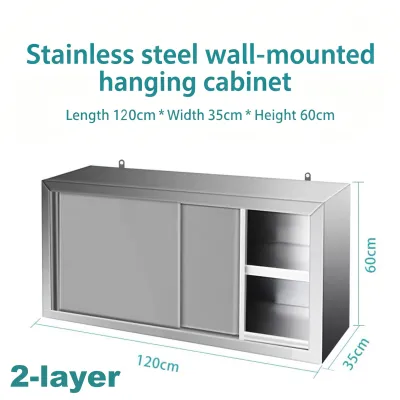
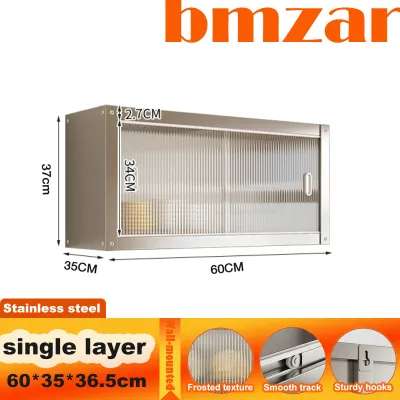
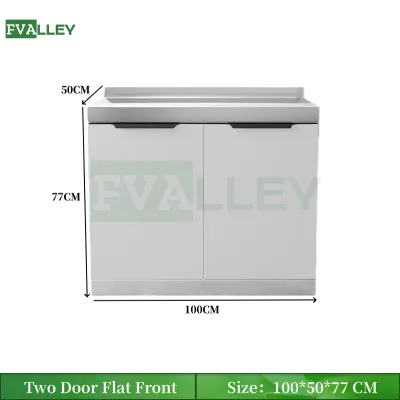
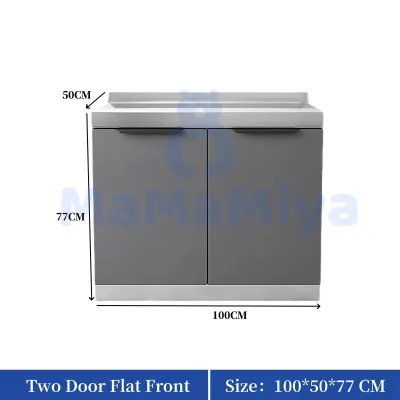
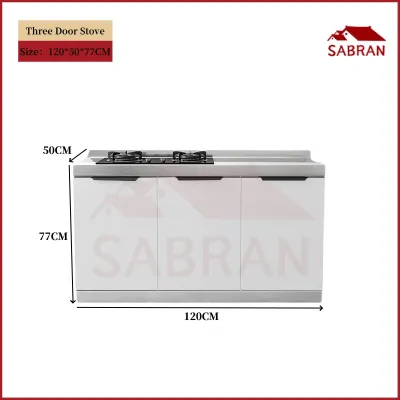
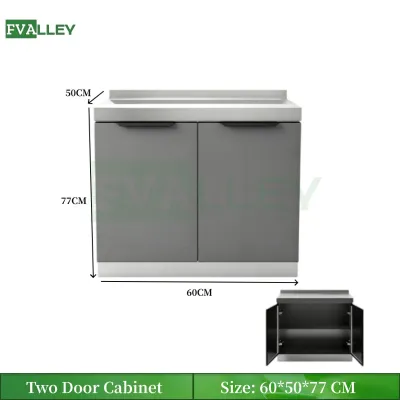
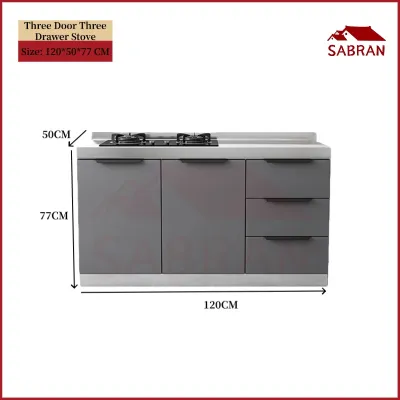
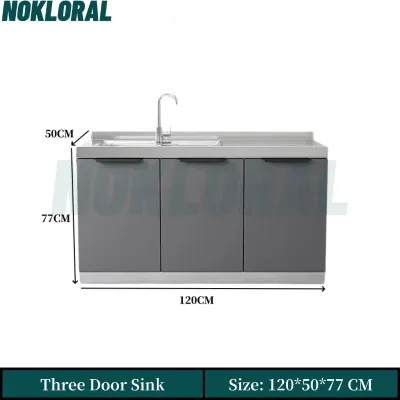
Prices are valid at publication and may change. Please refer to the product page for the latest price.
In addition to walkways, you must account for the swing radius of all doors and drawers. Open your refrigerator, oven, microwave, and entry doors completely to measure how far they extend into the room. Your kitchen stainless cabinet doors and drawer units must not collide with these appliances or block natural light from windows. If space is exceptionally tight, consider sliding cabinet doors or open shelving units that do not require front clearance to open.
Finally, inspect the structural integrity of your kitchen walls. Concrete and concrete hollow block (CHB) walls, which are standard in Philippine construction, offer excellent load-bearing capacity for heavy wall-mounted stainless steel cabinets. However, they require masonry bolts and impact drilling for secure anchoring. If your kitchen features gypsum board or light fiber-cement partition walls, you must locate the internal studs or install timber backer boards behind the wall to reinforce the mounting surface before hanging heavy cabinets.
Best Stainless Steel Cabinet Configurations for Compact Layouts
Compact kitchens require strategic layout planning to maintain an efficient work triangle—the path between the sink, stove, and refrigerator—without sacrificing precious floor space. Stainless steel modular cabinets are highly adaptable, making it easier to customize your setup to match the specific shape of your room.

Single-Wall and Galley Layouts
Single-Wall Configurations
For studio apartments and narrow open-plan layouts, the single-wall configuration is often the most practical choice. This setup aligns all base cabinets, wall cabinets, sink, stove, and refrigerator along one continuous wall. By keeping all kitchen elements on a single plane, you preserve the remaining floor space for dining tables, mobile kitchen carts, or general household traffic. To make this work in a small space, place the sink in the center with the stove and refrigerator on either side, ensuring you have at least 60 centimeters of prep counter space between them.
Galley (Corridor) Layouts
If your kitchen is situated in a narrow, dedicated corridor, a galley layout utilizes two parallel walls to create a highly efficient workspace. This configuration minimizes the physical steps required to move between different work zones. When planning a galley setup, ensure that the central aisle meets the minimum 90-centimeter clearance when cabinet doors on both sides are closed. To maintain safety, avoid placing the stove directly opposite the sink if the aisle is narrow; instead, stagger them slightly to prevent accidental collisions when two people are working simultaneously.
L-Shaped Configurations with Corner Solutions
Maximizing Corner Storage
An L-shaped configuration is highly effective for small square kitchens because it utilizes two adjacent walls, leaving the center of the room open. However, the corner where the two walls meet can easily become a dark, inaccessible “dead zone.” To solve this, integrate specialized stainless steel pull-out mechanisms, such as magic corners, kidney-shaped pull-outs, or rotating lazy Susans. These hardware systems bring items stored deep in the back of the cabinet directly out into the light, making it easy to retrieve heavy pots, pans, and small appliances.
Preserving Open Floor Space
By consolidating your storage and appliances along two walls, the L-shaped layout naturally opens up the rest of your kitchen floor. This extra space can accommodate a small, foldable dining table or a compact kitchen island on wheels that can be pushed aside when not in use. This flexibility is particularly valuable in modern Filipino homes where the kitchen often merges with the dining or living area.
Optimizing the Work Triangle
The L-shape naturally supports an ergonomic work triangle. For the best flow, place your refrigerator at one end of the “L,” the sink in the middle, and the stove on the adjacent leg. This arrangement ensures that your workflow—from retrieving food, washing it, prepping it, and cooking it—moves in a logical, unobstructed sequence. Ensure that cabinet handles and hardware do not protrude excessively at the corner intersection to prevent them from catching on clothing or blocking adjacent drawers.
Maximizing Vertical Storage and Internal Capacity
When floor space is limited, the only way to expand your storage capacity is to design upward. Maximizing your vertical wall space allows you to store more items without encroaching on your physical walkway or work areas.
- Extend Cabinets to the Ceiling: Standard wall cabinets often leave a 30-to-40-centimeter gap below the ceiling. In tropical climates, this open top quickly accumulates sticky grease, dust, and moisture, creating an ideal breeding ground for pests. By extending your stainless steel wall cabinets all the way to the ceiling, you eliminate this hard-to-clean gap while gaining valuable storage space for seasonal items, large serving platters, or extra pantry stock.
- Integrate Internal Organizers: Stainless steel cabinet frames are highly rigid, meaning you cannot easily adjust shelving once installed unless the system is modular. Look for cabinets featuring pre-drilled internal tracks that support adjustable wire baskets, tiered shelving, and pull-out pantry units. Drawer dividers and peg systems are also excellent for keeping plates, pot lids, and utensils organized and preventing them from sliding around inside smooth metal drawers.
- Utilize Wall-Mounted Racks: For frequently used items like dish-drying racks, spice jars, and cooking utensils, install wall-mounted stainless steel rails or open wire shelves. These keep your countertops completely clear for food preparation. When installing these racks, verify the manufacturer's maximum load limits and ensure they are anchored into concrete or structural studs rather than plain drywall.
- Install Toe-Kick Drawers: The space beneath your base cabinets, known as the toe-kick area, is typically covered by a decorative plinth. You can convert this dead space into shallow, push-to-open toe-kick drawers. These low-profile drawers are perfect for storing flat items such as baking sheets, cutting boards, placemats, or even a fold-out step stool to help you reach the top-tier ceiling cabinets.
Verifying Material Grades and Hardware for Humid Environments
The high humidity, heat, and coastal salt air common in the Philippines can quickly degrade low-quality metal furniture. To ensure your kitchen stainless cabinet lasts for decades, you must verify the exact material specifications rather than relying on generic marketing terms.
First, check the manufacturer’s product labels for the specific grade of stainless steel used. Grade 304 (often labeled as 18/8 or SUS304) is the industry standard for high-quality residential kitchens. It contains high levels of chromium and nickel, providing exceptional resistance to rust, food acids, and moisture. Avoid cheaper alternatives like Grade 201 in high-moisture zones; while it looks identical to Grade 304 initially, Grade 201 is highly susceptible to tea-staining and localized rust spots when exposed to humid tropical air and salty cleaning agents.
Second, consider the surface finish of the steel. A brushed or satin finish is highly recommended for residential kitchens. Highly polished, mirror-like finishes look striking but easily show fingerprints, water spots, and minor scratches from daily cooking activities. Brushed finishes diffuse light, making small scratches and smudges far less noticeable and significantly reducing the time you spend wiping down surfaces.
Third, inspect the moving hardware. A cabinet is only as durable as its hinges and drawer slides. Ensure that all hinges, soft-close dampers, and runner tracks are made of corrosion-resistant materials, such as nickel-plated steel or marine-grade stainless steel. Low-quality iron hinges will rust quickly in a humid kitchen, leading to squeaking, misalignment, and eventual mechanical failure.
Finally, establish proper maintenance habits. Always review the manufacturer’s care instructions before cleaning your cabinets. Avoid using abrasive scrubbing pads, steel wool, or harsh chemical cleaners containing chlorine, bleach, or hydrochloric acid. These substances can chemically scratch or strip away the invisible chromium oxide passive layer that protects the steel from rusting. Instead, clean the surfaces using a soft microfiber cloth, warm water, and a mild dish soap, wiping in the direction of the brushed metal grain.
Common Sizing and Installation Mistakes to Avoid
Even the highest-quality stainless steel cabinets will underperform if they are poorly planned or incorrectly installed. Avoiding these common pitfalls will save you time, money, and structural headaches during your kitchen renovation.
Neglecting Appliance Ventilation
Stainless steel conducts heat efficiently, but it does not dissipate the hot air trapped behind enclosed appliances. Built-in ovens, microwaves, and refrigerators generate significant heat during operation. If you enclose these appliances tightly within stainless steel cabinetry without leaving the manufacturer-specified clearance gaps, heat will build up behind the units. This lack of ventilation forces the appliances to work harder, dramatically reducing their energy efficiency and potentially shortening their lifespan or voiding their warranties.
Choosing Excessive Cabinet Depths
While deep cabinets offer more storage volume, they can ruin the ergonomics of a small kitchen. Standard kitchen base cabinets are 60 centimeters deep. In extremely narrow galley or single-wall kitchens, this depth can restrict your walking space to a claustrophobic degree. If your kitchen is exceptionally tight, look for slim-profile or custom base cabinets with a depth of 50 or 55 centimeters. While you lose a small amount of internal storage, the gained floor space will make the kitchen far more comfortable and safer to work in.
Ignoring the Delivery and Access Route
Unlike wooden or flat-pack furniture, high-quality stainless steel cabinets are often delivered as fully welded, pre-assembled modular units to ensure structural strength. Before finalizing your purchase, you must physically trace the delivery route from the street to your kitchen. Measure the width and height of all entry doors, hallway corners, stairwells, and elevator cabins. A modular cabinet unit that cannot clear a tight turn in a condominium stairwell or fit inside a passenger elevator will result in costly return fees or delivery failures.
Overloading Wall-Mounted Units
Wall-mounted stainless steel cabinets are ideal for storage, but they have strict weight limits. Never guess how much weight your wall cabinets can support. Consult the manufacturer’s technical specifications for the maximum load capacity per shelf and per cabinet unit. When installing, always use heavy-duty sleeve anchors or masonry bolts designed for your specific wall material. If you are mounting to a reinforced partition wall, ensure the screws penetrate directly into the structural metal or timber studs rather than just the plasterboard cladding to prevent catastrophic cabinet failure.
Community discussion
Share your experience or ask a question. Comments are reviewed before publication.