
Mounting a clothes display rack on your wall is an excellent way to maximize floor space, organize your wardrobe, and showcase your favorite garments. Achieving a secure, level, and safe installation requires understanding your wall’s structural composition, selecting the correct anchoring hardware, and following a precise mounting sequence. Taking a systematic approach ensures the rack remains firmly anchored even under the weight of heavy fabrics.
Assessing Your Wall and Space Before Installation
Before drilling, evaluate the structural integrity of the wall where you plan to mount the clothes display rack. In tropical environments, such as homes in the Philippines, interior walls are commonly constructed from solid concrete, hollow blocks, or plaster over masonry. Solid concrete offers exceptional support but requires a masonry drill bit and heavy-duty expansion anchors, whereas hollow blocks require careful positioning to avoid drilling into weak, empty cavities.
Identifying hidden hazards behind the wall surface is a critical safety step. Electrical wiring, plumbing pipes, and utility lines are often embedded within walls, especially near bathrooms or utility rooms. Using a reliable stud finder with live-wire detection helps map out safe drilling zones. If you detect any resistance or unusual feedback while drilling, stop immediately to inspect the hole.
Products mentioned in this guide
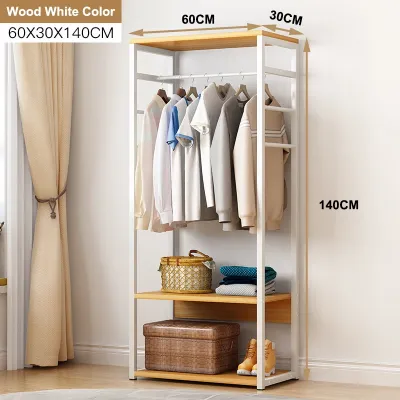
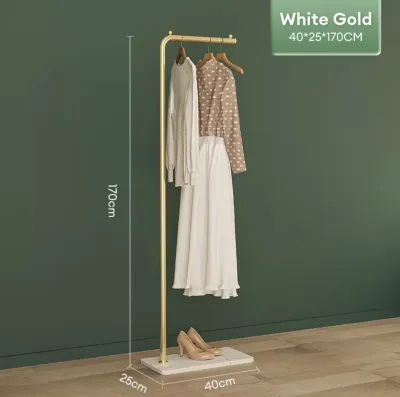
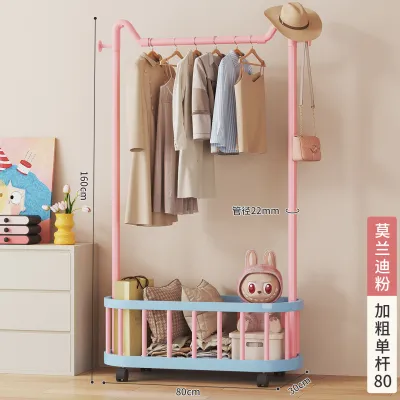
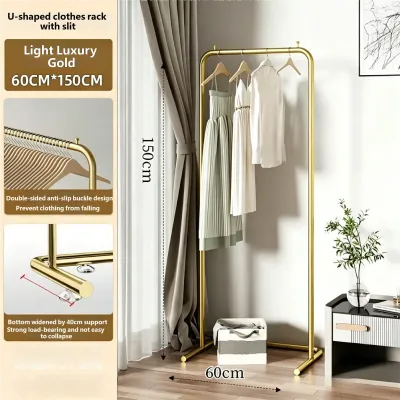
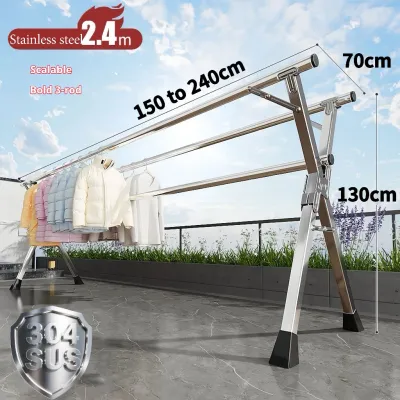
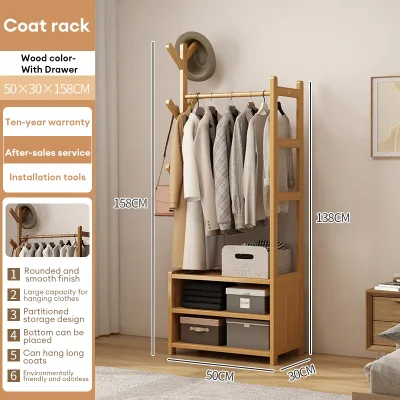
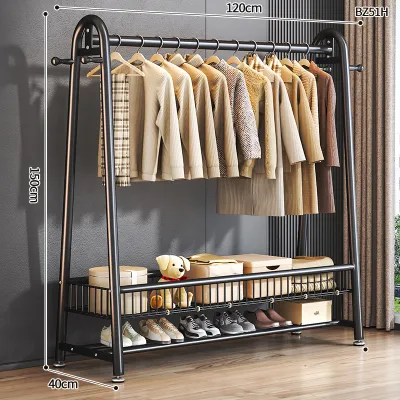
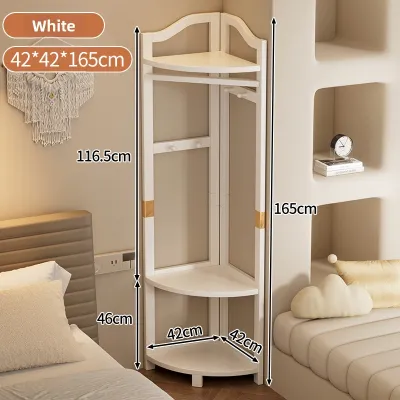
Prices are valid at publication and may change. Please refer to the product page for the latest price.
Measuring your physical space ensures the clothes display rack functions well without creating daily inconveniences. You must account for the finished dimensions of the rack, including its depth when fully loaded with hangers, to ensure it does not obstruct walkways or door swings. Leave sufficient clearance on either side of the rack for comfortable browsing, and check that the height allows longer garments to hang freely.
Finally, review the manufacturer’s specifications regarding minimum wall thickness and structural reinforcement. Some heavy-duty clothes display racks exert significant leverage on the wall, requiring a solid backing or direct attachment to structural studs rather than simple plaster. If your wall does not meet these structural baselines, you may need to reinforce the mounting area or select a different location.
Gathering the Right Tools and Hardware
Having the correct tools on hand before you begin prevents interruptions. You will need a high-quality power drill—preferably a hammer drill for concrete or masonry—along with drill bits that match both the size of your wall anchors and the specific wall material. A spirit level is indispensable for keeping the rack perfectly horizontal, while a measuring tape and a sharp pencil are necessary for marking precise reference points.

Selecting the appropriate wall anchors and screws is the single most important factor in determining the load capacity and stability of your clothes display rack. Standard plastic plugs included in retail packaging are often insufficient for heavy clothing loads. For solid concrete or brick, expansion anchors or sleeve anchors provide the strongest grip, while drywall or hollow partitions require heavy-duty toggle bolts that expand behind the wall board to distribute weight.
Always inspect the hardware provided by the manufacturer to verify its quality and compatibility with your specific wall type. If the included screws seem too short or poorly threaded, purchase high-grade steel alternatives from a local hardware store. Investing in robust, corrosion-resistant hardware is especially beneficial in humid climates, where moisture can weaken low-quality metal fasteners over time.
Step-by-Step Installation Process
Installing your wall-mounted clothes display rack involves a logical progression from preparation to final assembly. By breaking the task down into distinct phases—marking, drilling, anchoring, and mounting—you can maintain control over the alignment and structural integrity of the setup. Before starting, clear the immediate work area, lay down a protective sheet to catch masonry dust, and keep the manufacturer’s instruction manual nearby to reference any model-specific locking mechanisms or assembly steps.
Marking Drill Holes and Preparing the Wall
Accurate marking is the foundation of a level and visually appealing installation. Begin by holding the mounting brackets or the main frame of the clothes display rack against the wall at your desired height. Use a spirit level placed flat against the top of the bracket to ensure it is perfectly horizontal, then use a pencil to mark the exact center of each screw hole onto the wall surface.
Before you begin drilling, double-check your pencil marks by measuring the distance between them and comparing it directly to the physical mounting holes on the rack itself. Even a minor discrepancy of a few millimeters can prevent the rack brackets from aligning properly with the installed anchors, forcing you to drill corrective holes. If your rack uses multiple vertical brackets, ensure they are perfectly parallel to one another by measuring the distance between them at both the top and bottom.
Once you have verified the marks, select a drill bit that matches the exact diameter specified by your wall anchor manufacturer. If you are drilling into concrete or masonry, start with a small pilot hole using a thinner masonry bit before expanding it with the final size; this technique prevents the drill from wandering and chipping the surrounding plaster. Drill to a depth slightly deeper than the length of the anchor, using a depth guide or a piece of tape wrapped around the drill bit as a visual marker.
Inserting Anchors and Mounting the Brackets
With the holes prepared, you can now insert the wall anchors to create a secure foundation for the mounting brackets. Gently tap each anchor into its corresponding hole using a rubber mallet or the flat side of a hammer until the collar of the anchor sits completely flush with the wall surface. Avoid forcing the anchor with heavy blows, as excessive impact can bend plastic anchors or crack the surrounding plaster and concrete, compromising the hold.
Next, align the mounting brackets over the inserted anchors and insert the screws by hand to ensure they thread correctly. Use your screwdriver or power drill on a low torque setting to drive the screws into the anchors, keeping the bracket aligned with your pencil marks. Stop tightening just as the screw head makes firm contact with the bracket; over-tightening can strip the threads inside plastic anchors or crack metal brackets, rendering the connection unstable.
Before moving on to the main assembly, physically test each installed bracket individually to verify its stability. Give each bracket a firm downward tug and check for any wobbling, gaps, or movement against the wall surface. If a bracket feels loose or pulls away even slightly, remove the screw to inspect the anchor, ensuring it has expanded correctly and is firmly seated within the wall.
Attaching the Display Rack and Finalizing
Once the brackets are securely anchored, you can proceed to attach the main body of the clothes display rack. Depending on the design, this may involve lifting the rack frame and sliding it onto the brackets, or hooking the main horizontal bar into pre-installed vertical tracks. For larger or heavier racks, consider asking a family member or friend to assist you with lifting to prevent accidental scratches on your wall or strain on your back.
After positioning the rack on the brackets, engage any secondary locking mechanisms, set screws, or safety clips provided by the manufacturer. These safety features are designed to prevent the rack from accidentally lifting off or sliding out of the brackets when hangers are moved or clothes are pulled off. Tighten these locking components securely using the appropriate hex key or screwdriver.
To complete the physical installation, use a damp microfiber cloth to wipe down the clothes display rack and the surrounding wall area. This removes any fine masonry dust, pencil marks, and oily fingerprints left behind during the mounting process. Cleaning the rack immediately prevents abrasive dust from transferring onto your garments when you begin hanging them.
Verifying Stability and Load Safety
Before filling your new display rack with your wardrobe, you must conduct a thorough safety inspection to confirm it can handle daily use. Carefully examine the wall surface around each bracket for any signs of stress, such as hairline cracks in the plaster, paint flaking, or a visible gap forming between the bracket and the wall. If you notice any of these issues, it indicates that the wall material is compressing or the anchors are failing to hold.
Test the load capacity of the rack gradually rather than loading it to maximum capacity all at once. Start by hanging a few lightweight items, such as shirts or t-shirts, and observe how the structure responds over several minutes. Gradually add heavier garments, such as jackets, denim, or coats, while monitoring the brackets for any flexing, bowing, or downward tilting.
Always respect the manufacturer’s stated maximum weight capacity and distribute the weight of your garments evenly across the entire length of the rack. Concentrating heavy winter coats or thick fabrics in a single section puts uneven stress on specific anchors, increasing the risk of localized failure. If your rack is designed for display, keep the layout balanced and avoid overloading it beyond its intended storage volume.
Troubleshooting Common Installation Issues
Even with careful planning, you may encounter challenges during the installation process that require quick adjustments. A common issue is a spinning wall anchor, which occurs when the drilled hole is slightly too large or the wall material is too soft to grip the anchor. To resolve this, remove the loose anchor and replace it with a slightly larger heavy-duty toggle bolt, or relocate the mounting point a few centimeters away to solid, undamaged wall material.
If you find that the clothes display rack is slightly unlevel after mounting, you can often correct the alignment without drilling entirely new holes. Many modern brackets feature slightly elongated screw slots that allow for minor vertical adjustments before the screws are fully tightened. Alternatively, you can place thin plastic or metal shims behind the lower portion of a bracket to compensate for uneven wall plaster and bring the rack back to a perfect horizontal plane.
It is vital to recognize when an installation issue requires professional assistance rather than a quick DIY fix. If your wall crumbles excessively during drilling, fails to hold tension, or shows signs of deep structural dampness and decay, stop working immediately. Attempting to force an installation on a compromised wall can lead to the rack collapsing, causing property damage or personal injury. In such cases, consult a qualified contractor or professional handyman to assess and reinforce the wall structure.
Frequently Asked Questions (FAQ)
Can I install a clothes display rack on a drywall partition?
Yes, you can install a clothes display rack on a drywall partition, but you must take specific precautions to ensure it remains secure. Drywall itself lacks the structural strength to support the weight of a fully loaded clothes rack, so you must locate the wooden or metal studs behind the drywall using a stud finder and screw the mounting brackets directly into them. If the bracket spacing does not align with your wall studs, you must use heavy-duty toggle bolts or hollow-wall anchors designed to expand behind the drywall board. Keep in mind that the overall weight capacity of a rack mounted on drywall will be significantly lower than one installed on solid concrete, so you should limit the rack to lighter garments and avoid overloading it.
How do I remove the rack later without ruining the wall?
To remove the wall-mounted clothes display rack without causing extensive damage, start by carefully unscrewing the brackets while supporting the weight of the rack to prevent it from falling and scratching the wall. Once the rack is removed, use a pair of needle-nose pliers to gently pull plastic wall anchors straight out of the holes, taking care not to tear the surrounding drywall paper or paint. For metal toggle bolts, push the bolt slightly into the wall cavity and let the toggle wing drop behind the wall, leaving only a clean hole. Fill the remaining holes with a high-quality spackling compound or wall putty, smooth it flat with a putty knife, let it dry, sand it lightly, and apply a matching coat of paint to restore the wall to its original condition.
Community discussion
Share your experience or ask a question. Comments are reviewed before publication.