
Finding the perfect balance between organizing your footwear and preserving floor space often leads to the corner of a room. To choose the right corner shoe rack size, you must measure the depth and width along both adjacent walls from the corner apex, account for baseboard thickness, and align the shelf heights with your household’s footwear collection. Selecting a rack that fits perfectly prevents your entryway or bedroom from feeling cramped, while ensuring every pair of shoes has an accessible home.
In many homes, especially compact apartments or modern condominiums, entryways are narrow and highly trafficked. A corner shoe rack is an excellent spatial solution because it utilizes an under-utilized area that would otherwise remain empty. However, bringing home a rack that is even a few centimeters too wide can disrupt the flow of your home, block doors, or create a constant tripping hazard. By taking precise measurements and choosing a design that matches the physical constraints of your room, you can maximize your storage efficiency.
How to Measure Your Corner Space for a Shoe Rack
To ensure your new furniture fits seamlessly, begin with an accurate physical assessment of the corner. Grab a reliable steel tape measure, a pencil, and a notepad. It is crucial to maintain consistent measurement units—such as centimeters—throughout this entire process to avoid sizing and calculation errors when browsing product specifications.
Products mentioned in this guide
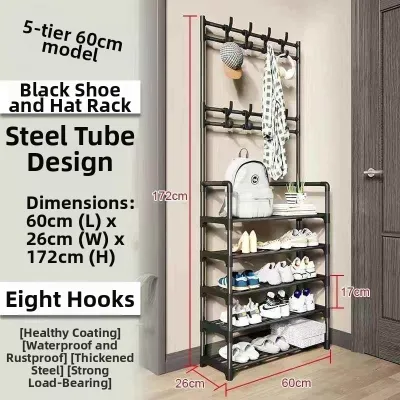
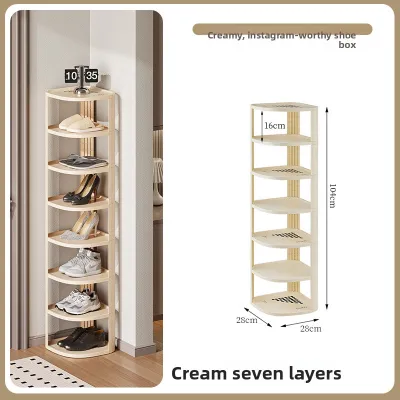
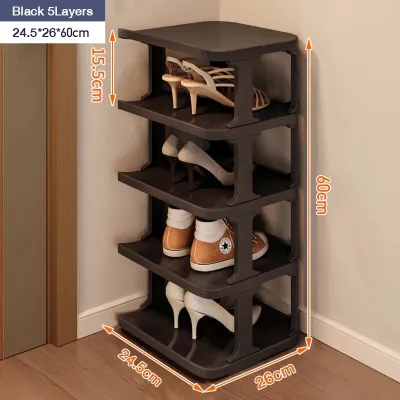
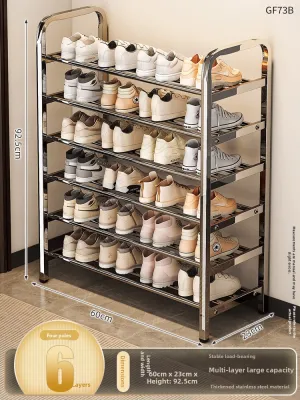
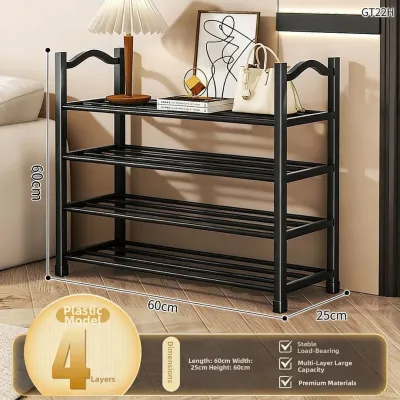
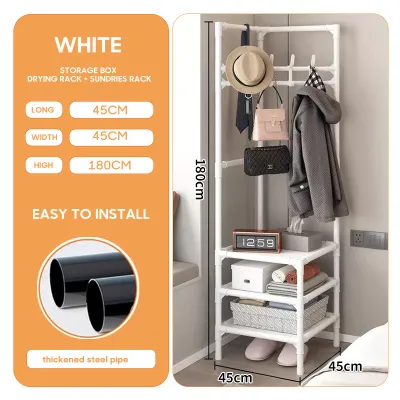
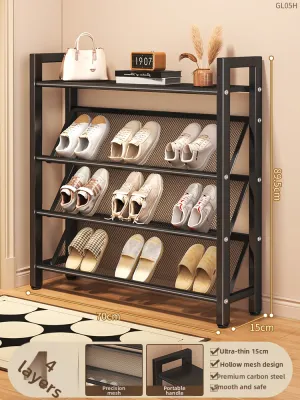
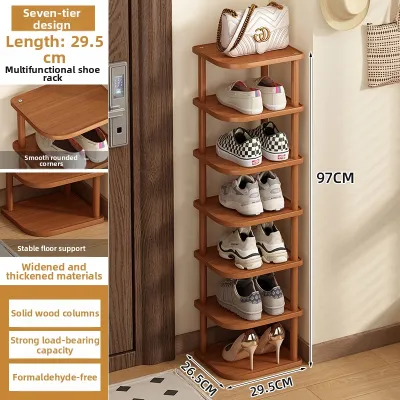
Prices are valid at publication and may change. Please refer to the product page for the latest price.
Begin by measuring the available width and depth directly from the corner apex, where the two walls meet. Extend your tape measure outward along the left wall to determine the maximum allowable width, and then do the same along the right wall to find the maximum depth. If you plan to place other furniture nearby, ensure you leave a buffer space so the items do not press against each other.
Next, examine the base of your walls. Most rooms feature baseboards (skirting boards) that run along the bottom of the wall. These baseboards project outward and can prevent a flat-backed corner shoe rack from sitting flush. Measure both the height and the thickness of your baseboards. Knowing these dimensions allows you to look for shoe racks with bottom cutouts designed to accommodate baseboards, or to factor the baseboard thickness into your overall depth calculations.
Do not forget to measure the vertical height clearance of the corner. While many corner shoe racks are low-profile units, taller multi-tiered towers require a clear vertical path. Check for obstacles such as low-hanging window sills, wall-mounted light fixtures, electrical outlets, light switches, or decorative wall art.
Finally, evaluate the surrounding environment for operational clearances. Open nearby doors fully to check their swing radiuses; a shoe rack placed too close to a door frame can easily obstruct the door’s movement. Note the locations of light switches and electrical outlets. You must avoid blocking access to these fixtures, as doing so can create daily inconveniences and potential electrical hazards if cords are bent or pinched behind heavy furniture.
Matching Shoe Rack Dimensions to Your Available Space
Once you have recorded your physical measurements, you can begin matching those dimensions to specific shoe rack profiles. Different corner layouts require different structural shapes to optimize the floor footprint without overcrowding the room.

For small or narrow corners, such as those found in tight entryways or compact corridors, vertical space is your greatest asset. Look for slim-profile, vertical tiered towers or half-moon corner racks. These designs minimize the floor footprint while expanding storage upward. A vertical rack that stands tall but occupies only a 30-by-30 centimeter corner footprint can easily hold several pairs of shoes without encroaching on your walking path.
Standard corners in average-sized bedrooms or living rooms can accommodate standard L-shaped or wedge-shaped multi-tier racks. These units typically extend further along the walls, offering a larger shelf surface area. They provide excellent stability and can hold heavier footwear collections. A wedge-shaped rack fits snugly into a 90-degree corner, utilizing the deep angle efficiently while presenting a clean, angled front profile that softens the look of the room.
If you have a large or deep corner, such as in a spacious foyer, a walk-in closet, or a wide hallway, you can explore high-capacity or rotating corner units. These larger pieces can accommodate multiple columns of shoes and may include integrated features like coat hooks. However, even in large spaces, it is vital to measure carefully to ensure the unit does not overwhelm the room’s proportions.
Maintaining clear walkways is a fundamental rule of residential space planning. After placing your corner shoe rack, you should ensure there is a standard pedestrian clearance of at least 60 to 90 centimeters for comfortable foot traffic. Additionally, consider the visual weight of the shoe rack design. Solid, dark-colored wooden cabinets with closed doors have a heavy visual weight and can make a small room feel cramped. Conversely, open-frame designs made of light bamboo or powder-coated metal allow light to pass through, creating an airy, spacious feel.
Calculating Shoe Capacity for Your Household Needs
A corner shoe rack must not only fit your physical space but also satisfy your household’s actual storage requirements. To find the right balance, you need to estimate your shoe capacity logically rather than guessing.
Establish a realistic framework by estimating the shoe count per person. Separate your collection into everyday wear—such as casual sneakers, sandals, and indoor slippers (tsinelas)—and occasional or specialty footwear, like formal leather shoes, high heels, or sports cleats. Everyday footwear should occupy the most accessible shelves on the corner rack, while seasonal or formal shoes can be stored on higher shelves or in secondary storage areas like closets.
To translate your total shoe count into the required number of rack tiers, consider the width of an average pair of shoes. Generally, a pair of adult shoes requires about 20 to 25 centimeters of horizontal shelf width. If you have an L-shaped corner rack with a shelf length of 50 centimeters on each side, you can comfortably fit two pairs of shoes per shelf. Multiply this by the number of tiers to determine if the rack can accommodate your target capacity.
Vertical spacing requirements vary significantly depending on the style of footwear you own. Flat shoes, sandals, and slippers need minimal vertical clearance, often requiring only 10 to 15 centimeters of space between shelves. In contrast, high-top sneakers, ankle boots, and high heels need a clearance of 20 to 30 centimeters or more. If your collection is diverse, choosing a corner shoe rack with adjustable shelves is highly recommended.
In the tropical climate of the Philippines, proper ventilation is a crucial factor in shoe storage. High relative humidity can quickly lead to moisture buildup, which fosters the growth of mold, mildew, and unpleasant odors, particularly on leather and canvas shoes. To combat this, avoid overstuffing your shoe rack. Leaving a small gap of 2 to 3 centimeters between each pair of shoes promotes healthy air circulation.
Common Sizing and Placement Mistakes to Avoid
Even with careful planning, certain common oversight errors can result in an unusable or unstable shoe storage setup. Being aware of these pitfalls beforehand helps you avoid the frustration of returning a bulky piece of furniture.
One of the most frequent mistakes is ignoring the door swing radius. If your corner is adjacent to an entry door or a closet door, a shoe rack that is too wide will block the door from opening fully. Over time, the door will repeatedly strike the rack, leading to unsightly scratches or knocked-over shoes. Always measure the path of the door swing and ensure your rack sits safely outside this arc.
Forgetting to account for baseboard thickness is another common error. If a corner shoe rack does not have a bottom cutout to clear the baseboards, it will be pushed away from the wall at the bottom. This creates an awkward gap at the top, which wastes space and causes the rack to lean forward. An unstable, leaning rack is highly prone to tipping over, especially when loaded with heavy shoes.
Overestimating the depth of your corner can also lead to significant problems. If the shoe rack projects too far out from the corner, it will encroach on the main walkway. This turns the corner of the rack into a sharp tripping hazard, particularly in dimly lit hallways.
Additionally, avoid purchasing fixed-size racks without verifying if the overall footprint leaves enough room to comfortably open nearby cabinet doors or low drawer units. Finally, always check the weight capacity of wall-mounted or stackable corner units. While these designs are excellent for saving floor space, overloading them with heavy footwear can lead to structural failure.
Space-Saving Corner Shoe Rack Designs for Tight Areas
When floor space is exceptionally tight, choosing a specialized corner shoe rack design can make a significant difference in both functionality and room aesthetics. Modern furniture configurations are highly tailored to maximize small footprints.
Rotating corner shoe racks, often designed like a Lazy Susan, are ideal for deep corners where reaching the very back can be difficult. These circular or semi-circular towers allow you to spin the shelves to access your shoes. This design maximizes storage density because it utilizes the entire depth of the corner, ensuring no space is wasted, while keeping every pair easily reachable.
Wall-mounted corner shelves are another excellent option for very tight spaces or narrow entryways. By lifting the storage unit off the floor, you keep the ground level completely clear. This makes it incredibly easy to sweep, mop, or vacuum underneath, which is particularly useful for managing the dust and dirt that shoes naturally track indoors.
Tiered wedge or L-shaped racks remain the standard, highly stable choice for maximizing the floor-level corner footprint. These designs hug the walls tightly, providing a solid base that is highly resistant to tipping. They are often made from durable materials like powder-coated steel, natural bamboo, or treated wood.
If you anticipate your shoe collection growing, consider expandable or stackable corner units. These modular systems allow you to start with a low, two-tier rack and add additional tiers vertically as your storage needs expand. Regardless of the design you choose, always check the material and finish of the shoe rack to ensure it can withstand local environmental conditions. In humid regions, look for rust-resistant hardware or naturally moisture-resistant materials like treated bamboo.
Frequently Asked Questions (FAQ)
How much space should I leave between a shoe rack and the wall?
You should ideally leave a small gap of approximately 2 to 5 centimeters between your corner shoe rack and the wall, especially if the unit does not feature built-in cutouts for baseboards. This small clearance prevents the rack from scratching your wall paint and allows adequate room for cleaning tools to reach behind the unit. More importantly, this gap promotes continuous airflow behind the rack, which helps reduce moisture buildup and prevents mold or mildew from developing on both your shoes and the wall surface in humid climates.
Can I put a corner shoe rack in front of an electrical outlet?
It is highly recommended that you avoid completely blocking an active electrical outlet with a solid-backed shoe rack, as this poses safety risks and limits accessibility. If you must place a rack in a corner with an outlet, choose an open-back wire frame design, a lower-profile unit that sits beneath the outlet, or a model with adjustable shelves that can be configured to leave the outlet completely clear. This ensures you can safely plug in appliances or electronics without bending cords sharply or creating a potential fire hazard behind your furniture.

Community discussion
Share your experience or ask a question. Comments are reviewed before publication.