
Setting up a new wardrobe in your bedroom does not have to mean spending hours deciphering confusing diagrams or paying extra for professional installation. For many households in the Philippines, finding a wardrobe that balances structural integrity with a straightforward, tool-minimal assembly process is the key to a successful DIY bedroom upgrade. The ideal flat-pack wardrobe should allow you to transition from unboxing to hanging your clothes in a single afternoon, without requiring specialized carpentry skills.
To achieve this, you must look past generic marketing claims and evaluate the actual design features, hardware systems, and structural materials of the furniture. A truly easy-to-assemble wardrobe relies on smart engineering, clear labeling, and pre-machined components that fit together predictably. By understanding what to look for before you buy, you can avoid the frustration of misaligned panels, missing hardware, and unstable frames, ensuring a smooth setup that stands the test of time.
What Makes a Wardrobe Truly "Easy" to Assemble?
The ease of assembling a flat-pack wardrobe is determined long before the boxes arrive at your doorstep. It is embedded in the engineering of the joints, the clarity of the manufacturing, and the modularity of the design. When browsing options, the first detail to examine is the connection hardware. Traditional furniture often relies on dozens of identical screws that require precise manual alignment and significant physical effort to drive into raw wood. In contrast, modern easy-assembly wardrobes utilize cam lock systems, wooden dowels, or tool-free snap-fit mechanisms. Cam locks allow you to secure major panels with a simple half-turn of a screwdriver, while snap-fit designs click together securely without any metal hardware at all.
Products mentioned in this guide
![[On Hand]Sliding Door Wardrobe Easy Assembly For Home Bedroom Rental Room Wardrobe Storage Economical Modern And Simple](https://img.lazcdn.com/g/p/45e2eb46456b947c8dcd5fbb69cbbbae.jpg_400x400q80.jpg_.webp)
Prices are valid at publication and may change. Please refer to the product page for the latest price.
Pre-machined precision is another critical factor that separates frustrating builds from seamless ones. High-quality DIY wardrobes feature clean, pre-drilled pilot holes for every single screw, hinge, and shelf support pin. If a manufacturer expects you to puncture the laminate or wood veneer yourself, the risk of misalignment and surface splitting increases dramatically. Look for product specifications that highlight pre-attached door hinges or pre-installed drawer runners. Having these intricate components already mounted to the side panels saves hours of tedious alignment work and ensures that doors hang straight and drawers slide smoothly from day one.
The overall architecture of the wardrobe also dictates the complexity of the build. A wardrobe composed of dozens of small, individual panels will naturally take longer to assemble and present more opportunities for error. Conversely, modular designs that use fewer, larger panels or pre-assembled frame sections simplify the process. Some modern wardrobes feature a folding main carcass that simply pops open, requiring you to only secure the back panel and insert the shelves. Prioritizing these simplified structural layouts reduces the cognitive load of reading complex diagrams and minimizes the physical fatigue associated with repetitive fastening tasks.
Key Dimensions and Space Checks Before You Buy
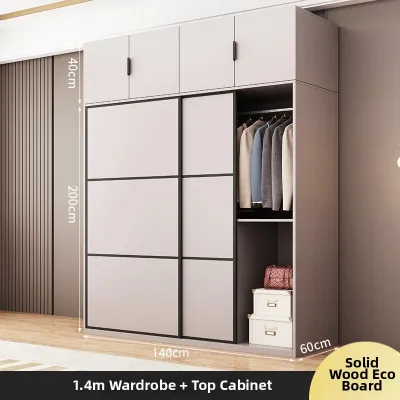
Before committing to a specific wardrobe model, conducting thorough spatial measurements is essential to avoid costly return shipping and assembly headaches. Begin by measuring the exact floor footprint where the wardrobe will stand. You must account not only for the width and depth of the unit but also for the clearance required to open the wardrobe doors and drawers fully. If your bedroom has limited space, sliding door wardrobes or open-closet systems are practical alternatives to traditional hinged doors, as they do not require front clearance to access your clothing.

Vertical clearance is equally critical, especially in homes with low ceilings or decorative crown molding. Measure the height of your ceiling at multiple points, as floors and ceilings are rarely perfectly level. Additionally, consider the assembly method of the wardrobe itself. Many flat-pack wardrobes must be assembled flat on the floor and then raised into an upright position. This diagonal tilt requires extra vertical clearance; if your ceiling height is exactly the same as the wardrobe height, you will not be able to stand the unit up after assembling it on the ground. In such cases, look for wardrobes designed to be built vertically from the base up.
Do not overlook the path the packaged boxes must take to reach your bedroom. Flat-pack wardrobes are often shipped in long, heavy, and awkward boxes that can be difficult to maneuver. Measure the width of your entryways, the clearance of tight hallway corners, and the height of stairwells. If you live in a multi-story condominium or apartment building, verify the interior dimensions of the elevator to ensure the packages can fit inside. Knowing these dimensions beforehand prevents the frustration of having a delivery left in your living room because the boxes cannot clear the turn in your staircase.
Finally, account for architectural details like baseboards, skirting boards, and wall outlets. A wardrobe that cannot sit flush against the wall due to a thick baseboard will have a gap behind it, which can compromise stability and allow dust to accumulate. Some manufacturers design their side panels with a small cutout at the bottom rear to accommodate standard skirting boards. Additionally, ensure that the wardrobe will not block access to essential wall outlets, light switches, or air conditioning vents, as blocking these can create safety hazards and daily inconveniences.
Material and Structural Stability for DIY Builds
When selecting a flat-pack wardrobe, understanding the materials used in its construction is vital for ensuring long-term durability, especially under the environmental conditions of the Philippines. Engineered wood, such as medium-density fibreboard (MDF) and particle board, is the most common material for DIY furniture due to its affordability and smooth finish. However, these materials are highly sensitive to moisture. In humid tropical climates, unsealed engineered wood can absorb airborne moisture, leading to swelling, warping, and a loss of structural integrity. To prevent this, check that all edges of the panels, including the hidden bottom and back edges, are fully sealed with melamine or PVC edge banding.
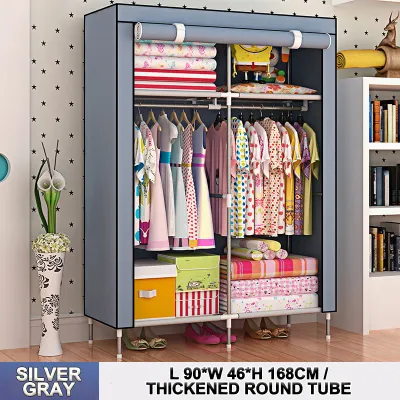
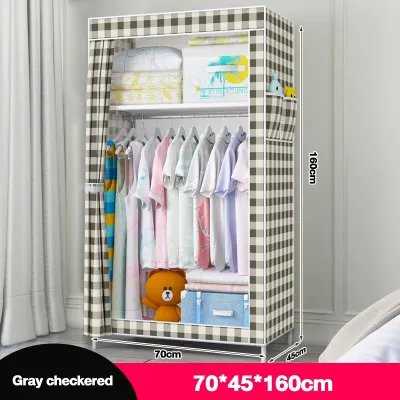
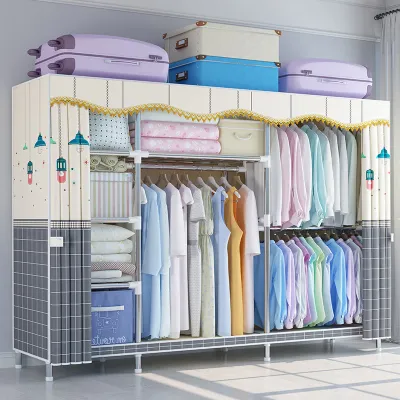
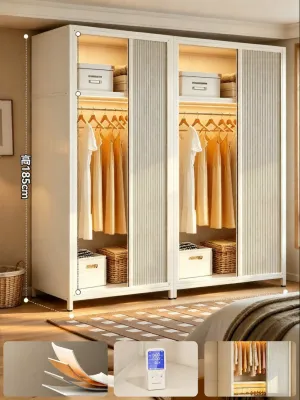
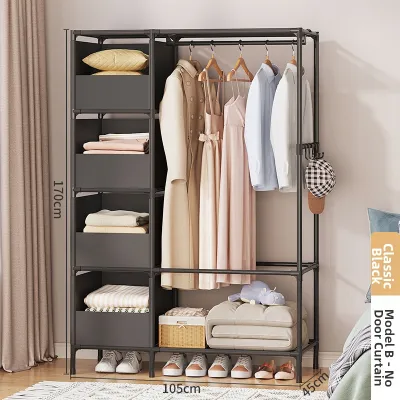
For areas prone to high humidity or for users seeking maximum longevity, metal-framed wardrobes with fabric or wire-mesh shelving offer an exceptionally stable and breathable alternative. Metal frames are immune to moisture damage and pests, and they often feature simple slip-fit joint connections that make assembly incredibly fast. If you prefer the aesthetic of wood, look for wardrobes constructed from high-quality engineered wood with a water-resistant laminate finish, or consider solid wood options that use lightweight, sustainable timbers like rubberwood, which are pre-treated against warping and insect infestation.
The back panel of a wardrobe is often dismissed as a minor component, but it is actually the most critical element for structural stability. Without a securely attached back panel, a wardrobe will sway from side to side and eventually collapse under its own weight. Cheaper models often use thin cardboard backings that must be nailed into the frame, which can easily pull loose over time. For a more robust and easier assembly experience, look for wardrobes that feature a slide-in back panel that fits into pre-routed grooves in the side panels, or those that use screws and plastic back-panel connectors to lock the structure square.
Lastly, always verify the manufacturer’s stated weight capacities for both the hanging rails and individual shelves. Overloading a wardrobe is a primary cause of sagging shelves and structural failure. A standard wooden hanging rail should be supported by sturdy metal brackets, and shelves should rest on metal support pins rather than plastic ones. If you plan to store heavy items like winter coats, denim, or storage boxes, distribute the weight evenly and ensure the load limits align with your storage needs. Checking these specifications on the product label or digital manual before buying prevents premature wear and ensures your DIY build remains safe and functional.
How to Evaluate Online Listings and Retailer Claims
Shopping for furniture on ecommerce platforms and online marketplaces requires a critical eye to separate high-quality DIY wardrobes from flimsy, frustrating alternatives. Because you cannot physically touch the product before purchasing, user reviews are your most valuable resource. Do not just look at the overall star rating; instead, filter reviews to read comments specifically mentioning the assembly process. Look for feedback regarding the clarity of the instruction manual, whether all necessary hardware was included, and how long the setup actually took. Reviews that include photos or videos of the assembled product in real homes offer a much more accurate representation of color, scale, and stability than polished promotional images.
A reputable manufacturer or retailer will make the assembly instructions accessible before you make a purchase. Look for listings that provide downloadable PDF manuals or step-by-step assembly videos on the product page. Reviewing the manual beforehand allows you to assess the complexity of the build, identify the tools required, and determine if the instructions are written in clear, understandable language with detailed diagrams. If a retailer refuses to provide instructions or if the manual consists of a single, poorly printed sheet with no text, it is often a sign of a low-quality product that will be difficult to assemble.
Price comparison is another important step, but it must be balanced against the quality of materials and customer support. While budget-friendly options priced under ₱3,000 are widely available, they often compromise on hardware quality and panel thickness. Investing slightly more in a mid-range wardrobe can yield significantly better hardware, clearer instructions, and more durable materials. Additionally, verify the retailer’s return policy and warranty terms. Ensure that the seller offers a straightforward process for replacing parts that are damaged during transit or missing from the box, as shipping heavy flat-pack furniture across the Philippines can occasionally result in minor cosmetic damage or misplaced hardware.
Essential Tools and Safety Steps for Quick Setup
Even if a wardrobe claims to feature tool-free assembly, having a few basic hand tools nearby will make the process much smoother and safer. A rubber mallet is incredibly useful for gently tapping wooden dowels and panels into place without marring the finished surface. A standard Phillips screwdriver is essential for securing cam locks and hinges, while a hand level ensures that the wardrobe stands perfectly straight. Avoid using high-powered electric drills or impact drivers unless the manual explicitly recommends them; the high torque of power tools can easily strip pre-drilled holes, crack engineered wood panels, and ruin the furniture’s finish.
Preparing your workspace is the first step toward a successful build. Clear a large, clean area on the floor of the room where the wardrobe will permanently reside. To protect both your bedroom floor and the finish of the new wardrobe panels, lay down a soft barrier. You can use the flattened cardboard boxes the wardrobe was shipped in, or spread out a clean blanket or tarpaulin. Unpack all components carefully, group identical hardware pieces into small bowls or trays, and count them against the parts list in the manual to ensure nothing is missing before you begin assembly.
Safety should always be your top priority during a DIY furniture build. Tall, heavy furniture poses a significant tip-over hazard, especially when drawers are pulled out or heavy items are hung near the front. Most reputable manufacturers include wall-anchoring hardware with their wardrobes. It is vital to follow these instructions and secure the wardrobe to the wall. For concrete or masonry walls common in Philippine homes, you will need a masonry drill bit and appropriate wall plugs to ensure a secure hold. Never skip this step, as anchoring the unit provides essential stability and peace of mind, protecting your household from accidental tipping.
Frequently Asked Questions (FAQ)
Can I assemble a large wardrobe by myself?
While it is technically possible to assemble smaller wardrobes or modular shelving units alone, assembling a large, full-sized wardrobe is highly recommended as a two-person job. The primary challenge of solo assembly is not the complexity of the instructions, but the physical handling of large, heavy panels. Attempting to lift and align a tall side panel while simultaneously tightening a cam lock can lead to dropped pieces, damaged joints, or personal injury. Furthermore, raising a fully assembled wardrobe from a flat position on the floor to an upright stance puts immense lateral stress on the bottom joints; having a second person to help lift and stabilize the unit ensures the frame does not twist or break during this critical transition.
What should I do if the pre-drilled holes do not align?
If you encounter pre-drilled holes that do not seem to align, the first step is to stop and verify the orientation of the panels. It is incredibly common to accidentally install a shelf or side panel backward or upside down, which can make the holes appear misaligned by just a few millimeters. Double-check the diagrams in the manual, paying close attention to the position of finished edges and small pilot holes. If the orientation is correct but the holes are still slightly off, try loosening the adjacent screws on the connected panels. Keeping the overall structure slightly loose allows for minor adjustments and wiggle room; once all screws are threaded into their respective holes, you can go back and tighten them all securely.

Community discussion
Share your experience or ask a question. Comments are reviewed before publication.