
Finding the right shoe rack for a compact condominium closet in the Philippines requires balancing limited floor space with the need for proper ventilation in a tropical climate. Most standard condo closets feature a depth of around 40 to 60 centimeters, meaning a standard shoe rack might block sliding doors or prevent swing doors from closing fully. To maximize this tight space, you must select a rack that matches your closet’s exact interior footprint while leaving enough clearance for daily access.
By focusing on precise measurements, layout compatibility, and realistic capacity calculations, you can keep your footwear organized without cluttering your bedroom. This guide provides a practical framework to help you measure your space, choose the right rack design, and maintain your closet system over time.
Measuring Usable Closet Space and Door Clearance
Before browsing online marketplaces or visiting local furniture showrooms, you must obtain precise measurements of your closet’s interior. Use a steel measuring tape to record the width, depth, and height of the specific area where you plan to place the shoe rack. Do not rely on the general dimensions of the wardrobe frame, as internal partitions, drawers, and support panels often reduce the actual usable space.
Products mentioned in this guide
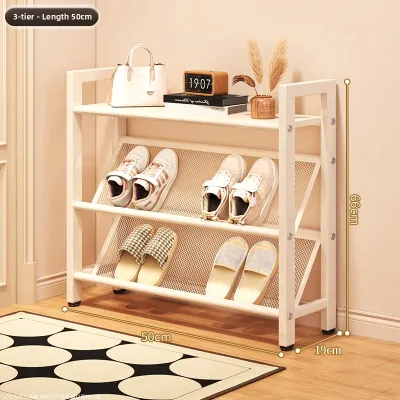
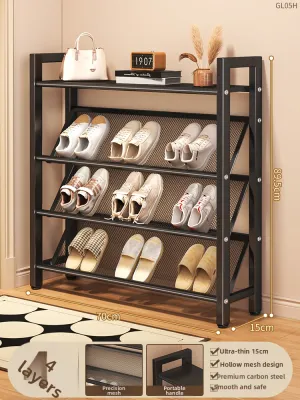
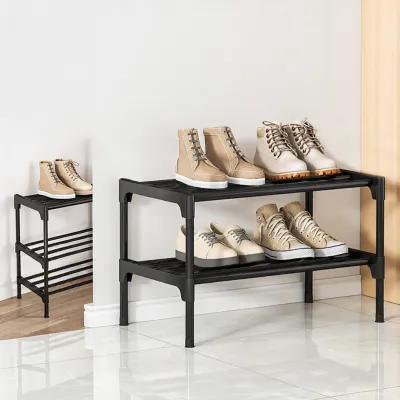
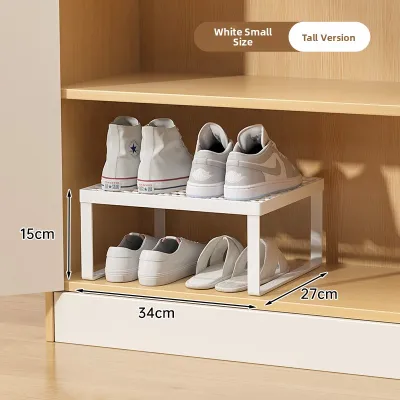
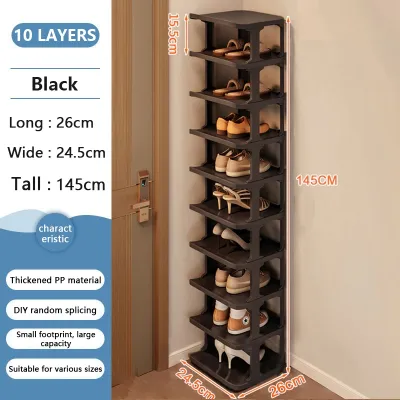
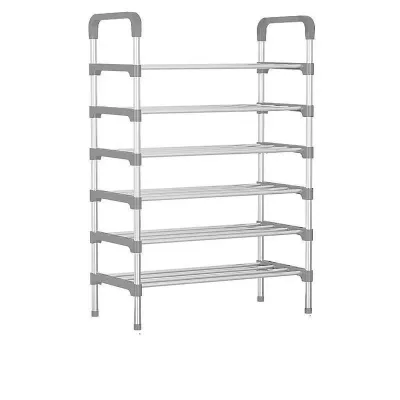
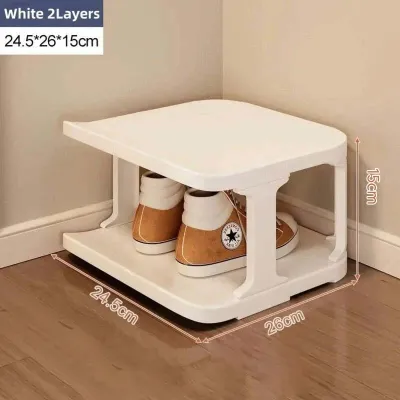
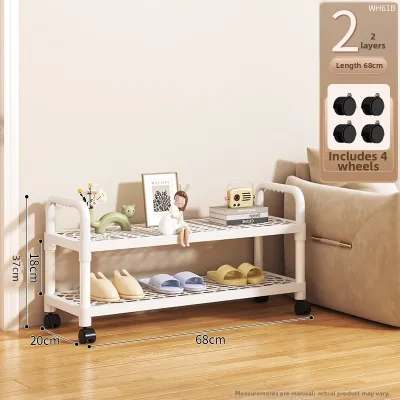
Prices are valid at publication and may change. Please refer to the product page for the latest price.
Pay close attention to hidden physical obstructions that can interfere with the rack’s placement. Baseboards running along the bottom of the closet wall can steal several centimeters of width, preventing a tight-fitting rack from sitting flush. Similarly, protruding door hinges, internal drawer handles, and low-hanging clothes rods can restrict where a rack can physically stand. Measure the height from the floor to the bottom of your hanging clothes to determine how tall your shoe rack can be without crushing your garments.
Door clearance is another critical factor that many condo residents overlook. If your closet features sliding doors, the shoe rack must sit completely behind the front track to allow the doors to glide smoothly. For closets with swing doors, ensure the rack does not obstruct the door’s path or prevent it from closing tightly. You should also verify that there is enough walkway space in front of the closet to comfortably stand and retrieve your shoes.
In the humid Philippine climate, proper airflow is essential to prevent mold and mildew from developing on your footwear and closet walls. Avoid choosing a shoe rack that fits too tightly against the back and sides of the closet. Leaving a ventilation gap of at least two to five centimeters around the rack allows air to circulate, protecting your shoes from moisture damage during the rainy season.
Matching Shoe Rack Dimensions to Your Closet Layout
Once you have your closet’s exact measurements, you can match them to a compatible shoe rack profile. For shallow closets with a usable depth of less than 30 centimeters, standard flat-shelf racks are rarely practical. Instead, look for ultra-slim tilting shoe cabinets. These designs store shoes at an angle, reducing the required depth of the unit to as little as 15 to 20 centimeters while still keeping your footwear fully enclosed.

If your closet has ample depth but limited width, tiered or stackable shoe racks are highly effective. These units allow you to utilize vertical space under short-hanging clothes like shirts and folded trousers. Choosing a modular system is particularly advantageous, as it allows you to add or remove tiers to adapt to changing storage needs or seasonal wardrobe updates.
Consider the structural trade-offs between different mounting styles based on your living situation. Floor-standing units are highly stable and require no installation, making them ideal for renters who want to avoid damaging closet walls. However, they consume valuable floor space that you might otherwise use for luggage or storage boxes.
Over-the-door organizers and wall-mounted racks offer excellent space-saving alternatives by freeing up the closet floor entirely. If you choose an over-the-door model, verify that your closet door hinges are strong enough to support the combined weight of the organizer and your shoes. For wall-mounted options, check your condo association’s guidelines regarding drilling into walls, especially if the closet backing is made of thin plywood or plasterboard.
Calculating Realistic Shoe Capacity for Compact Spaces
To avoid purchasing a rack that quickly becomes overcrowded, you must calculate its capacity based on the specific types of shoes you own. Manufacturers often advertise shoe rack capacities using small, flat footwear like sandals or slippers as a baseline. A rack labeled for twelve pairs may only accommodate eight pairs of bulky athletic sneakers, work boots, or high heels.
To find your realistic capacity, measure the sole width of your widest shoes. Men’s running shoes and chunky sneakers generally require 20 to 25 centimeters of horizontal space per pair, whereas women’s flats or sandals may only need 15 to 18 centimeters. Divide the usable width of each shelf by these measurements to determine how many pairs will actually fit side-by-side without overlapping.
Always plan for a small spatial buffer rather than packing the rack to its absolute physical limit. Leaving a gap of a few centimeters between each pair of shoes prevents them from rubbing against one another, which can cause scuffing, color transfer, or material deformation. A buffer also ensures that air can flow freely around each shoe, helping them dry out after exposure to outdoor humidity or sudden downpours.
Overcrowding your shoe rack can also compromise its structural integrity. When too many heavy shoes are crammed onto a single shelf, the support bars may sag, or the entire frame may become unstable. If you notice the rack wobbling when you retrieve a pair, or if shoes are constantly falling off the edges, it is a clear sign that you have exceeded the practical capacity of the unit.
Checking Stability, Weight Limits, and Assembly Requirements
Before finalizing your purchase, carefully review the manufacturer’s product specifications for weight limits and load distribution. Lightweight plastic or fabric shoe racks are highly portable, but they can easily buckle under the weight of heavy leather shoes or boots. Ensure the specified load capacity per shelf is sufficient for your heaviest footwear, and place heavier items on the bottom shelves to maintain a low center of gravity.
Assembly conditions are another practical consideration for condo dwellers. Verify the dimensions of the shipping box to ensure it can fit through your building’s passenger elevator, hallways, and unit doorway. If the rack requires assembly, check what tools are needed and whether the package includes clear instructions and all necessary hardware.
For tall, narrow, or lightweight shoe racks, stability is a primary safety concern. In a tight closet space, a top-heavy rack can easily tip over when you pull a shoe from the upper tiers. Check if the product includes wall-anchoring hardware, such as safety straps or brackets, to secure the unit to the closet wall. This precaution is especially important if you live in an area prone to seismic activity or if you share your home with active pets.
Finally, inspect the surface finishes and care instructions of the shoe rack materials. In tropical environments, untreated metal components can quickly rust, while low-grade particle board may swell and warp when exposed to ambient humidity. Look for durable materials such as powder-coated steel, rust-resistant aluminum, or treated solid wood. Ensure the surfaces can be easily wiped clean with a damp cloth to remove dust, dirt, and moisture brought in from the outdoors.
Frequently Asked Questions (FAQ)
Using Hanging Organizers or Tension Rods as Alternatives
Hanging fabric organizers that attach directly to your closet rod are excellent for lightweight footwear like slippers, sandals, and canvas flats. However, they have much lower load-bearing limits than rigid floor-standing racks. Heavy leather shoes or thick-soled sneakers can cause the fabric shelves to sag, stretching the seams and putting unnecessary strain on your closet rod. Tension rods can serve as temporary shoe ledges in tight corners, but they require solid, parallel walls to grip effectively and may slip if overloaded.
Protecting Closet Floors from Scratches and Dirt
Floor-standing shoe racks can scratch laminate, vinyl, or polished wood closet floors during assembly or when shifted for cleaning. Before assembling your rack, check if the base features non-slip rubber pads or protective plastic feet. If it does not, you can apply aftermarket felt pads to the bottom of the legs. To protect your closet floor from dirt, mud, and rainwater carried in on your soles, place a washable plastic drip tray or a low-profile silicone mat underneath the rack to catch debris.

Community discussion
Share your experience or ask a question. Comments are reviewed before publication.