
Building a custom DIY bookshelf organizer is an excellent way to maximize your storage space while creating a tailored home for your favorite books and decorative items. By constructing your own shelving unit, you gain complete control over the dimensions, materials, and finish, ensuring the final piece fits seamlessly into your home office or study. In tropical environments like the Philippines, where high humidity can affect wood and engineered boards, building your own organizer allows you to select moisture-resistant finishes and sturdy joints that stand up to local climate conditions. This step-by-step guide will walk you through the entire process, from initial measurements to the final safety checks, helping you create a durable and functional piece of furniture.
Planning Your Custom Bookshelf Organizer
To ensure your DIY bookshelf organizer fits perfectly, begin by thoroughly measuring the designated wall or floor space. Use a reliable tape measure to determine the maximum width, height, and depth available in your room. Remember to account for baseboards, which can prevent a flush fit against the wall, as well as electrical outlets, light switches, and nearby furniture clearance. If your room has tiled or slightly uneven concrete floors, note these variations early so you can adjust the base of your organizer during assembly.
Next, determine the required shelf depth and height based on the specific items you plan to store. Standard novels typically require a shelf depth of 20 to 25 centimeters, while larger textbooks, binders, or decorative items may need 30 centimeters or more. Consider incorporating adjustable shelves or varying the vertical spacing between shelves to accommodate different book sizes without wasting vertical space.
Products mentioned in this guide
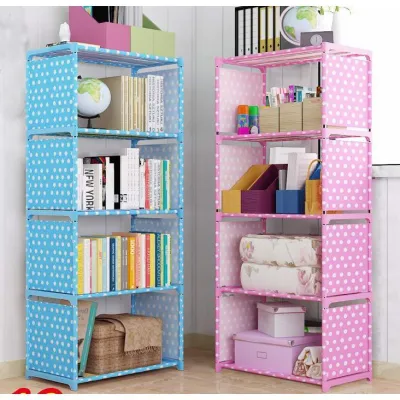
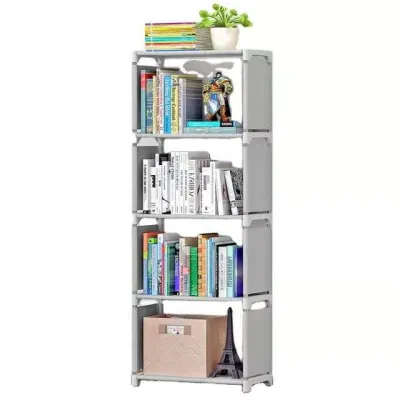
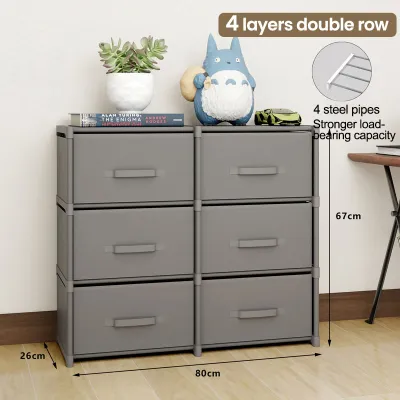
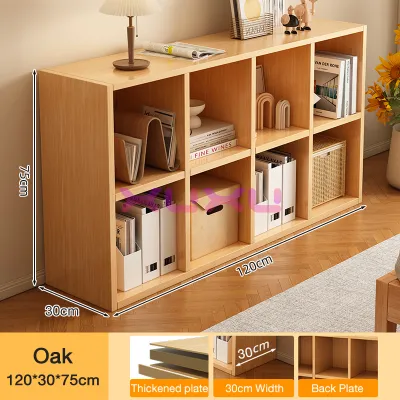
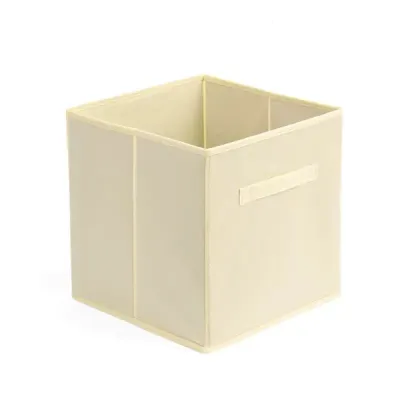
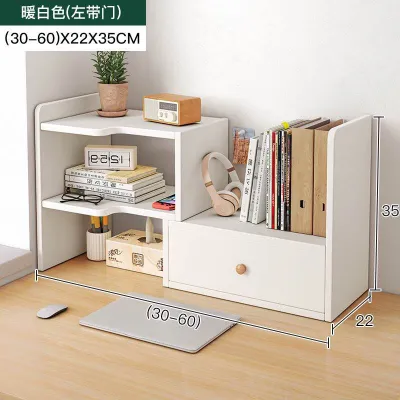
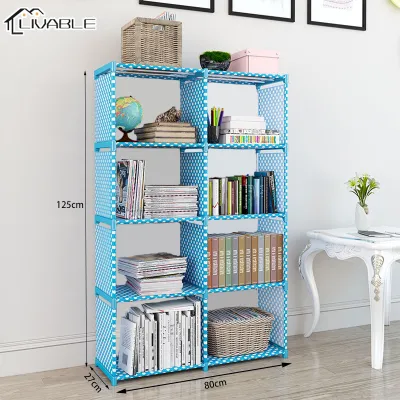
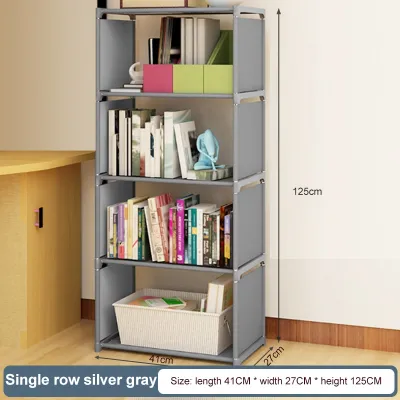
Prices are valid at publication and may change. Please refer to the product page for the latest price.
Weight capacity is another critical factor in your planning phase. Books are surprisingly heavy when packed together, so you must select materials that can support the load without sagging. Check the manufacturer specifications for wood types or engineered boards, such as plywood or medium-density fiberboard (MDF). In humid climates, solid wood or high-quality marine plywood is often preferred over standard particle board, as they offer better resistance to moisture-induced warping. Always verify the structural limits of your chosen material before purchasing your supplies.
Essential Tools and Materials Checklist
Having the right tools and materials on hand before you begin will ensure a smooth building process and prevent unnecessary interruptions. For measuring and marking, you will need a tape measure, a pencil, and a carpenter’s square to guarantee perfectly straight lines. For cutting and assembly, a circular saw or a fine-toothed hand saw, along with a power drill and a set of driver bits, are essential. A reliable level is also indispensable for keeping your shelves perfectly horizontal.

Your materials list should include your chosen wood or engineered boards, cut to your planned dimensions. To join the pieces securely, gather high-quality wood screws, heavy-duty wood glue, and metal L-brackets if you plan to add extra structural support. When budgeting for your materials at local hardware stores, expect to allocate funds in ₱ for quality fasteners, wood glue, and sandpaper. Ensure the length of your screws is appropriate for the thickness of your boards; screws should penetrate at least halfway into the receiving board to create a strong joint without splitting the material.
Safety must always be your top priority in any workshop environment. Always wear eye protection to shield your eyes from flying wood chips and dust. A high-quality dust mask is essential, especially when cutting or sanding engineered woods like MDF, which can release fine particles into the air. If you are using power tools, hearing protection is also highly recommended to safeguard your ears during extended use.
Step-by-Step Construction Process
Constructing your DIY bookshelf organizer involves a logical, sequential workflow that prioritizes safety and precision. By breaking the project down into manageable phases, you can focus on accuracy at every joint and cut. Take your time during each step, as rushing can lead to misaligned shelves or uneven cuts that compromise the stability of the final structure.
Preparing and Cutting the Components
Begin by transferring your planned dimensions onto your wood or engineered boards. Use a sharp pencil and a carpenter’s square to mark your cut lines clearly across the surface of the material. Double-check every measurement before making a cut, adhering to the classic woodworker’s rule: measure twice, cut once.
When executing your cuts, secure the material firmly to your workbench or saw horses using clamps. This prevents the board from shifting, which can cause crooked cuts or dangerous binding of the saw blade. If you are using a circular saw, place the good side of the wood facing down to minimize splintering on the visible surface. For hand saws, use slow, steady strokes and let the tool do the work rather than forcing it through the wood.
Once all your pieces are cut, lay them out on a flat surface for a dry-fit. Assemble the frame and shelves without any glue or screws to verify that all components align perfectly. This step allows you to identify any minor measurement errors or uneven cuts and correct them before making permanent connections.
Assembling the Frame and Shelves
With your pieces verified, you can begin the assembly process. Always pre-drill pilot holes before driving screws into your wood or engineered boards. Pilot holes prevent the material from splitting, especially near the edges, and guide the screw straight into the adjoining piece. Choose a drill bit that is slightly smaller than the shank of your screws for the best grip.
To create incredibly strong joints, apply a thin, even bead of wood glue to the mating surfaces before fastening them with screws. The combination of wood glue and screws creates a bond that is often stronger than the wood itself. Wipe away any excess glue that squeezes out of the joints immediately with a damp cloth, as dried glue can block wood stains and finishes later.
Throughout the assembly, constantly check your work with a carpenter’s level and square. Ensure that the vertical supports are perfectly plumb and the horizontal shelves are completely level. Even a minor misalignment at the base can amplify as you build upward, resulting in a crooked organizer that is difficult to install safely.
Sanding and Applying the Finish
Sanding is a crucial step that transforms your raw assembly into a polished, professional piece of furniture. Start with a coarse sandpaper grit, such as 120-grit, to smooth out rough cut edges and remove any manufacturing marks. Progressively work your way up to a finer grit, like 220-grit, to achieve a smooth surface on all visible faces and edges.
After sanding, clean away all wood dust completely. Use a vacuum cleaner with a brush attachment, followed by a tack cloth or a slightly damp microfiber cloth, to ensure no dust remains on the surfaces. Any leftover dust will become trapped in your finish, creating a rough, bumpy texture.
Apply your chosen finish—whether it is wood stain, paint, or a clear protective sealant—strictly according to the manufacturer’s label instructions. In humid tropical climates, applying a high-quality sealant or polyurethane is highly recommended to protect the wood from moisture absorption and warping. Allow adequate drying time between coats as specified by the product label, and lightly sand with fine sandpaper between coats for the smoothest possible finish.
Installation, Anchoring, and Safety Checks
Once your finish is completely dry, it is time to position and secure your bookshelf organizer. Evaluating whether your unit requires wall anchoring is a critical safety step. Tall or narrow shelving units are highly susceptible to tipping over, which poses a severe hazard in homes with children, pets, or uneven flooring. If your organizer is taller than it is wide, wall anchoring is strongly recommended.
To anchor the unit securely, locate the wall studs using a stud finder. Fasten heavy-duty metal brackets or safety straps directly into the studs using screws specified by the hardware manufacturer. If studs are not available at your desired location, use high-quality hollow-wall anchors designed for your specific wall type, such as drywall or concrete. Never rely on simple nails or light-duty plastic plugs to secure a heavy bookshelf.
Finally, load your bookshelf organizer systematically to maintain structural stability. Distribute the weight evenly across all shelves, placing your heaviest books, binders, and storage boxes on the bottom shelves. This keeps the center of gravity low, significantly reducing the risk of tipping and minimizing the stress on the upper joints of your custom organizer.
Frequently Asked Questions (FAQ)
Can I build a bookshelf organizer without power tools?
Yes, you can successfully build a bookshelf organizer using only manual hand tools. You can use a traditional hand saw for cutting and a manual screwdriver for assembly, though the process will require more physical effort and time. Alternatively, you can plan your dimensions in advance and have your wood pre-cut at a local hardware store or lumber yard. This eliminates the need for any sawing at home, leaving you with only the assembly, sanding, and finishing steps to complete with basic hand tools.
How do I prevent wooden shelves from sagging under heavy books?
Preventing shelf sag depends on the relationship between the shelf’s span, its material thickness, and the weight of your books. For standard plywood or MDF shelves, keeping the unsupported shelf span within a moderate range—typically under 80 centimeters—helps prevent noticeable bowing. If you need wider shelves, you can reinforce them by adding a solid wood cleat along the back wall, attaching a decorative wood trim (edge banding) to the front edge, or installing a vertical center support. These reinforcements distribute the load more evenly and keep your shelves straight over time.

Community discussion
Share your experience or ask a question. Comments are reviewed before publication.