
Building a custom wardrobe allows you to maximize your bedroom space while tailoring your storage to your exact organizational needs. A DIY sliding cabinet is an exceptional solution for compact rooms where traditional swinging doors would block foot traffic or interfere with nearby furniture. By constructing your own unit, you can design dedicated compartments for folded clothes, hanging garments, and accessories, ensuring every item has a designated place.
Successfully executing this project requires careful planning, precise cutting, and the correct installation of sliding hardware to ensure smooth, long-term operation. In tropical environments like the Philippines, selecting the right materials and finishes is also essential to protect your wardrobe from humidity and warping. This guide walks you through the entire process of building a durable, functional sliding cabinet from scratch.
Planning Your Sliding Cabinet Design and Dimensions
Before purchasing any materials or making your first cut, you must accurately assess your bedroom space and establish the cabinet’s external dimensions. Begin by measuring the available floor width, floor depth, and total ceiling height in the area where the wardrobe will stand. It is crucial to measure at multiple points along the wall, as residential walls and floors are rarely perfectly flat or plumb.
Products mentioned in this guide
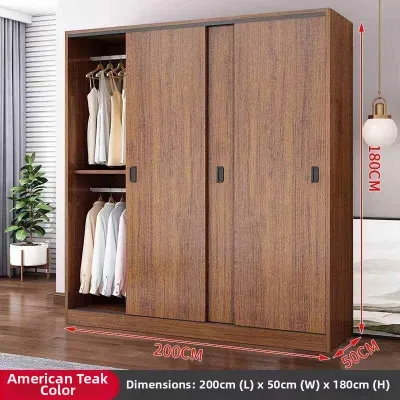
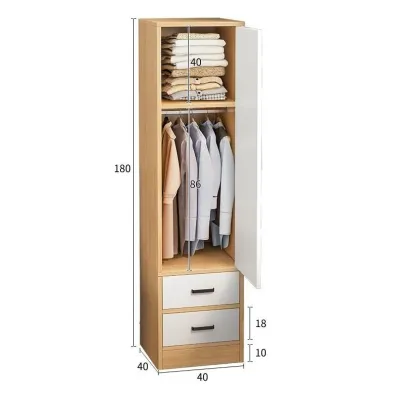
![[On Hand] Simple Assembly Wardrobe Organizer Nordic Luxury Sliding Door Cabinet 180cm Sturdy Wood Furniture for Bedroom Use](https://img.lazcdn.com/g/p/3f080e2e16f48419dfa608d8323bfd4d.jpg_400x400q80.jpg_.webp)
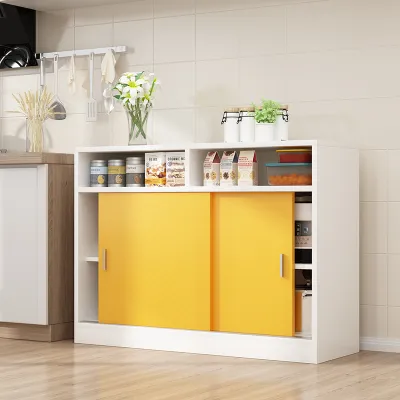
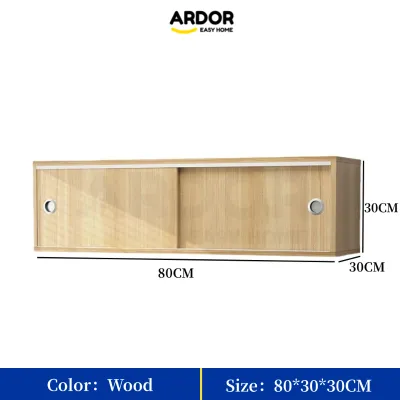
Prices are valid at publication and may change. Please refer to the product page for the latest price.
When calculating the depth of your cabinet, aim for a finished external depth of at least 60 to 65 centimeters. This dimension ensures that hanging clothes have enough clearance to hang freely without rubbing against the back panel or interfering with the movement of the sliding doors. Remember to account for the thickness of your sliding door track system, which typically requires about 8 to 10 centimeters of dedicated depth at the front of the cabinet.
Next, sketch your internal compartment layout on paper or using design software to map out your storage zones. Divide the interior into logical sections, such as tall hanging areas for dresses, shorter double-hanging sections for shirts, and columns of shelves for folded items. You must ensure that any internal drawers or pull-out trays are positioned away from the center overlap zone of the sliding doors, otherwise, the doors will block them from opening.
Selecting Tools and Materials for the Build
Choosing the right sheet goods is critical for the structural integrity and longevity of your wardrobe, especially in humid climates. Marine plywood or high-grade veneer-core plywood is highly recommended for the main frame and shelves due to its superior resistance to moisture and warping compared to standard particle board. Inspect the sheets at your local supplier to ensure they are flat, free of major voids, and have smooth face veneers.

Your sliding door hardware is the most important mechanical component of the build, so select a high-quality track and roller kit. Check the manufacturer’s specifications to verify that the track system is rated to support the estimated weight of your door panels. Heavy plywood doors require robust, ball-bearing rollers and sturdy aluminum tracks to prevent sagging and ensure a smooth, quiet glide over time.
To complete this project efficiently, gather the necessary woodworking tools and fasteners before beginning assembly. You will need a circular saw or track saw with a fine-tooth plywood blade, a pocket hole jig, a power drill and driver, a level, a speed square, and a tape measure. Stock up on high-quality wood glue, pocket hole screws, brad nails, and heavy-duty assembly screws to secure the joints.
Constructing the Main Cabinet Frame
Start by cutting your plywood sheets down to the planned dimensions for the top, bottom, side panels, and back. To achieve clean, straight edges without splintering the wood fibers, use a straight-edge guide rail with your circular saw and place a piece of painter’s tape along the cut line. Label each piece clearly as you cut them to avoid confusion during assembly.
Assemble the outer box of the cabinet using pocket hole joinery and wood glue for maximum strength and a clean exterior appearance. Drill pocket holes along the inner faces of the top and bottom panels where they meet the side panels. Apply a consistent bead of wood glue to the joints, clamp the panels securely together at a perfect 90-degree angle, and drive the pocket hole screws home.
Before the glue dries, verify that the frame is perfectly square by measuring diagonally from corner to corner in both directions. If the two diagonal measurements are identical, your frame is square; if they differ, gently adjust the frame until they match. Once squared, attach a solid plywood back panel—ideally at least 6mm thick—using wood glue and brad nails to prevent the cabinet from racking or swaying.
Building and Installing Internal Storage Compartments
With the outer shell assembled, you can begin constructing the internal storage system by installing vertical dividers. These dividers run from the bottom panel to the top panel (or to a fixed horizontal shelf) and serve as crucial structural supports that prevent long horizontal shelves from sagging under heavy loads. Secure these dividers using pocket holes or countersunk wood screws driven from the outside of the frame.
For maximum flexibility, use adjustable shelves rather than permanently fixing every shelf in place. You can easily drill precise, evenly spaced holes for shelf pins using a commercial shelf pin jig and a drill bit with a depth stop. Ensure the holes on the left and right sides of each compartment are perfectly aligned so your shelves sit completely level when installed.
Mount your hanging rods by securing heavy-duty rod closets flanges to the side panels or vertical dividers. Position the rods at a height that accommodates your garments, leaving at least 100 centimeters of vertical clearance for shirts and up to 160 centimeters for long dresses. Double-check that the rod is positioned deep enough within the cabinet so that hangers do not protrude past the track line and obstruct the sliding doors.
Mounting the Sliding Door Track and Panels
Begin the door installation by mounting the top and bottom tracks to the cabinet frame. Position the top track flush with the front edge of the cabinet’s top panel and secure it with the screws provided in your hardware kit. Use a plumb bob or a laser level to align the bottom track perfectly parallel and vertically aligned with the top track, as even a minor misalignment will cause the doors to bind.
Prepare your sliding door panels by cutting them to size, ensuring they are slightly shorter than the internal opening height to accommodate the track and roller hardware. Install the roller assemblies onto the top or bottom edges of the door panels, strictly following the spacing and mounting instructions provided by the hardware manufacturer. If your kit includes floor guides, mount them securely to the bottom panel to keep the doors aligned.
Carefully lift the door panels into the tracks, starting with the rear door first, followed by the front door. Once the doors are hung, locate the adjustment screws on the roller assemblies to fine-tune the height and tilt of each panel. Adjust these screws until the doors glide smoothly from side to side, sit perfectly plumb against the outer cabinet walls, and meet without leaving any visible gaps.
Final Safety Checks and Finishing Touches
Because a tall wardrobe can pose a serious tipping hazard, anchoring the unit securely to your bedroom wall is a critical safety step. Locate the wall studs behind the cabinet, or use heavy-duty anchors if mounting directly into concrete or masonry walls. Secure the top of the cabinet frame to the wall using sturdy L-brackets and structural screws, ensuring the unit cannot tip forward if children climb on the shelves.
Conduct a thorough operational test of all moving parts to ensure the wardrobe functions flawlessly. Slide the doors back and forth repeatedly to check for any catching, rubbing, or unusual resistance along the tracks. Verify that internal drawers open fully without hitting the door panels and that adjustable shelves are stable and securely seated on their pins.
To complete the project, apply professional finishing touches that protect the wood and match your bedroom decor. Cover any exposed plywood edges with iron-on wood edge banding, trimming the excess with a utility knife or edge trimmer. Sand the entire cabinet with progressively finer sandpaper, wipe away the dust, and apply a high-quality primer followed by paint, or a clear polyurethane sealant to protect the surfaces from moisture.
Frequently Asked Questions (FAQ)
Why are my sliding doors sticking or difficult to move?
Sliding doors typically stick due to debris accumulation, track misalignment, or structural settling of the cabinet frame. Begin troubleshooting by thoroughly vacuuming the bottom track to remove any dust, dirt, or small objects that may be obstructing the rollers. Next, use a level to verify that the top and bottom tracks remain perfectly parallel and have not bowed over time.
If the tracks are clear and aligned, check the squareness of the cabinet frame itself; if the wardrobe has settled on an uneven floor, it can pinch the tracks. You can often resolve minor sticking by adjusting the roller height screws on the door panels to raise or lower the doors slightly. Finally, apply a dry silicone spray lubricant to the tracks to reduce friction without attracting dust.
Can I add drawers to a sliding door cabinet?
You can successfully integrate drawers into a sliding door cabinet, provided you plan for the necessary clearance and door overlap. Because sliding doors overlap in the center of the wardrobe when opened, drawers must never be placed in this central zone, as the doors will prevent them from pulling out. Instead, position your drawer units completely to one side of the cabinet.
To ensure the drawer fronts do not strike the inner sliding door panel, you must recess the entire drawer box assembly slightly deeper into the cabinet. Use full-extension drawer slides mounted to the side panels or internal dividers to allow complete access to the drawer contents. Always measure the exact clearance between the face of your drawer fronts and the path of the inner sliding door before finalizing your installation.

Community discussion
Share your experience or ask a question. Comments are reviewed before publication.